How to Safely Complete Flooring Removal
Removing old flooring might seem straightforward, but doing it safely and efficiently takes the right tools, technique, and a bit of know-how. Whether you're tackling outdated carpet, tile, or laminate, proper preparation can save you time and prevent injuries. At Kick-It Services, we’ve handled every type of flooring tear-out and understand the importance of approaching each job with care and precision.
In this guide, we’ll walk you through how to safely complete flooring removal without damaging your subfloor—or your back. Whether you're a homeowner gearing up for a renovation or a contractor looking for tips, these steps will help you stay safe and get the job done right. Let’s break it down the smart way.
Top Tips for Safe and Efficient Flooring Removal
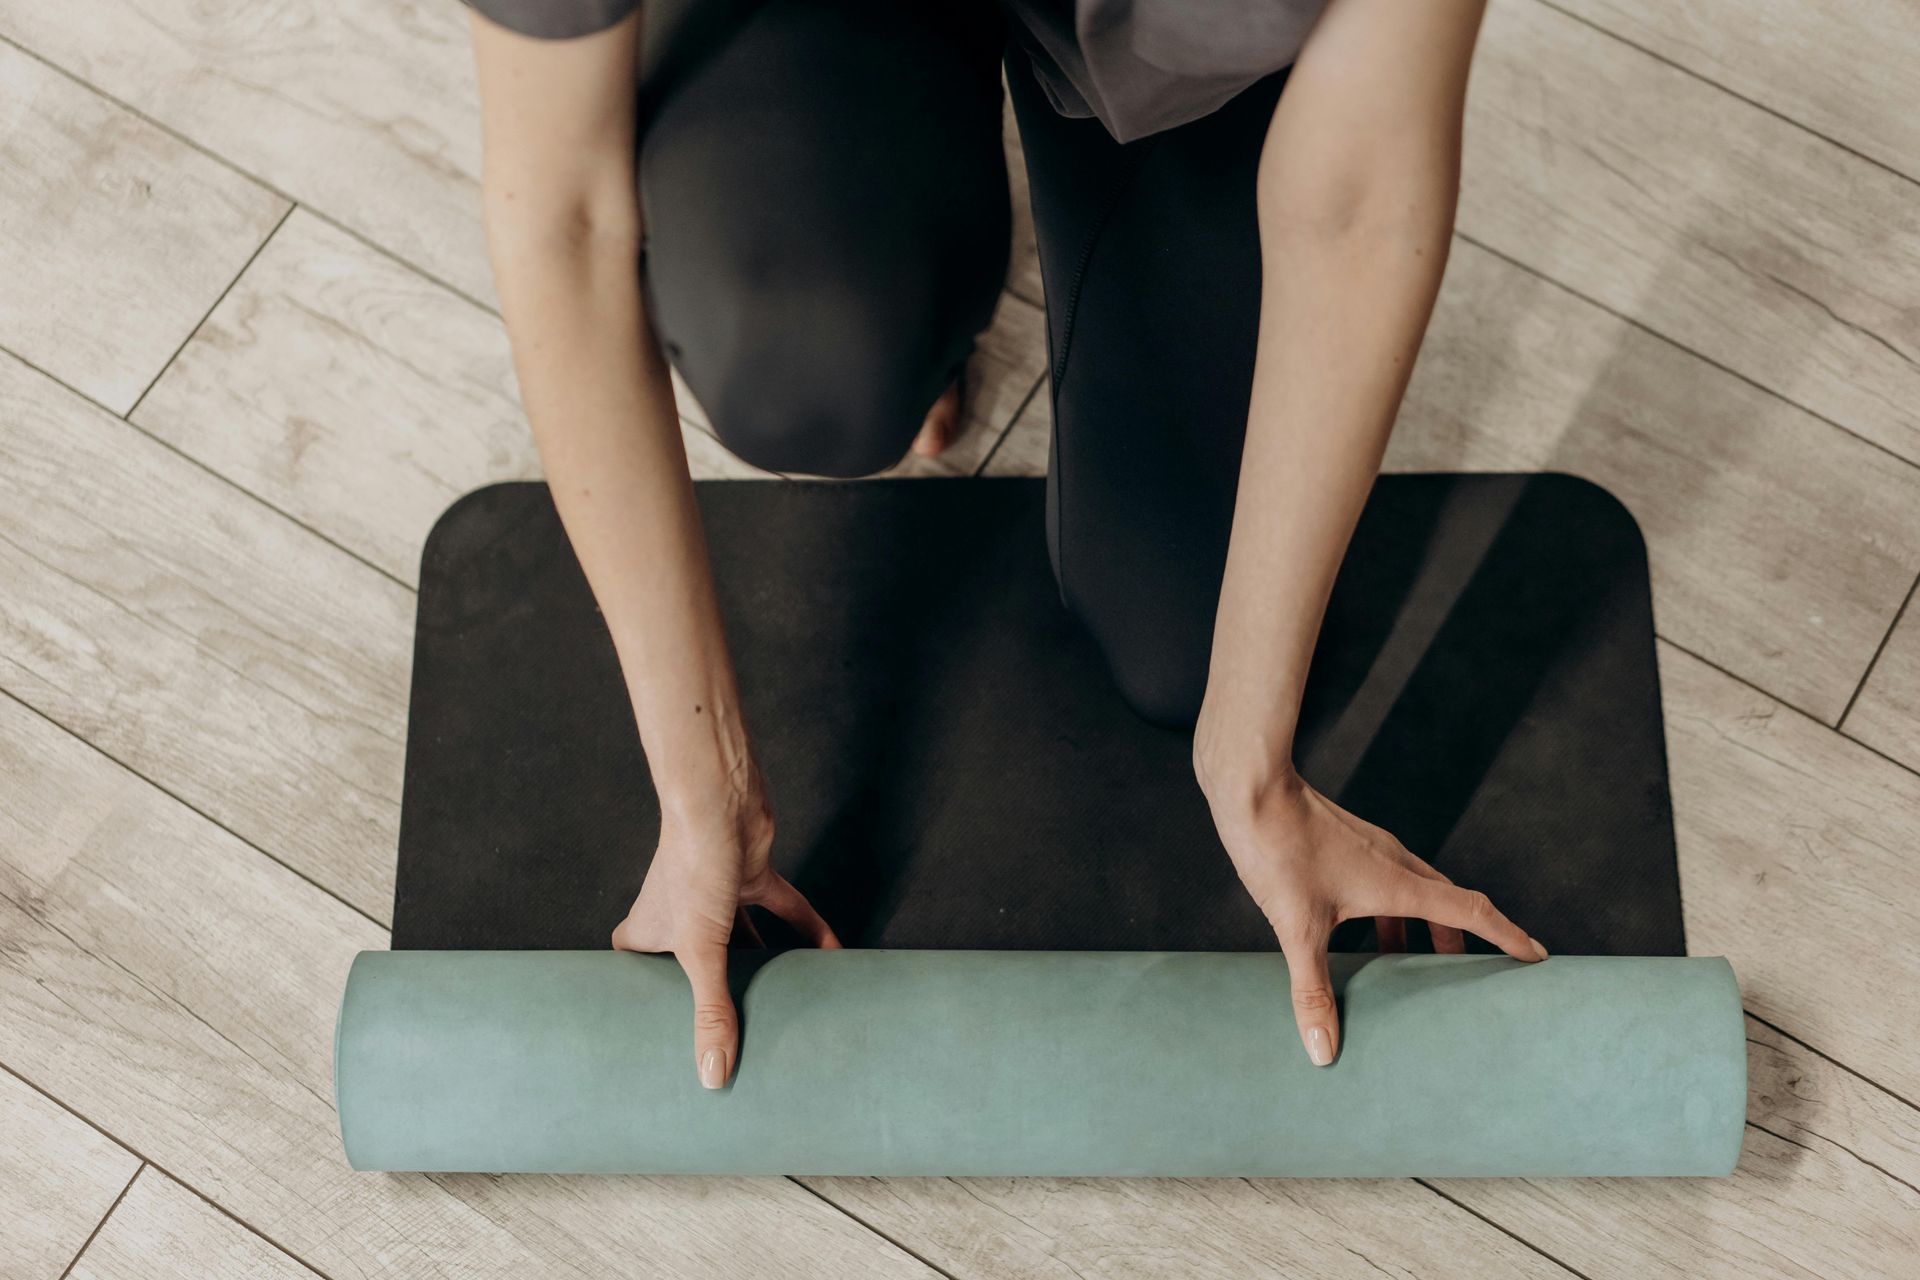
Removing flooring can be a daunting task, but with the right preparation, it can be done efficiently and safely. Before you begin, make sure you have the necessary tools: a pry bar, hammer, utility knife, and safety equipment such as gloves and goggles. Start by removing any furniture and covering vents to avoid dust and debris spreading. Carefully cut the flooring into manageable sections to make removal easier and reduce the risk of injury.
Once you've removed the bulk of the flooring, inspect the subfloor for damage. If the subfloor is in good condition, you can proceed with your renovation plans. Taking your time and using the right tools ensures that the process will be safe, efficient, and leave your home in great condition for the next steps.
How to Safely Remove Flooring Without Damage
When removing flooring, safety is key to ensuring the process doesn't lead to unnecessary damage or injury. Start by protecting the surrounding areas with drop cloths and ensuring proper ventilation if you're working with adhesives or chemical cleaners. Whether you’re removing carpet, tile, or hardwood, it’s important to carefully lift the flooring in sections rather than tearing it up quickly, which can lead to damaging your subfloor. Use the appropriate tools for each type of flooring, as forcing the wrong tool can cause harm to your home and yourself.
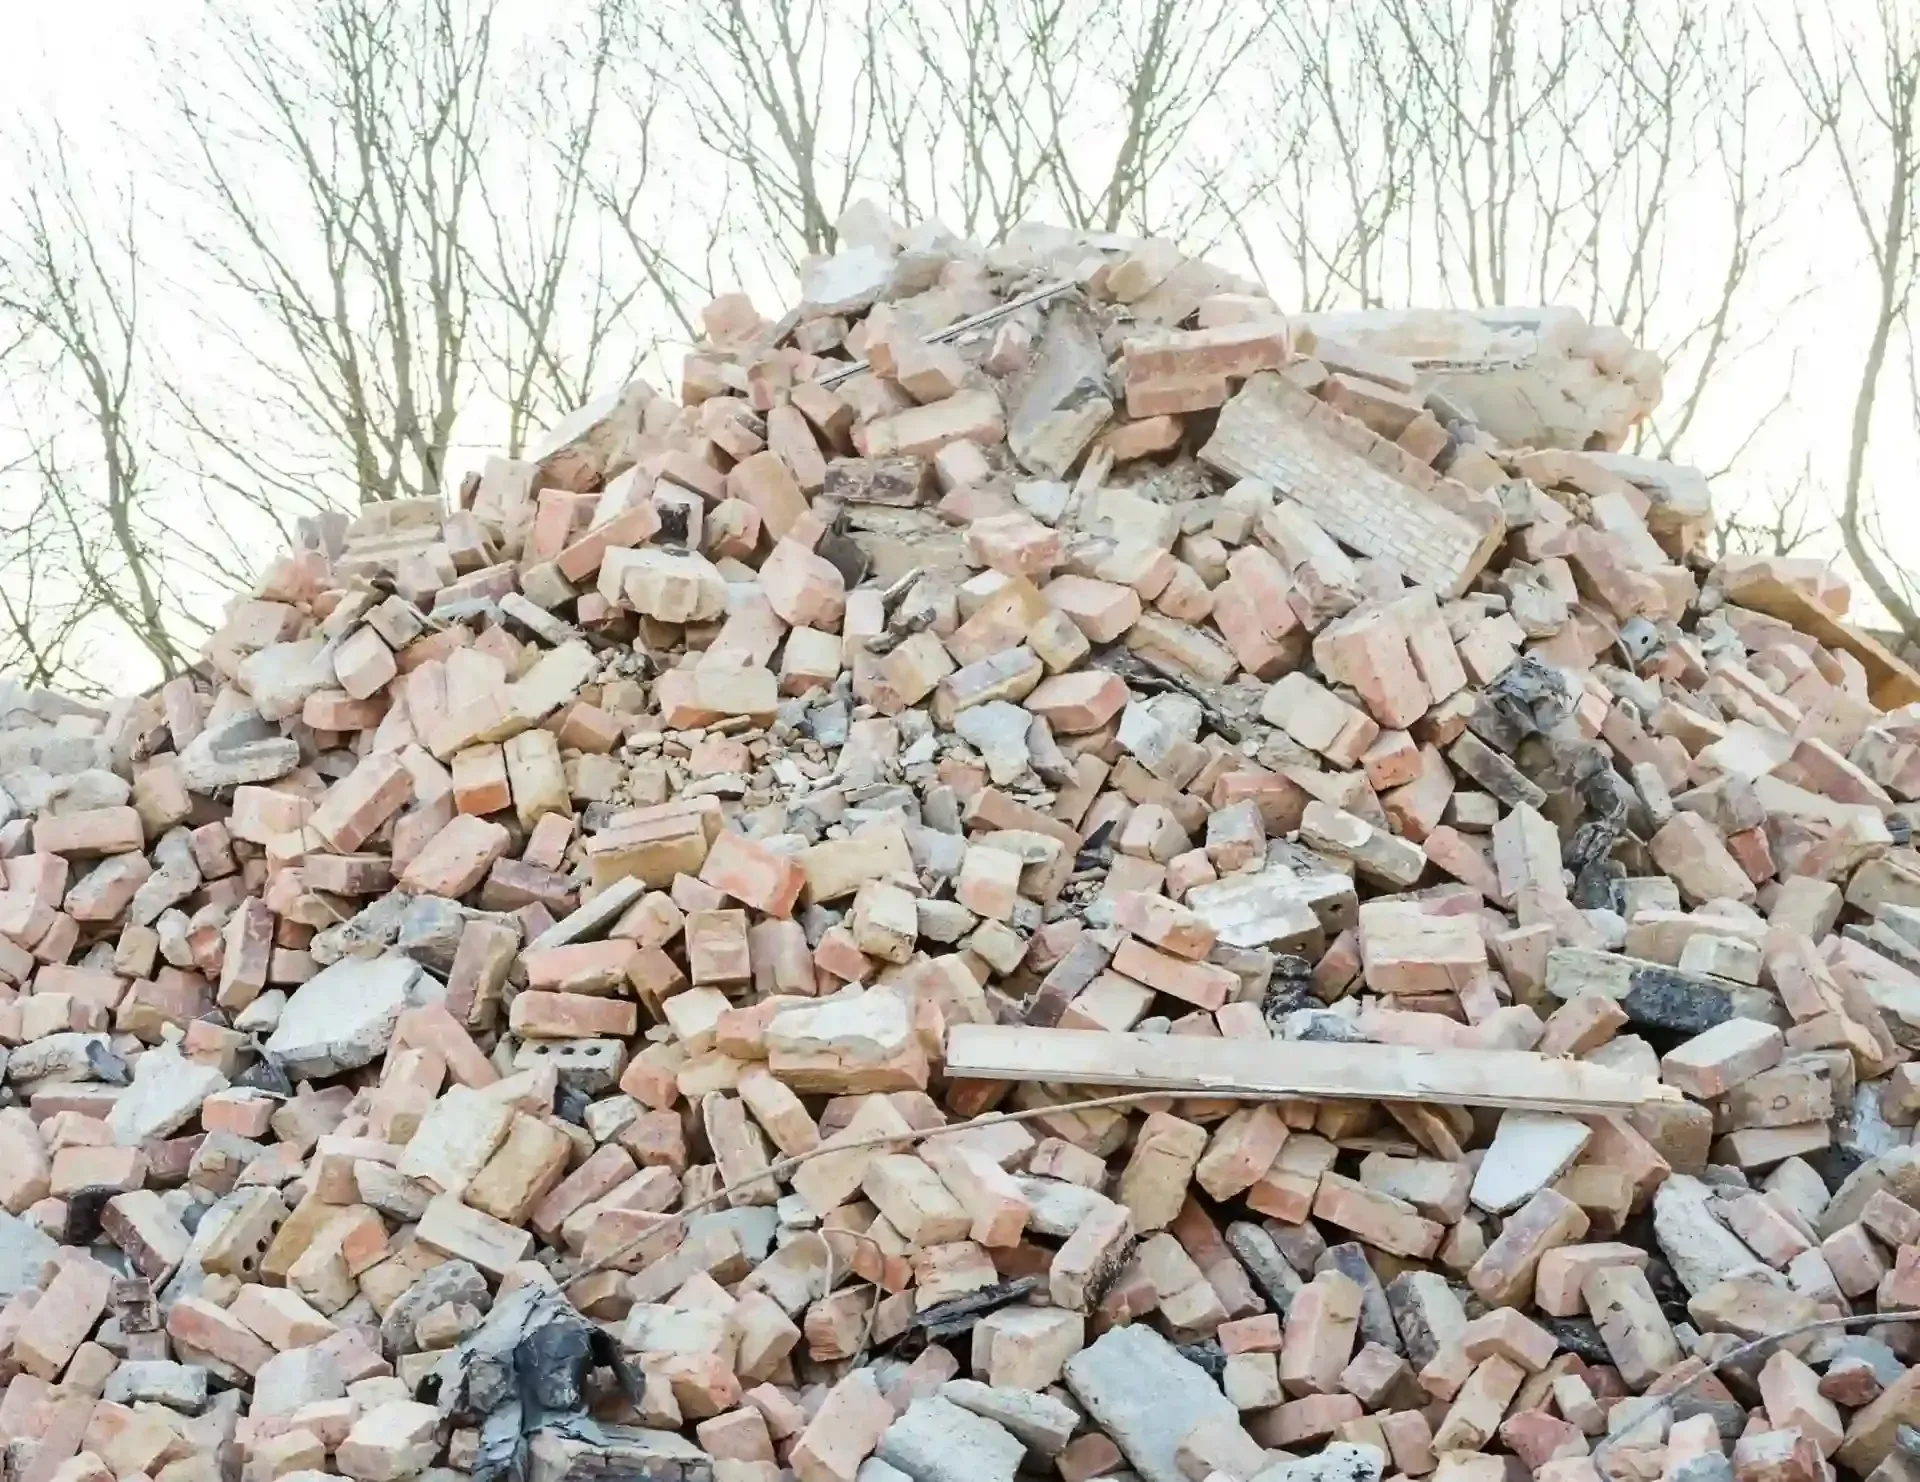
Another essential step is to check for any hidden nails or staples, which can be sharp and hazardous. Once all flooring material is removed, assess the subfloor to ensure it’s level and free of debris before proceeding with new installations. Working methodically and carefully will prevent damage to your home and help you avoid costly repairs down the road.
Essential Steps to Complete Flooring Removal the Right Way
Removing flooring the right way involves more than just pulling it up. Preparation is crucial for a smooth and safe job. Begin by clearing the area of furniture and other items that could get in the way. For dust and debris protection, it’s a good idea to cover vents and close off other rooms if you’re working in a larger area. Also, be sure to wear safety gear, like goggles, gloves, and a mask, to protect yourself from sharp objects and dust particles.
Once you’re ready to start, take your time and remove the flooring in small, manageable sections. This minimizes the risk of accidentally damaging the subfloor and allows for a more controlled removal. Finally, after the floor is cleared, check for any signs of damage to the subfloor, and make necessary repairs before installing new flooring. Following these essential steps will ensure that your flooring removal process is done correctly and safely.
A Guide to Removing Old Flooring Safely and Effectively
Flooring removal is a key part of many home renovation projects, but it’s crucial to do it safely to avoid injury and preserve the condition of your home. Before you begin, prepare the room by clearing out any furniture and covering vents to prevent dust from spreading. Gather your tools, including a pry bar, hammer, utility knife, and safety gear. When you’re ready to start, carefully cut the flooring into smaller sections to make removal easier and less strenuous on your body.
As you remove the flooring, be mindful of nails, staples, and other fasteners that could cause injury. Once the old flooring is up, take the time to inspect the subfloor and repair any damage before moving on to the next phase of your project. With a bit of planning and the right tools, you can safely and effectively remove old flooring and set the stage for your next home improvement.
Flooring Removal Tips to Protect Your Home and Health
While removing flooring might seem like a straightforward task, it’s important to take steps that will protect both your home and your health throughout the process. Before starting, cover all furniture and vents to minimize dust and debris. Ensure you have the right safety equipment, such as gloves, goggles, and a mask. This is especially important when working with materials that might release harmful dust, like older tile or carpet adhesives. Take your time to carefully cut the flooring into sections to make it easier to manage.
During the removal, keep an eye out for hidden nails, staples, or screws, as these can be sharp and pose a risk. Once you’ve removed the flooring, check the subfloor for any damage, and make sure it’s clean before proceeding. By staying cautious and organized, you can protect your home from damage and keep yourself safe throughout the flooring removal process.
Safe Flooring Removal Techniques for DIY Enthusiasts
If you're a DIY enthusiast looking to tackle a flooring removal project, safety should be your top priority. First, clear the space and remove any furniture that might get in your way. Be sure to protect the rest of your home from dust by covering vents and opening windows for ventilation. Wearing gloves, goggles, and a mask is essential when handling old flooring materials that may have accumulated dust or hidden sharp objects. Using the proper tools, like a pry bar for hardwood and a utility knife for carpet, will make the job easier and safer.
As you begin, work slowly and methodically, removing the flooring in sections. This ensures you’re not rushing and potentially causing damage to the subfloor or hurting yourself. After the flooring is removed, inspect the subfloor to make sure it’s level and in good condition for any future flooring you plan to install. By following these safe techniques, you’ll complete your flooring removal project with minimal stress and maximum success.
How to Tackle Flooring Removal Without Stress or Injury
Removing flooring can feel overwhelming, but breaking it down into simple, manageable steps can make the process much less stressful. Start by preparing the room and ensuring the area is free of furniture and obstructions. Don’t forget to protect yourself with gloves, goggles, and a mask, as the task can involve sharp tools and dust. Use a utility knife for carpet, a pry bar for hardwood, and a hammer to loosen stubborn tiles. Work in small sections, cutting the flooring into strips that are easy to handle.
Take breaks throughout the job to avoid overexerting yourself and to reduce the risk of injury. Once the old flooring is removed, check the subfloor for any damage or debris. If everything looks good, you’re ready to proceed with your renovation. With careful planning and attention to detail, you can tackle flooring removal with confidence, minimizing stress and injury along the way.
Best Practices for Safe Flooring Tear-Out Projects
Flooring tear-out projects can be a lot of work, but with the right approach, you can ensure a safe and successful outcome. Start by clearing the area and protecting your home from dust and debris. Wear proper safety gear like gloves, goggles, and a mask, as old flooring materials can release harmful dust. Use the appropriate tools for the type of flooring you're removing. For example, a pry bar works well for hardwood, while a utility knife is best for carpet. Taking your time and being methodical in your approach will minimize the risk of injury.
It’s important to remove the flooring in small, manageable sections to avoid unnecessary strain. Once the flooring is up, inspect the subfloor for any damage or remaining nails. If needed, make repairs before moving forward with new flooring installation. Following these best practices will ensure that your tear-out project is done safely and with minimal hassle.
Easy Steps to Safely Remove Carpet, Tile, or Hardwood
When it comes to removing flooring, whether it’s carpet, tile, or hardwood, there are a few easy steps you can follow to ensure a safe and successful job. Start by preparing your space—clear the area of furniture and cover any vents to keep dust from spreading. Make sure you have the proper safety equipment, like gloves and goggles, as well as the right tools for the job. Use a utility knife for cutting carpet, a pry bar for hardwood, and a hammer or scraper for tile.
Once you begin, take your time and work in small sections. This will help prevent injury and ensure that the subfloor is not damaged. After the flooring is removed, inspect the subfloor to ensure it’s clean and level. With these easy steps, you’ll be able to safely remove your old flooring and prepare your home for the next phase of your renovation.
Conclusion
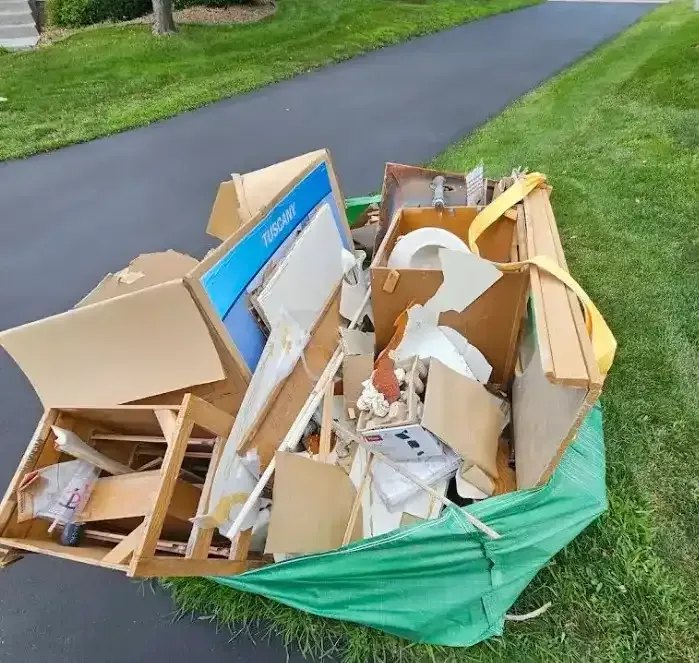
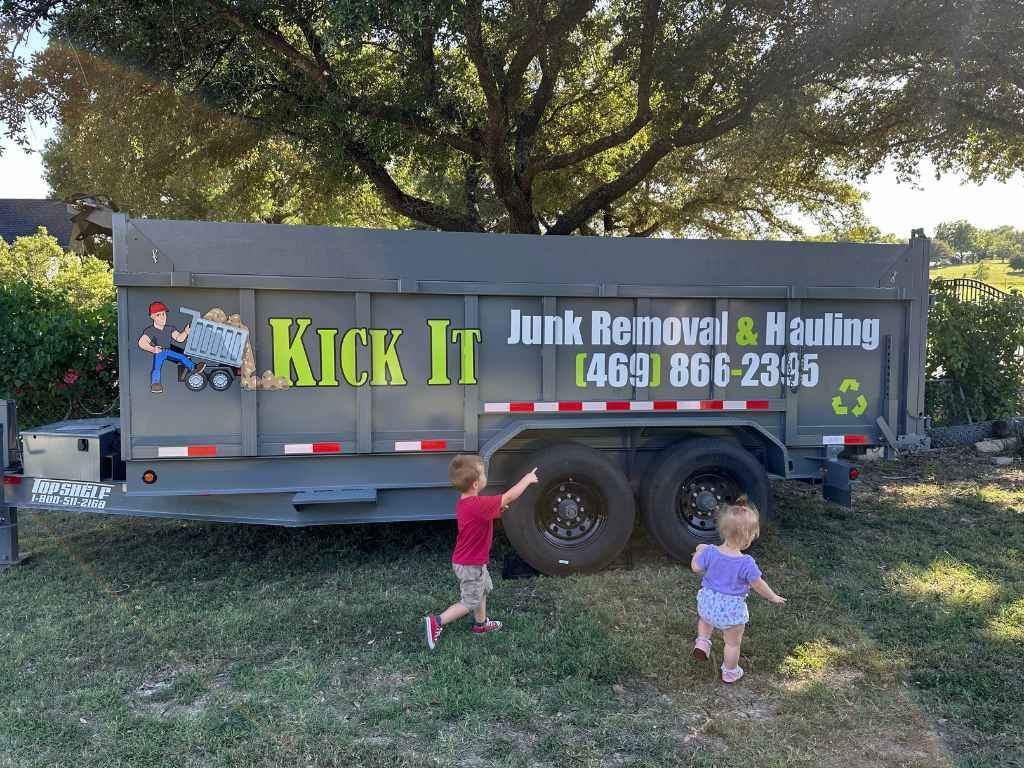
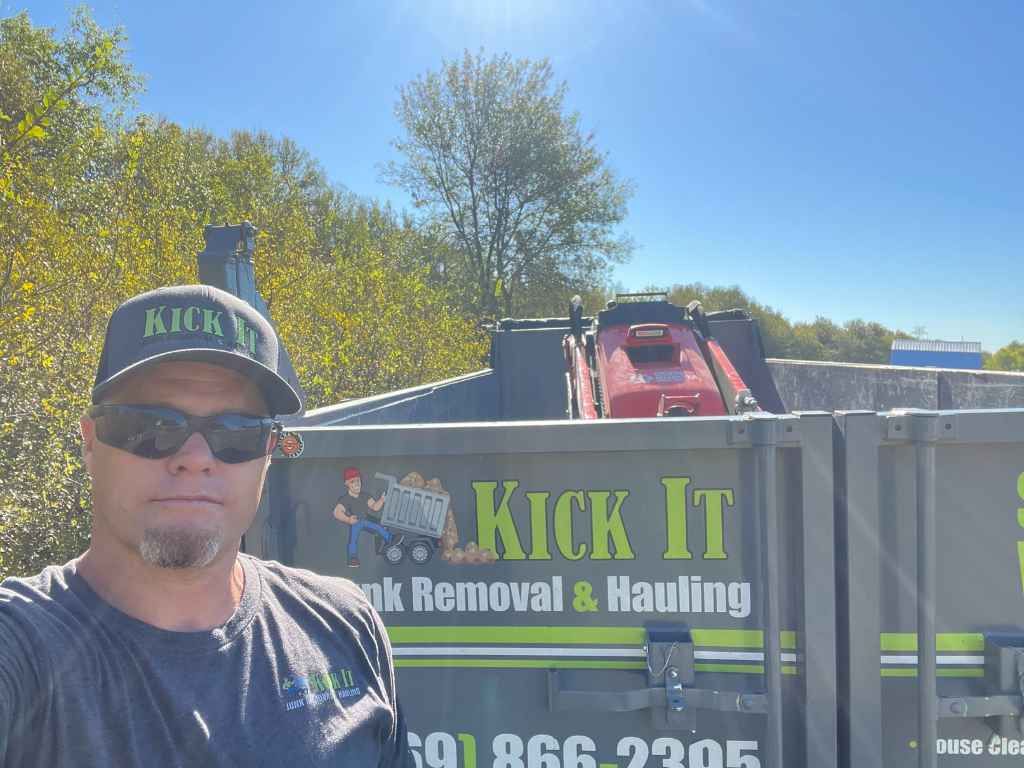
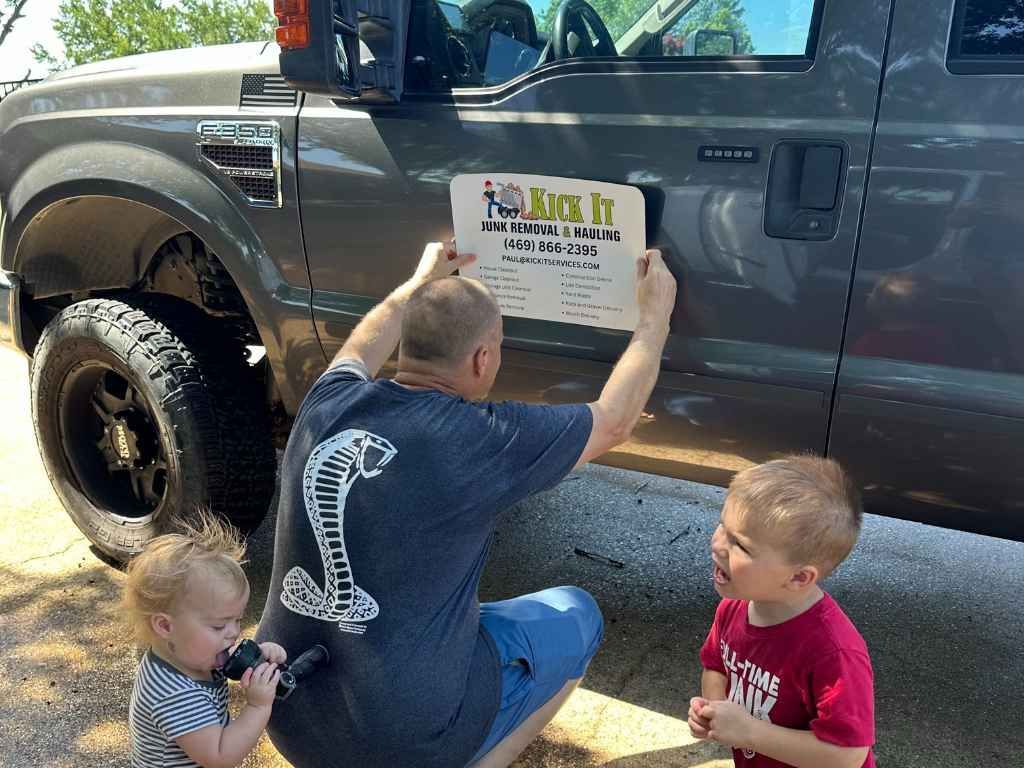
If you're ready to remove your old flooring but don't want the hassle, Kick It Junk Removal & Hauling is here to help! We specialize in safe and efficient flooring tear-outs, ensuring that your home stays protected throughout the process. Based in Forney, Texas, our experienced team handles everything from removing carpet to hardwood and tile, along with hauling away the debris. We make the entire process easy, so you can enjoy your newly renovated space without the stress. Reach out today at 469-866-2395 or email Paul@kickitservices.com for a free consultation and fast, reliable service!