Flooring Removal: What to Expect During the Process
Ripping up old flooring sounds simple enough—until you start peeling back the layers and uncover what’s been hiding beneath. Whether you’re saying goodbye to outdated carpet, stubborn tile, warped laminate, or cracking hardwood, flooring removal is often more complex than people anticipate. Beneath the surface lies a world of adhesives, subfloor quirks, and a fine balance between brute strength and finesse.
Here’s what you can expect when the flooring comes up and the real work begins.
The Truth About What’s Underfoot
Let’s not romanticize it—flooring removal is dirty, loud, and sometimes downright unruly. But it’s also a crucial first step toward transformation. You can’t create a fresh space without stripping away the remnants of the old. That’s why understanding what you’re walking into (literally) can help you manage expectations, avoid rookie mistakes, and streamline the path to your renovation goals.
What type of flooring are you dealing with? Because not all materials behave the same.
- Carpet often hides decades of dust and spills soaked into its underpad.
- Hardwood can be glued, nailed, or stapled (and sometimes all three), making it a tug-of-war battle.
- Tile brings the hammer and chisel show, often with shards flying and mortar holding on for dear life.
- Laminate or vinyl might peel up nicely—or cling with adhesive you didn’t expect.
The challenges vary, and the time it takes does, too. One room may be done in a few hours. Another might turn into a two-day epic.
Preparing the Battlefield: Getting the Space Ready
Before the first pry bar meets a plank, the room needs a gut-check. That means clearing the space entirely—and not just sliding furniture to one corner like it’s musical chairs. All furniture, décor, rugs, and personal items need to go. You’ll also want to remove doors, baseboards, and trim if they’re in the way. Some trim can be salvaged if removed carefully; others will split or snap.
Protection is next. You’ll want to:
- Cover nearby vents and air returns to keep debris from cycling into your HVAC.
- Tape off adjacent rooms to contain dust.
- Wearing personal protection—gloves, goggles, and a dust mask are non-negotiable.
- Prepare for noise, mess, and possible hidden surprises (think mold, rot, or weird things lost under the floor).
The room isn’t ready until it looks like it’s about to go through a full-scale construction project—because it is.
Step-by-Step: Breaking Down the Flooring Removal Process
Flooring removal doesn’t follow a rigid script, but there’s a general rhythm to the madness. Here’s how it usually unfolds.
Initial Inspection
Before tools come out, a walk-through is crucial. A professional will assess the type of flooring, subfloor condition, and potential hazards like asbestos or moisture. It’s not uncommon to find previous flooring layers stacked like geological strata. One peel might reveal another—sometimes older, harder to remove, or containing problematic materials.
If adhesives or mastics are in the mix, they’re noted for future grinding or scraping.
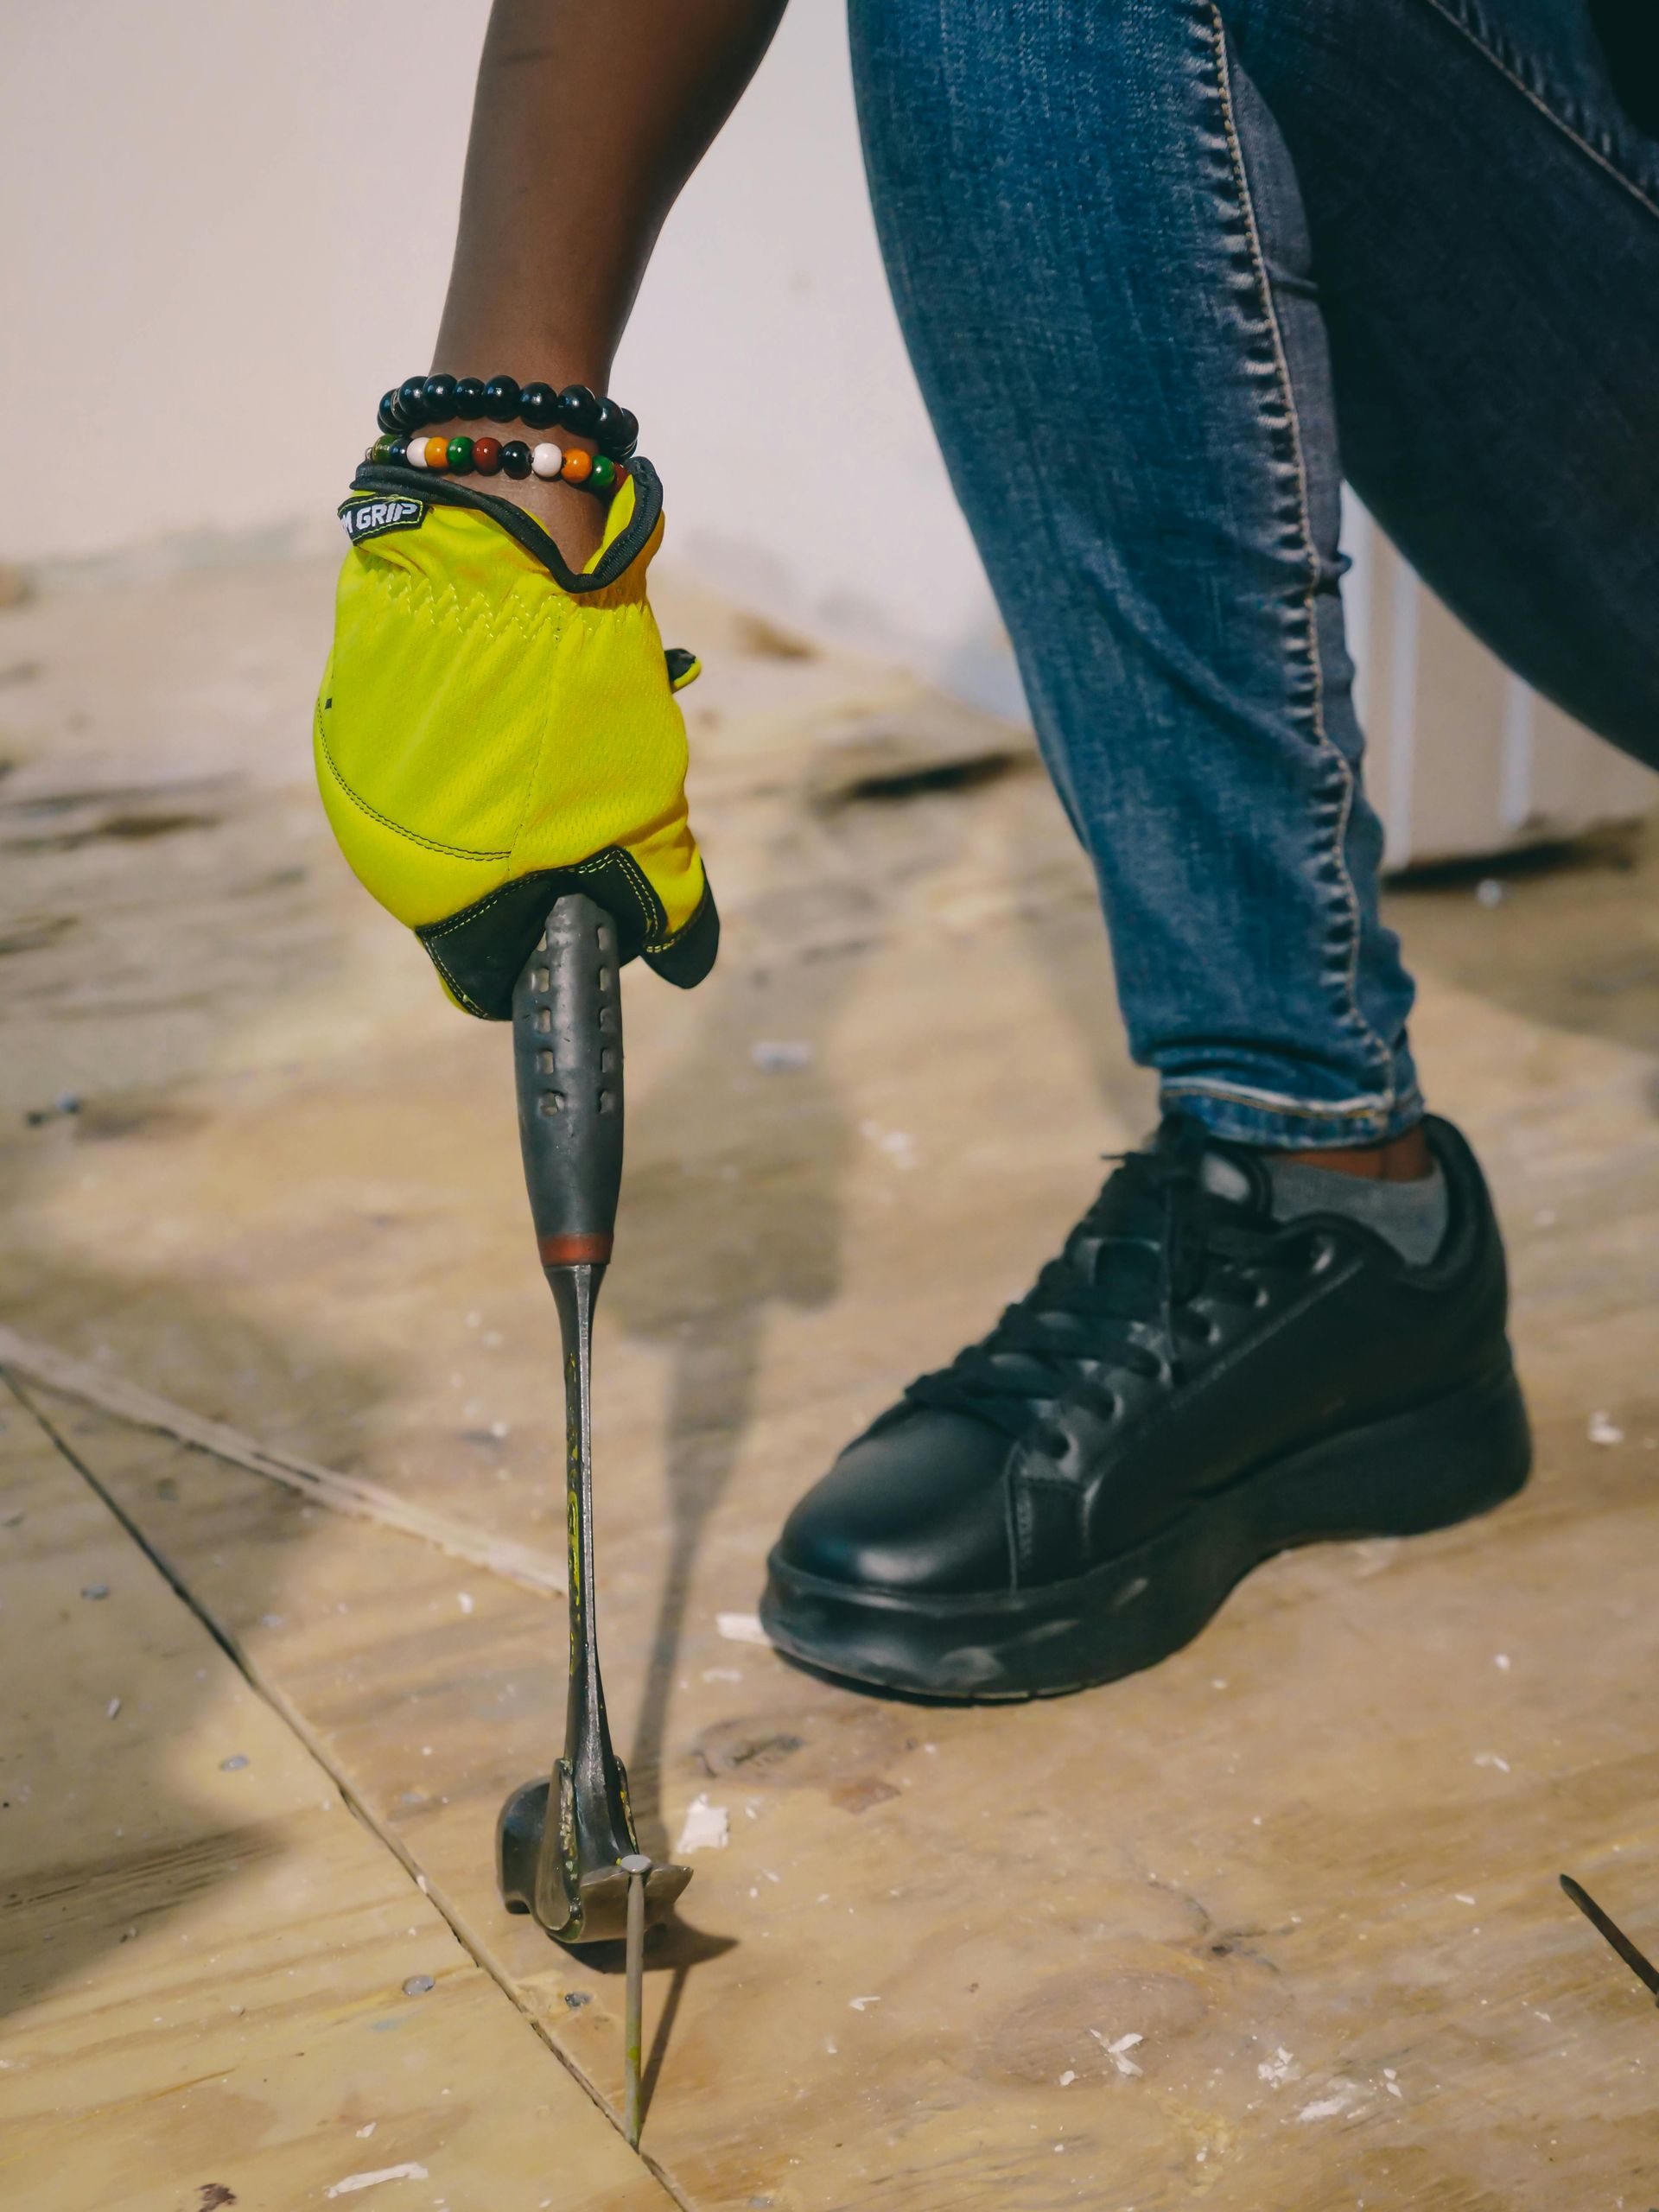
Top Layer Extraction
This is where the muscle comes in. Carpets are sliced into strips and rolled out, staples flying everywhere. Hardwood is pulled up plank by plank, sometimes needing special equipment if it’s glued. Tile? Expect jackhammers or oscillating tools to make an appearance. And for glued vinyl or laminate, heat guns and scrapers are your best friends.
The top layer is just the beginning. The real battle is often beneath.
Adhesive and Underlayment Removal
The adhesive removal stage separates the patient from the impulsive. This step takes time. Whether it’s old black mastic, carpet glue, or tile mortar, it needs to go. Leftover adhesive creates uneven surfaces, impacts the next flooring’s adhesion, and often causes squeaks or instability.
Underlayment removal may involve pulling up a nailed or stapled plywood layer. This layer sits between your flooring and the subfloor and often takes a beating during extraction.
Subfloor Inspection and Repairs
Once stripped bare, your subfloor gets the spotlight. Is it level? Is it sound? Any damage from water, pests, or improper past installations? Squeaky spots might need screws or adhesive. Rotted or cracked areas could need replacing.
Skipping this step is a big mistake. Laying down new flooring over a bad subfloor is like painting over a cracked wall—it won’t stay pretty for long.
The Tools of the Trade
Flooring removal doesn’t happen with just a hammer and a dream. Here’s a rundown of the equipment often used during the process:
- Pry bars and crowbars – for leverage and lifting.
- Floor scrapers – manual or powered, to tackle adhesive and underlayment.
- Oscillating tools or circular saws – to slice hardwood or laminate into sections.
- Demolition hammers – especially for tile removal.
- Shop vacs – to manage the dust storm.
- Buckets and contractor bags – because debris piles up fast.
In larger jobs, you may see ride-on floor scrapers or grinders. The goal? Efficiency without excessive damage.
The Dust Factor: It Gets Wild
Let’s be real—flooring removal doesn’t come with a clean guarantee. The moment materials are lifted, particles begin to fly. From pulverized tile mortar to carpet fibers embedded deep into the pad, the air becomes a swirling storm.
That’s why pros take containment seriously. It’s not just about visual mess—it’s about air quality and health safety, especially for those with allergies, asthma, or sensitivities.
Pro tip? Even after the job's done, expect to clean your home again. Dust settles days later in the most unexpected places—behind light switches, inside drawers, and even on ceiling fan blades.
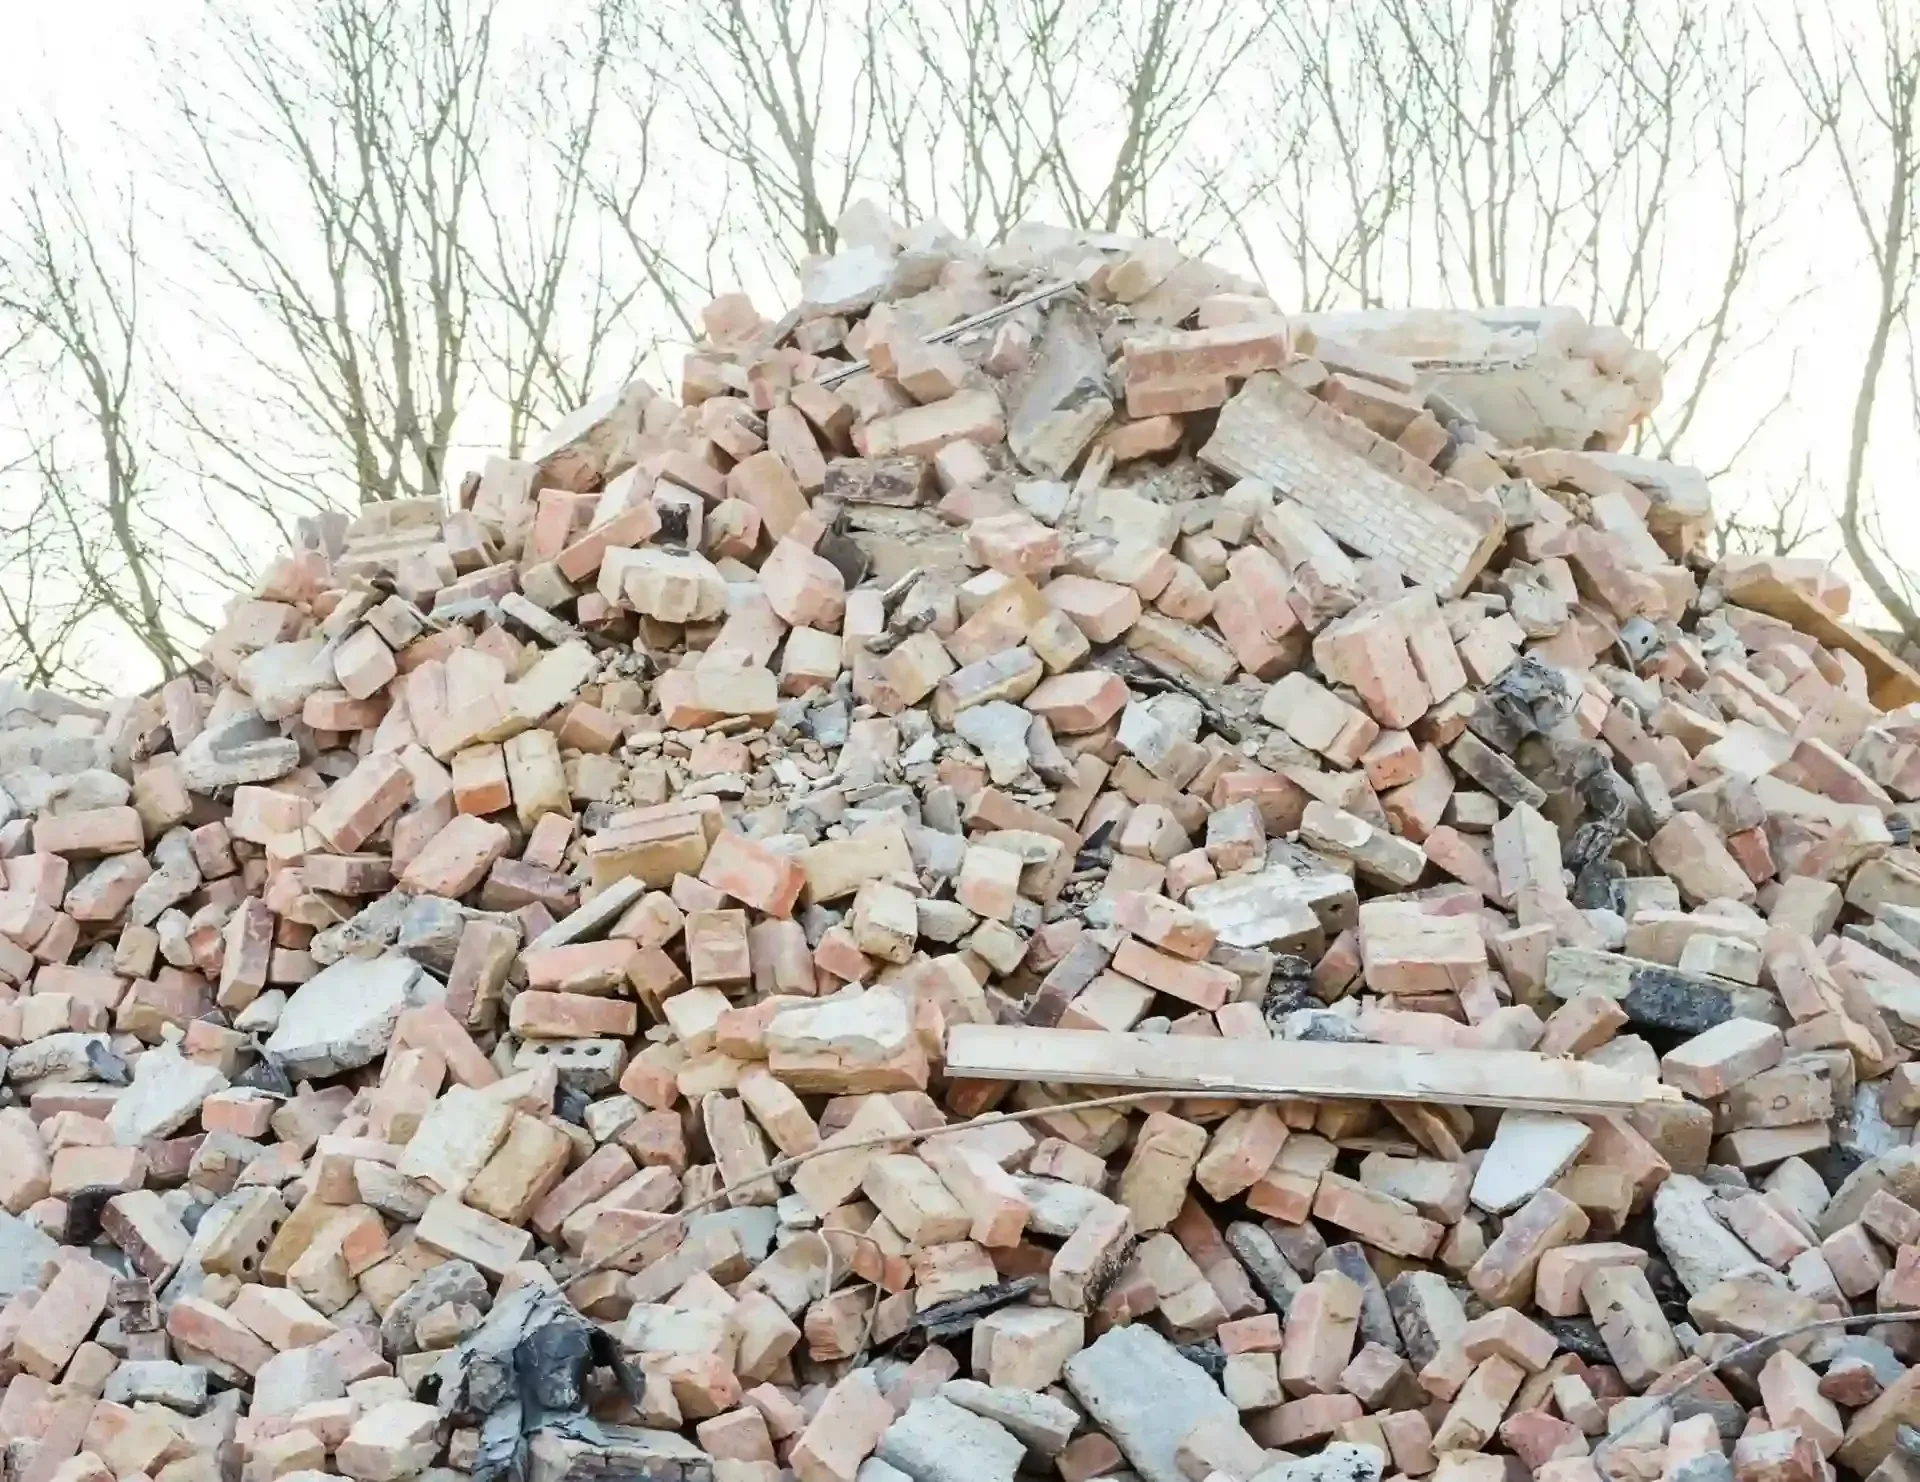
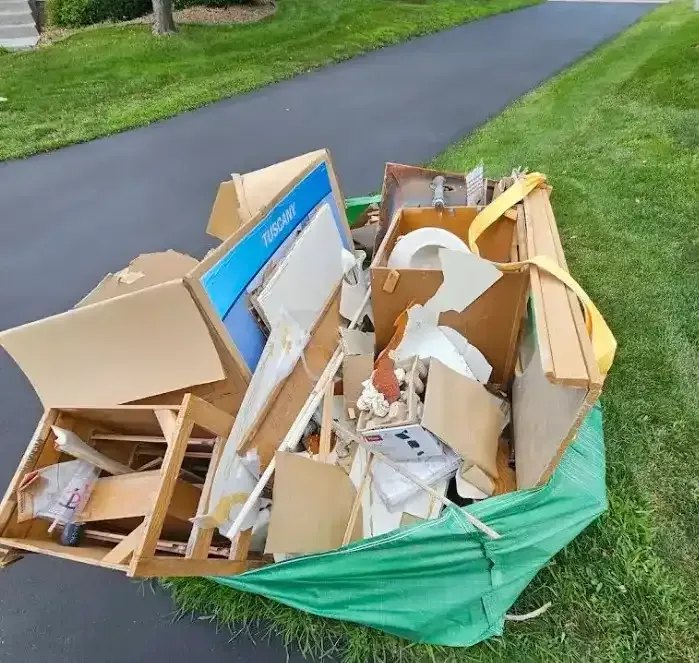
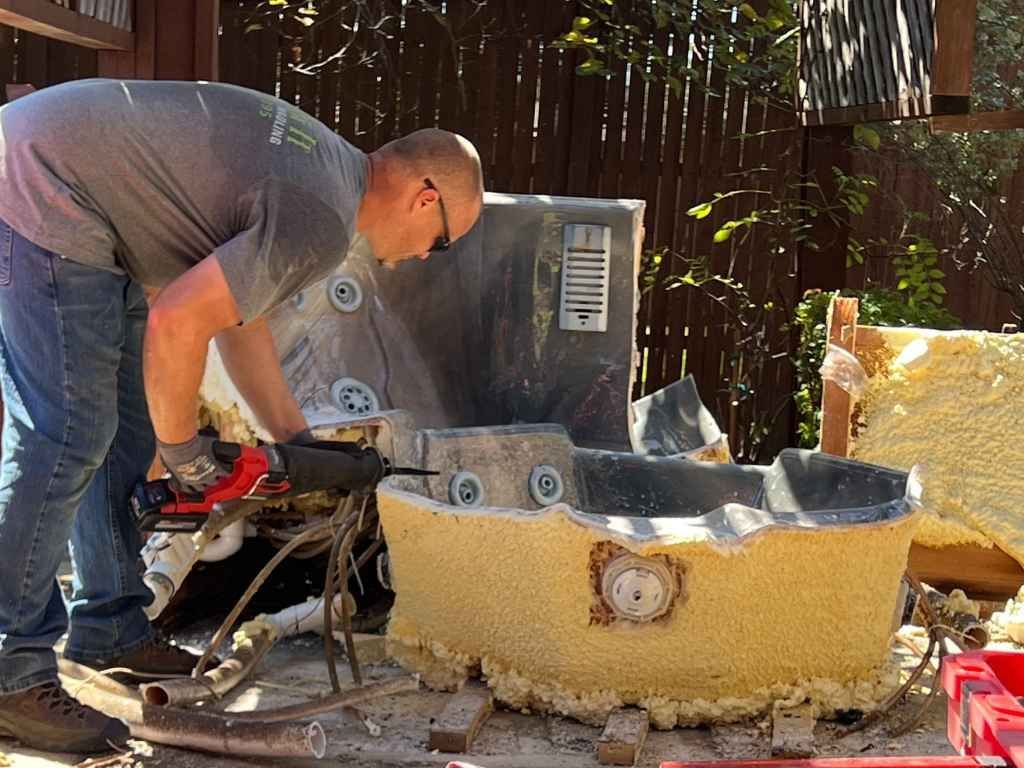
Dumped and Gone: What Happens to the Debris?
You’d be surprised how much material comes out of a single room. Old tile, broken planks, splintered underlayment, nails, staples, adhesive chunks—it adds up. And most of it can’t just go in your weekly trash pickup.
That’s where junk hauling and proper disposal make a difference. Some materials may be recyclable, while others—like certain adhesives or vinyls—need to be handled with care due to environmental regulations.
Efficient flooring removal includes smart disposal. Skipping this step clutters your yard, driveway, or garage with piles of waste that invite pests, hazards, or even fines.
Time Frame: How Long Does Flooring Removal Take?
There’s no universal answer, but here’s a rough guide:
- Small rooms (100–200 sq. ft.): 3–6 hours.
- Larger areas (400+ sq. ft.): 1–2 days.
- Glue-down tile or thick adhesives: Add a few hours to a day.
- Subfloor repairs or moisture issues: Add another day.
The job can stretch longer if complications arise—unexpected damage, layers of hidden flooring, or specialized adhesive removal. Rushing the process can lead to expensive mistakes later when you go to install the new floor.
The Professional Edge: Why It’s Not Always a DIY Game
Sure, you could rent a few tools, put on a dust mask, and go full demo mode. But will it save you money, time, or stress? Not always.
DIY flooring removal often leads to:
- Damaged subfloors
- Inadequate adhesive removal
- Improper debris disposal
- Injury from flying shards or heavy lifting
Hiring a professional team means trained eyes, muscle memory, proper tools, and speed. Most importantly, they know what to do when the unexpected shows up—which it often does.
After the Dust Settles: What’s Next?
Once the flooring is gone and the subfloor has been patched, sanded, and cleaned, it’s showtime for your new material. But don’t rush into installation. Give the room a moment.
- Let the dust fully settle before deep cleaning.
- Check for lingering moisture or air quality issues.
- Inspect every inch for missed debris or protruding nails.
And then? It’s time to bring your vision to life.
Whether you’re installing elegant hardwood, cozy carpet, sleek vinyl planks, or colorful tile, a well-prepped surface means a longer-lasting, better-looking result.
What Homeowners Should Understand Before Starting a Flooring Removal Project
Many homeowners dive into flooring removal expecting a quick and straightforward task, only to discover layers of challenges beneath the surface. From stubborn adhesives to hidden subfloor damage, the job can quickly shift from a weekend chore to a full-blown project. It’s not just about tearing things out—it's about uncovering what’s underneath and preparing the space for what’s next.
Proper preparation, the right tools, and an understanding of the flooring type are key to avoiding unnecessary setbacks. Skipping steps or rushing through the process can create long-term issues that affect your new floor’s look and longevity.
How Flooring Removal Clears the Way for a Better Living Space
Removing old flooring does more than refresh your interior—it clears years of wear and tear, stains, and trapped dust that accumulate over time. As materials are pulled away, your home begins to reveal its potential. It's a process that strips down to the basics and lays the groundwork for a cleaner, more updated environment.
This transition phase isn’t just functional—it’s transformative. A proper flooring removal creates a blank canvas for your future style while also eliminating hidden damage. What may start as demolition ends in opportunity for real, long-lasting improvements to your home’s comfort and design.
Conclusion
Flooring removal is more than just swinging a hammer or yanking up old planks. It’s a multi-step journey that requires grit, precision, and planning. Done right, it reveals a clean slate—one ready to support whatever dream floor you’ve chosen next. Done wrong, it sets you up for problems that could ripple through your entire renovation.
So, if you're thinking of clearing the way for something new, start smart. Know the process, respect the work, and let the professionals handle the heavy lifting when it counts.
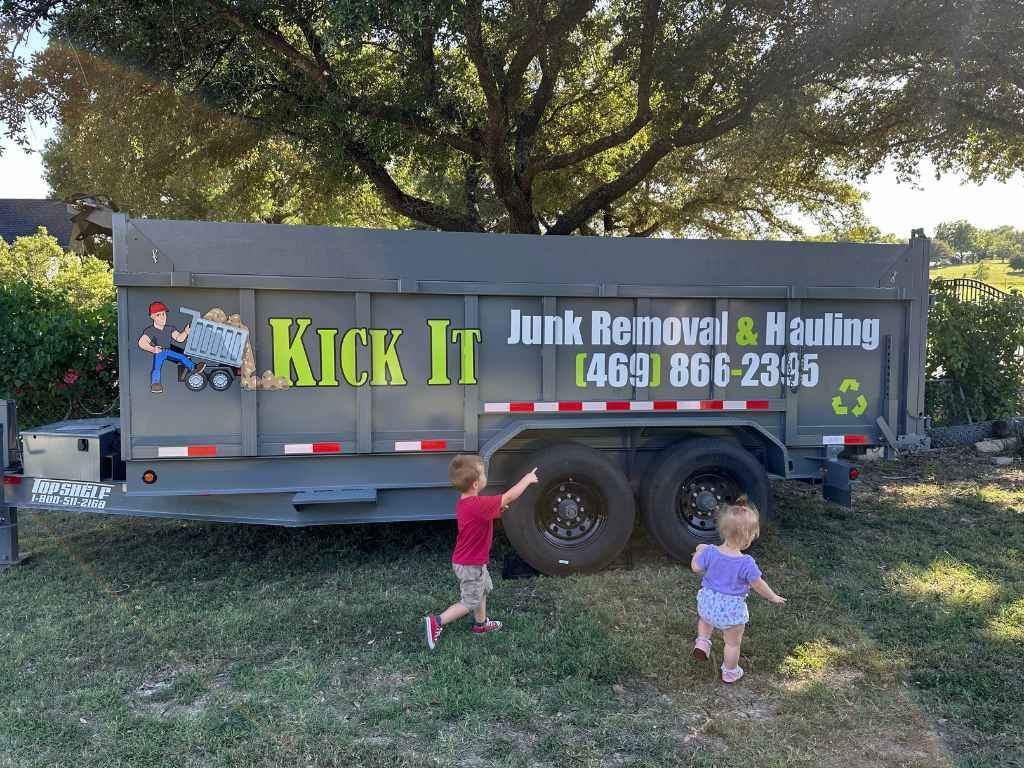
For full-service flooring removal and responsible junk hauling that keeps your renovation clean, efficient, and stress-free, reach out to:
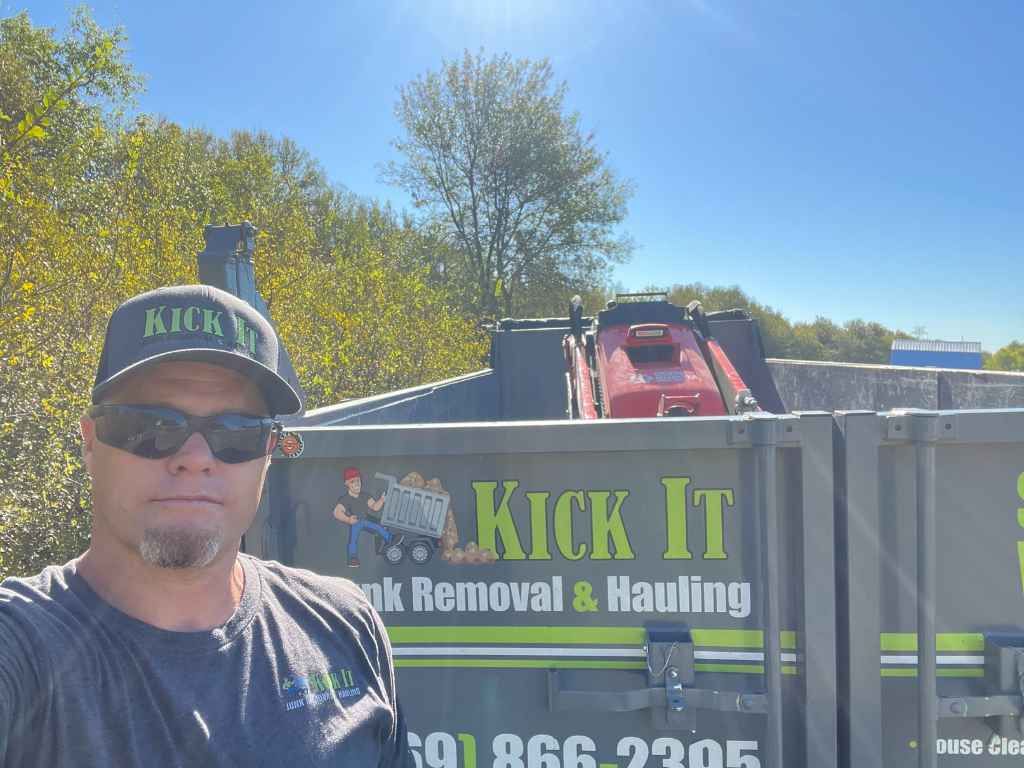
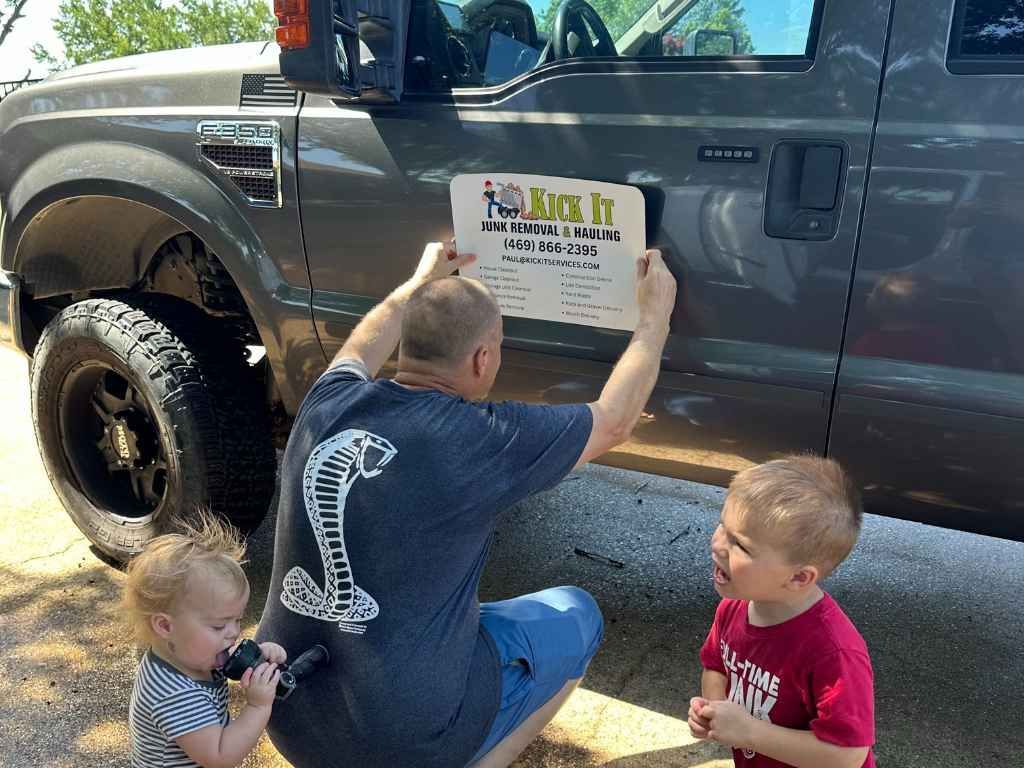
Kick It Junk Removal & Hauling
14339 Stanley Lane, Forney, Texas 75126, United States
Phone: 469-866-2395
Email: Paul@kickitservices.com