Tips for Managing Drywall Removal During a Renovation
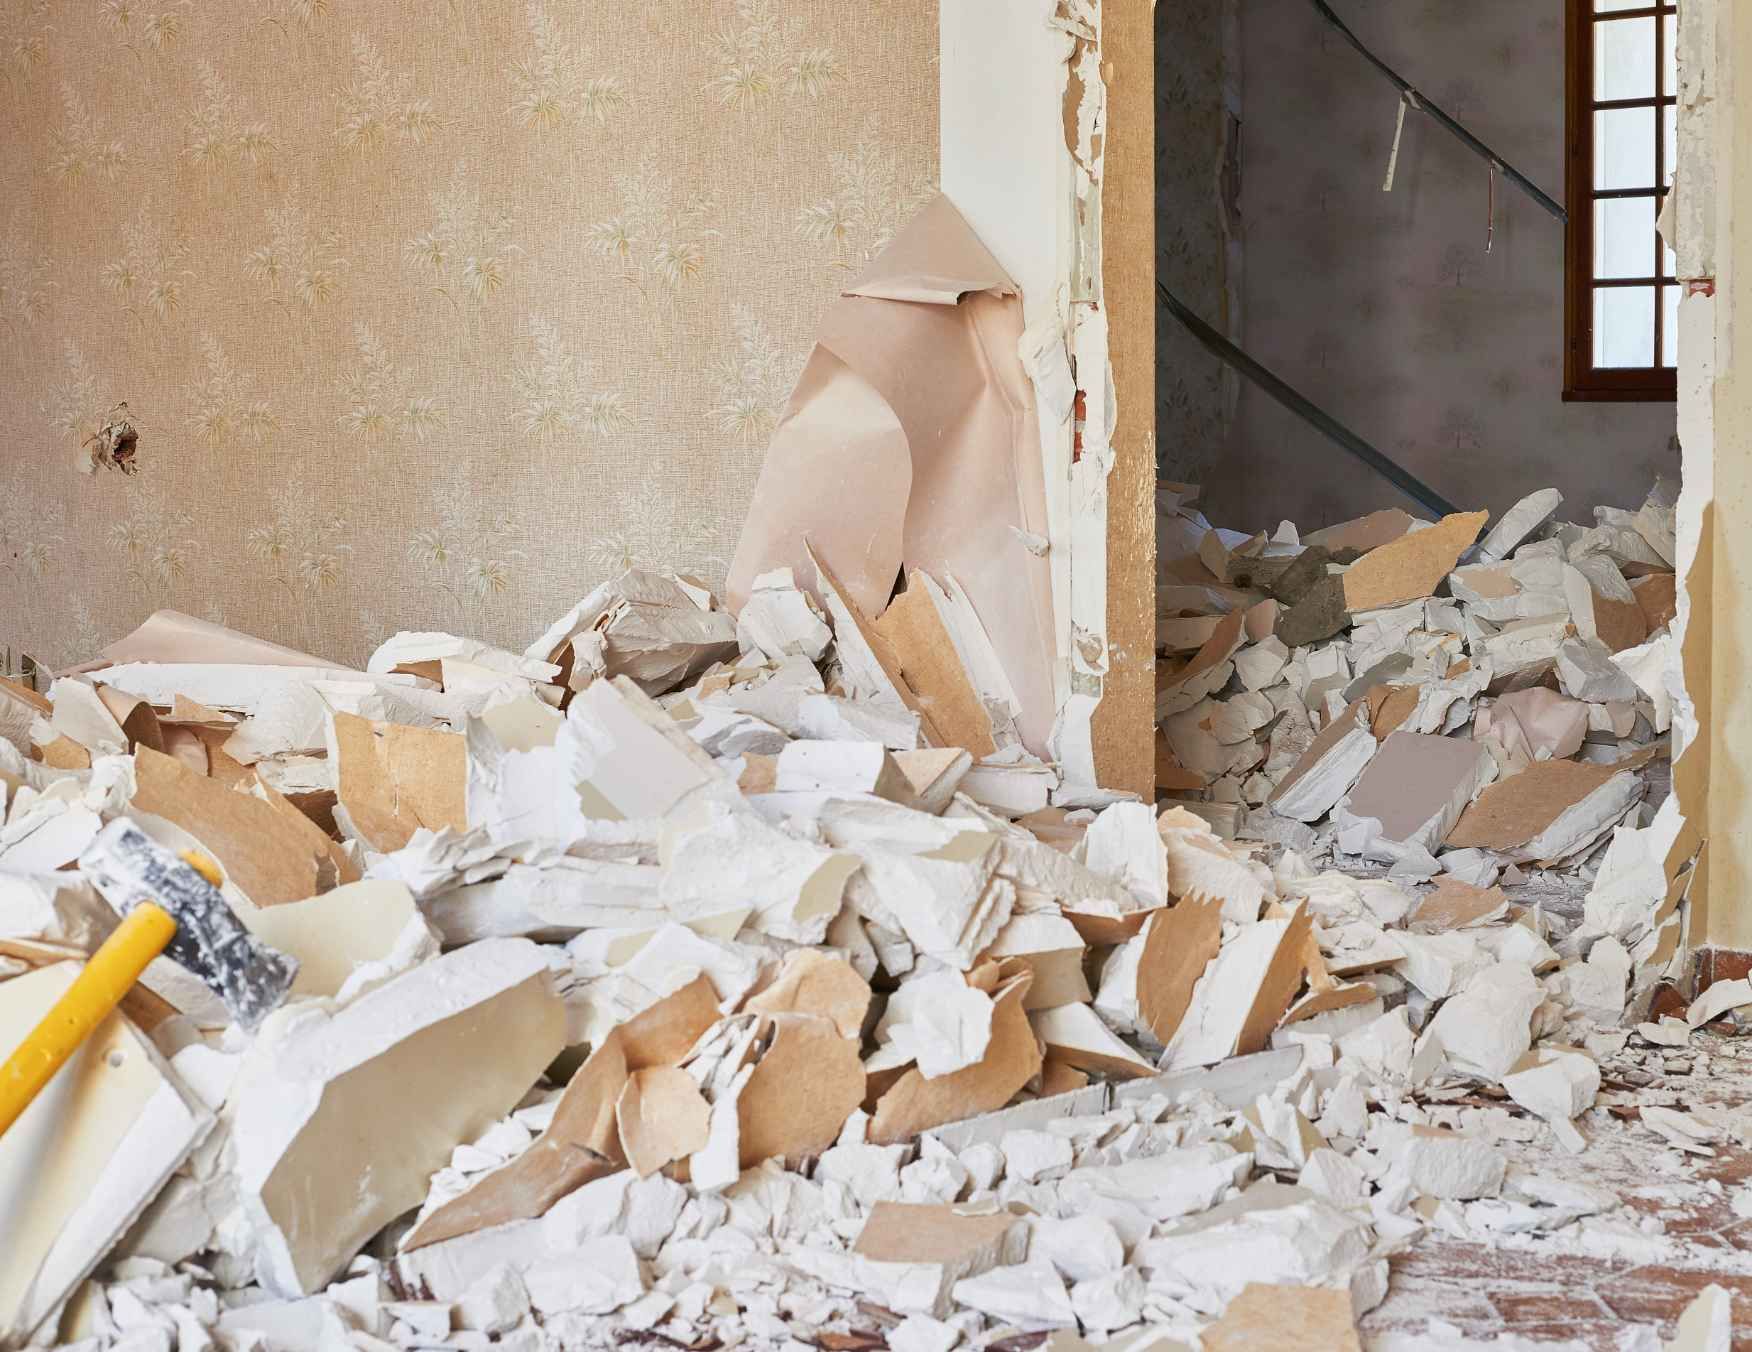
When embarking on a renovation project, few tasks are as daunting as the removal of drywall. Whether you're upgrading your living space, tearing down an old wall for a new layout, or simply opening up a room, managing drywall removal effectively can save you time, money, and stress. Drywall removal may seem like a straightforward process, but there are various considerations to keep in mind for a smooth, safe, and efficient job.
In this guide, we’ll explore the best practices for drywall removal, from preparing the space to disposing of the debris, ensuring that your project progresses without a hitch.
Preparing for the Job
Before diving into the removal process, it’s essential to assess the scope of your renovation. Are you removing a small section of drywall to access utilities, or are you taking down entire walls? The size and complexity of the job will impact the tools you need, the level of safety precautions required, and the amount of time it will take.
If you’re tackling a larger area, consider how you’ll manage the debris. Drywall is bulky and difficult to handle on your own, especially when removing an entire room’s worth. Taking the time to plan out the logistics—like where you'll place debris during the removal process and how you'll handle disposal—will save you headaches later.
Once you've determined the scale of the project, gather the right tools. While some people opt to remove drywall with basic hand tools, others prefer power tools to speed up the process. Whether you choose to use a utility knife, crowbar, or even a reciprocating saw, each tool serves a specific function and can help make the job easier and more efficient. However, before you start, ensure that you have a clear work area, and understand any potential obstacles, such as hidden plumbing or electrical wiring inside the walls.
Preparing the Space
Renovations are inherently disruptive, and drywall removal can make a considerable mess. Proper preparation of the area will not only protect your belongings but also make cleanup much easier. Start by clearing out any furniture, decorations, or objects that could be damaged or hinder your work. Even if you’re only removing a small section, taking a few extra steps to protect the surrounding areas will save you time and effort in the long run.
For larger areas, use plastic sheeting or drop cloths to shield the floor and any furniture that remains in the space. These coverings will catch falling debris and dust, protecting your floors from potential damage. If you’re working with ceilings, it's wise to cover any floors in adjacent rooms as well. If possible, seal off doorways or use painter’s tape to keep the dust contained. Drywall removal creates an enormous amount of fine dust, and keeping it contained to one room will save you time spent cleaning up later.
Additionally, consider the airflow. Drywall dust is easily airborne, and while it may not seem like much at first, it can settle everywhere. For this reason, sealing off vents or airways in the room is a good idea. Cover any ventilation openings with plastic sheeting or tape them shut to prevent dust from spreading throughout the house.
Handling the Drywall
Once the area is prepped and you're equipped with the necessary tools, it’s time to tackle the drywall removal. This part of the process will require some care and precision to ensure that the surrounding areas and framing are not damaged in the process.
Start by using a utility knife to score the drywall along the perimeter of the area you intend to remove. Scoring helps define the removal zone and prevents tearing or unnecessary damage to the surrounding walls. Ensure the blade is sharp to make clean cuts through the drywall's paper backing without risking injury. If you're removing a large area of drywall, score the drywall every few feet to make sure you have a clean break along the edges. This method of scoring allows the drywall to snap along the line, making it easier to remove in manageable sections.
Once you’ve scored the drywall, use a crowbar or pry bar to pull the drywall away from the studs. Depending on how the drywall is secured—either by screws or nails—use the appropriate tool to remove them. If there are screws in place, a drill with a screwdriver attachment will be your best bet. If nails are present, gently tap a crowbar beneath the drywall and pull it away from the stud, being careful not to damage the studs themselves.
One tip for making the process easier is to start from one corner of the wall and work your way across in sections. This approach will prevent you from feeling overwhelmed by the size of the area and also make the task more manageable. Keep in mind that drywall can be heavy, especially in large pieces, so it’s important to pace yourself and take breaks as needed.
Keeping Safety in Mind
Safety should always be a top priority when removing drywall, as the process can involve sharp edges, heavy lifting, and exposure to airborne dust. Proper protective gear is essential for minimizing risk. Always wear safety goggles, gloves, and a dust mask or respirator. Drywall dust can be harmful to your lungs, and the fine particles can get into your eyes, so taking these precautions will protect your health throughout the process.
If you're working in an area that has potential hazards, such as exposed electrical wiring or plumbing, turn off the electricity to that section of the house and be extra cautious when cutting into the drywall. Having a flashlight on hand can help you navigate in poorly lit spaces, making it easier to spot hidden wiring or pipes.
It’s also important to use proper lifting techniques when handling drywall, especially if you're working alone. Drywall sheets are awkward to carry, and attempting to move them without help can lead to strain or injury. If possible, enlist a friend or family member to assist with lifting and moving the larger pieces. Use proper body mechanics to avoid injury—keep your back straight and lift with your legs, not your back. If you need to carry large sections of drywall, it’s worth considering renting a drywall lift to make the job easier and safer.
Disposing of Drywall
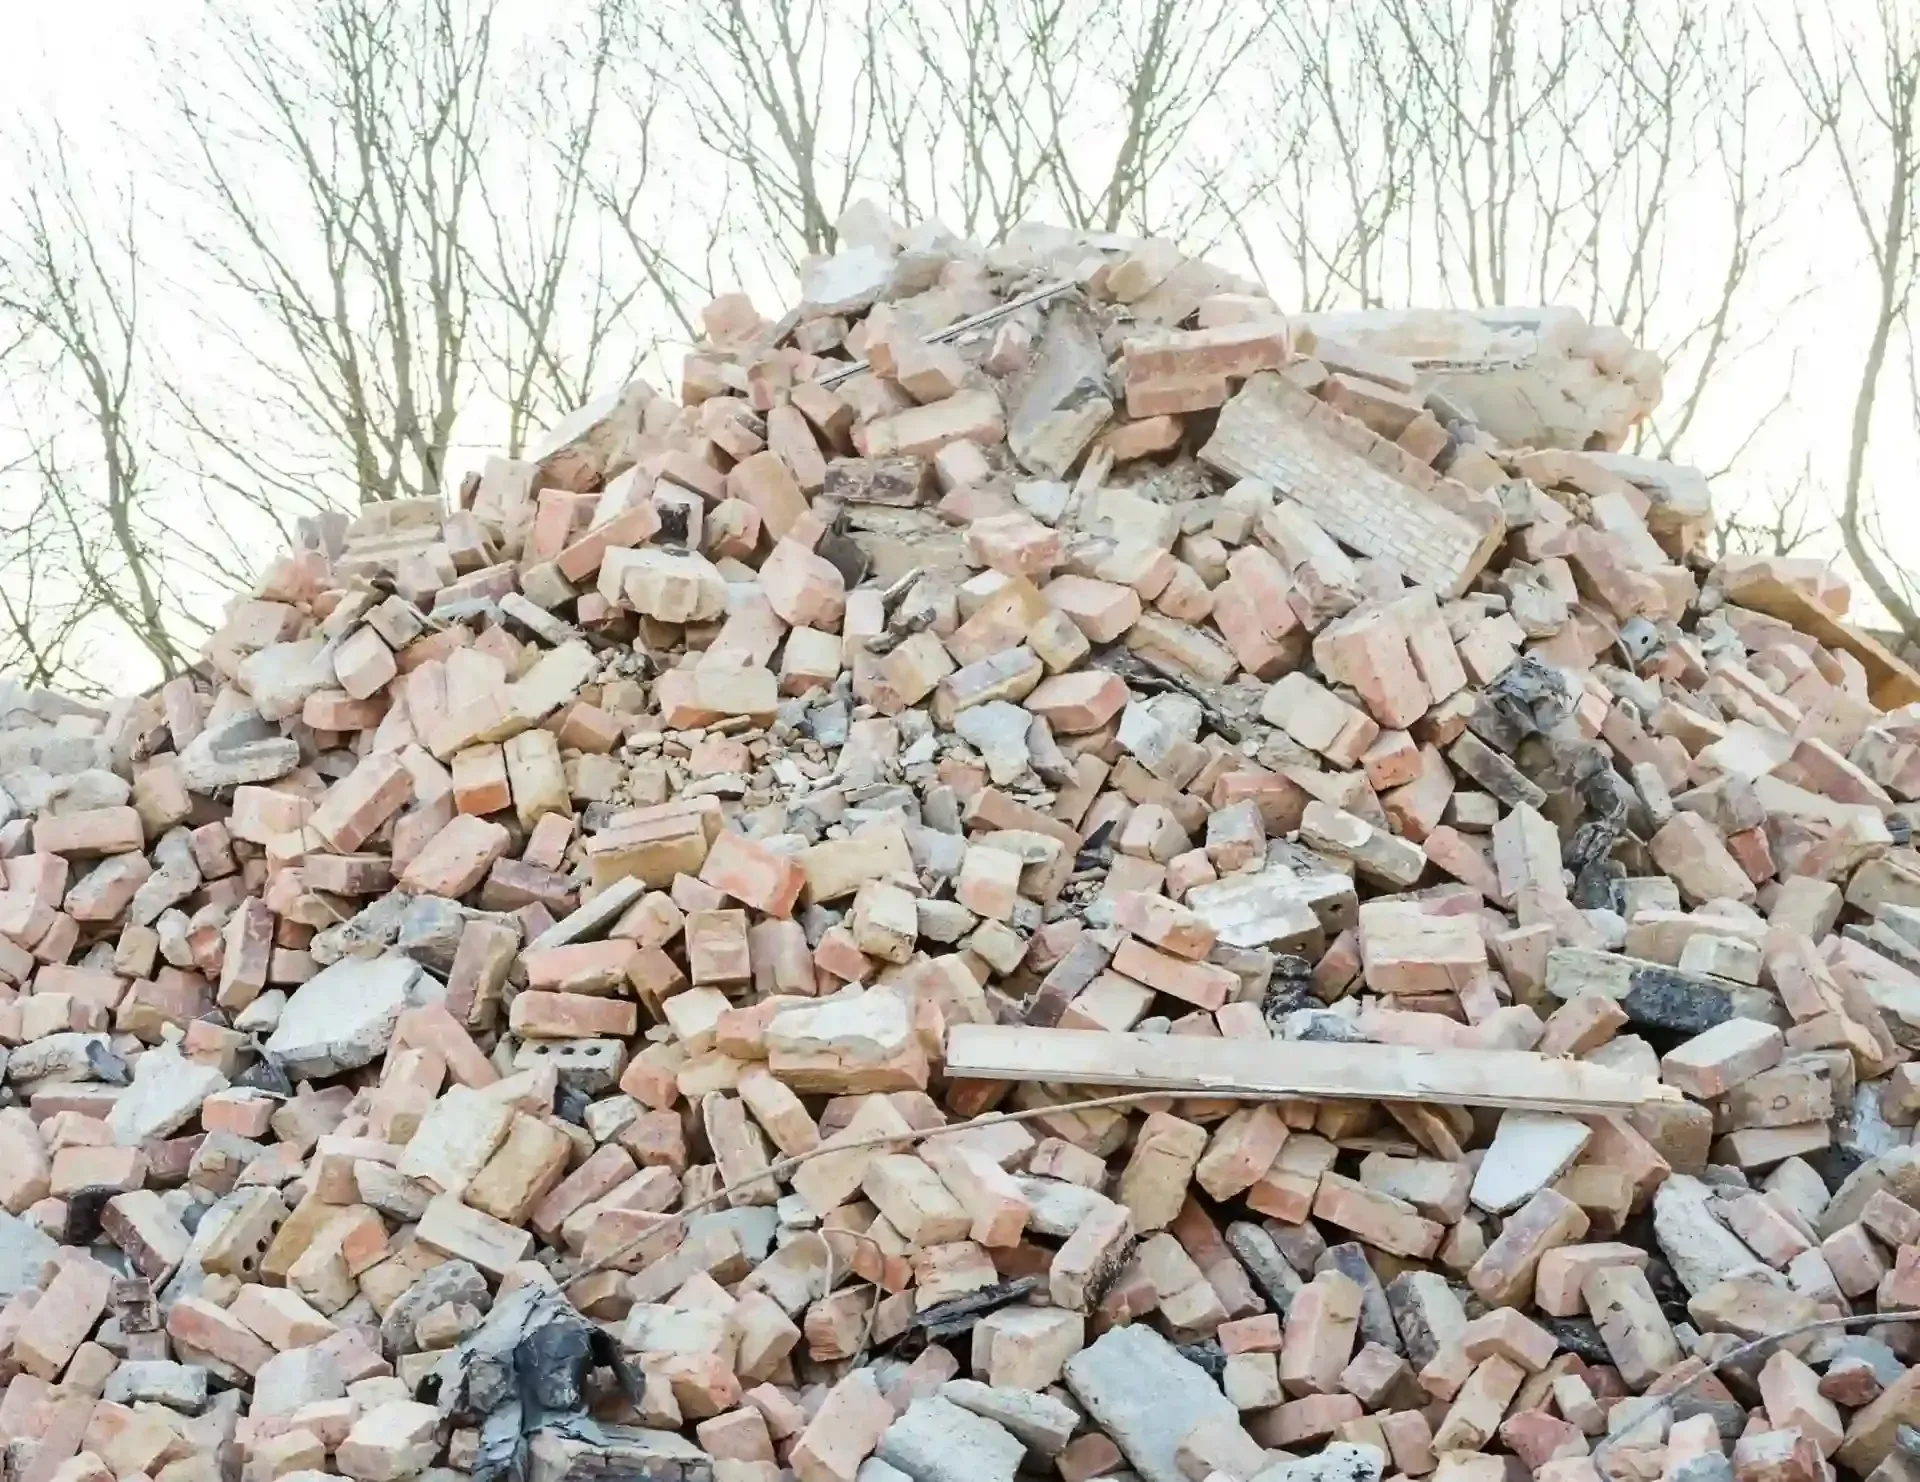
Once the drywall is removed, the next step is disposal, and this is where many people run into trouble. Drywall is too large and heavy to throw away in a standard trash bin, and not all waste management services accept it. Fortunately, there are several responsible disposal options available.
The first step is to check with your local recycling centers. Many places accept drywall for recycling, as gypsum (the main component of drywall) can be repurposed into other materials like new drywall or agricultural products. By recycling drywall, you reduce the amount of waste that ends up in landfills and support environmental sustainability.
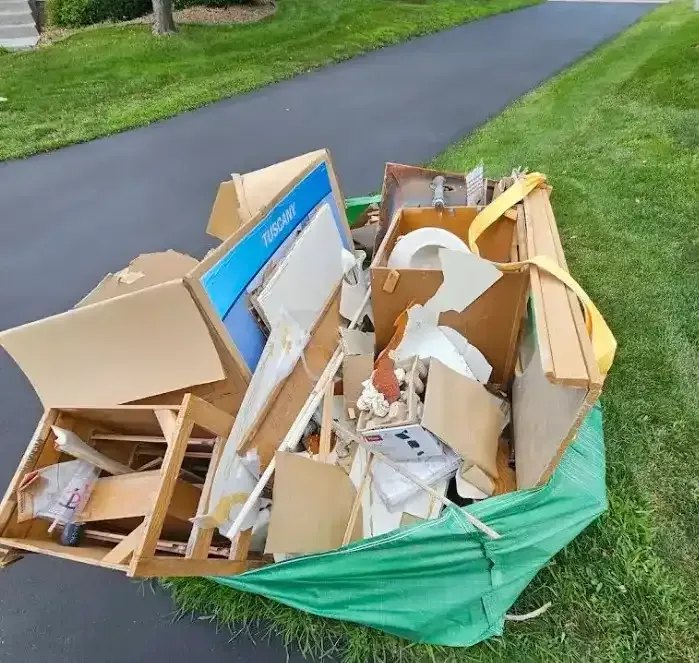
If recycling isn’t an option in your area, another choice is hiring a junk removal service. Junk removal companies can handle large-scale debris like drywall efficiently and responsibly. Many services, like Kick It Junk Removal & Hauling, ensure that materials are disposed of in an eco-friendly manner, including proper drywall disposal. They will pick up the debris directly from your property, saving you the hassle of hauling it to a disposal site.
Dealing with the Environmental Impact
One important aspect of drywall removal that often gets overlooked is its environmental impact. While drywall itself is made from natural gypsum, it also contains paper, which is not biodegradable. In addition, the energy required to produce new drywall contributes to environmental strain.
To reduce the environmental footprint of your renovation project, consider using eco-friendly drywall options when replacing the old material. Some manufacturers offer drywall made from recycled content or sustainable materials, which can help lower the environmental impact of your renovation.
Another consideration is the disposal of the materials. As mentioned, recycling drywall whenever possible helps minimize its impact on landfills. If you’re working with a demolition company, ask them to recycle any scrap drywall to ensure it's disposed of responsibly.
Effective Strategies for Handling Drywall Removal During a Renovation
Managing drywall removal during a renovation requires careful planning and preparation to avoid unnecessary complications. The first step is to evaluate the extent of the project, whether it's a small section or an entire wall. This helps determine the tools, safety measures, and time required. The right preparation, like protecting floors and furniture, can reduce dust and debris while preventing damage to other surfaces.
Once the area is ready, using proper tools, like a utility knife and crowbar, will allow for efficient drywall removal. It's essential to handle the material with care to avoid harming the underlying studs or framing. Additionally, taking safety precautions, such as wearing protective gloves and goggles, can help minimize the risks of injury from dust or falling debris during the process.
Conclusion
Drywall removal is a critical part of any renovation, and managing it effectively can make the entire project run smoother. By preparing the space, using the right tools, maintaining safety protocols, and handling disposal responsibly, you can reduce stress and keep your renovation on track. Remember that patience and attention to detail are key when dealing with drywall removal—take your time, and don't hesitate to ask for help if needed.
If you find yourself overwhelmed by the task of drywall removal, or if you simply don’t have the time or resources to handle it on your own, Kick It Junk Removal & Hauling is here to assist. We specialize in
junk removal, including drywall removal, and are committed to making your renovation project as hassle-free as possible. For professional help with all your junk removal needs, give us a call.