Tips for Efficient Bathroom Demolition Cleanup
Bathroom demolition might sound like the loud, chaotic beginning of a renovation story. But what comes next—the cleanup—is the unsung hero that sets the foundation for progress. While many dive headfirst into demolition armed with hammers and sledgehammers, few give thought to the mess left behind. Dust in the air, broken tiles underfoot, and a mountain of debris make cleanup more than just a chore—it’s a strategic mission. And if you don’t tackle it right, your new bathroom plans might get buried under the old.
So, whether you’re doing a small vanity rip-out or gutting your bathroom wall to wall, don’t underestimate the power of a well-thought-out cleanup plan. Below are practical, creative, and sometimes unexpected tips to make your bathroom demolition cleanup efficient, less stressful, and maybe even a bit satisfying.
Start With a Clear Out—Like, Really Clear It Out
Before a single wall comes down or tile gets cracked, remove everything that isn’t nailed in. We’re talking towels, toiletries, floor mats, toothbrush holders, and even that rubber duck. The idea is to reduce clutter and create a blank canvas. Even temporary shelving and mirrors should be taken down, wrapped in protective layers, and stored elsewhere. You’ll thank yourself later when dust isn’t clinging to every square inch of your favorite lotion bottles. Sometimes, it’s not about cleaning up what’s broken but protecting what’s still whole.
Layer Up With Protective Materials
Demolition doesn’t only wreck what’s targeted. Dust is a wanderer. It floats, it creeps, and it settles in places you wouldn’t expect. Lay down thick plastic sheeting or drop cloths on your flooring, especially if it leads into other areas of the house. Tape around doorways with painter’s tape and consider using zip walls or temporary barriers to keep the mess contained. Think of it as creating a quarantine zone for chaos.
Yes, it looks a bit like a science lab—but it works.
Work Backward—The Smart Way
Cleanup efficiency starts with demolition strategy. If you tear into everything all at once, you create a pile of mixed waste. That’s harder to remove and sort. Instead, demolish methodically. Start with the fixtures—remove the toilet, take out the vanity, and unhook plumbing connections carefully. Next, tackle tiles, drywall, and insulation. Keep materials in separate piles if possible.
Why? When it comes time to toss things out or recycle, you’ll spend less energy sorting, and more energy moving forward.
Keep Tools and Cleanup Gear Handy (Yes, Both)
There’s a special kind of frustration that comes from pausing demolition just to search for a broom. Avoid it. Keep tools like crowbars and reciprocating saws nearby—but also keep brooms, shop vacs, garbage bags, and gloves just as close. Create a “cleanup station” in a corner of the room with all your essentials. That way, each time something gets knocked down, you can sweep and move debris immediately.
You’re not just saving time—you’re minimizing hazards.
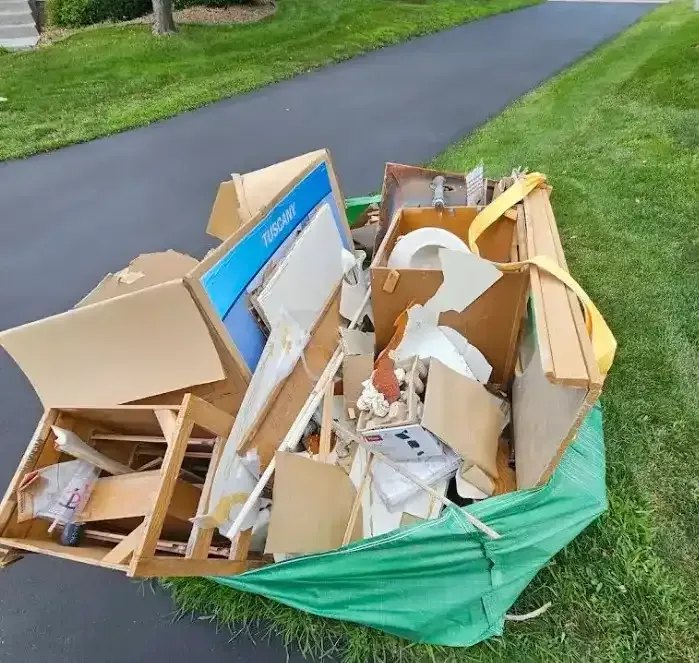
Sort, Stack, and Slice the Chaos
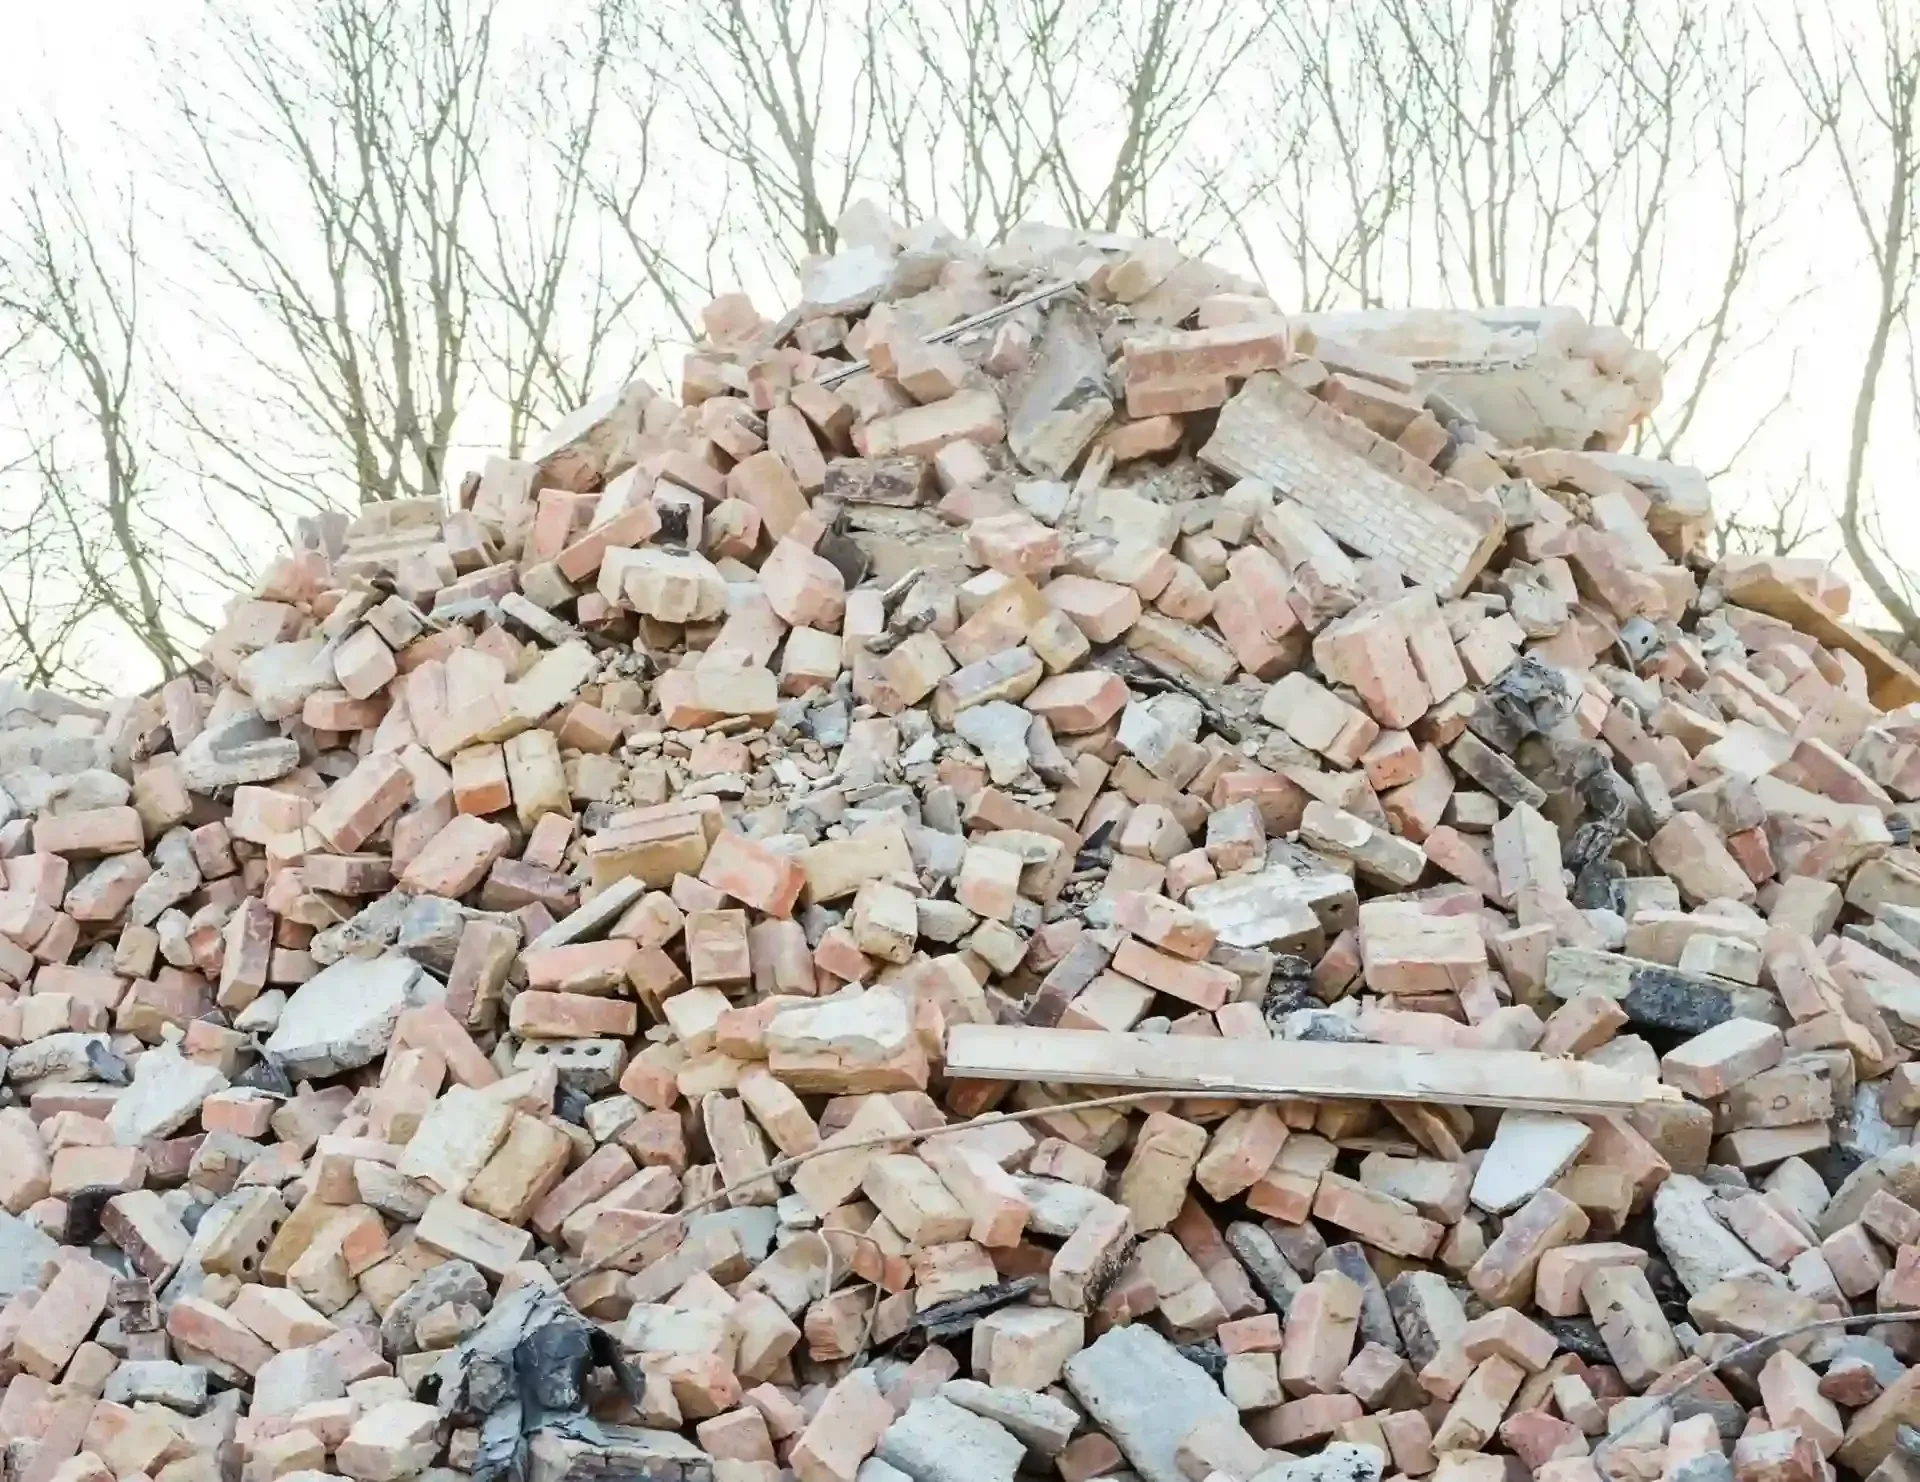
Not all debris is created equal. Broken tiles are sharp. Old wood can have nails. Insulation is itchy, and drywall dust is relentless. Keep a few trash bins or contractor bags on hand, each labeled for its purpose: tile, wood, insulation, general waste. For bulkier pieces, create stacks near the exit door for easy hauling.
When the mess is sorted, disposal becomes less of a nightmare and more of a well-oiled exit plan.
Use the “No Step Zone” Rule
Post-demo zones can quickly become booby traps. Nails facing up, uneven surfaces, slick layers of dust—it’s a recipe for sprained ankles or worse. Define a clear path in and out of the room. Lay down boards or mats for traction, and consider labeling off-limits areas. If others are helping or passing through, make it known that this is a safety-first demolition.
Efficiency doesn't just mean fast—it means safe, too.
Don’t Let Dust Win the Battle
Bathroom demolition is dust’s playground. It gets in your lungs, your eyes, and somehow your cereal even when the kitchen is across the house. Air filtration is a game-changer. Rent or buy a HEPA air scrubber for the job, especially if you're dealing with mold or older materials like plaster or lead paint. And always wear a mask—one with an actual filter, not the dust mask from your last Halloween costume.
Control the dust, and you control the chaos.
Bag It Like a Pro
Not all garbage bags are built for demo duty. Cheap, thin bags will tear the moment you add a tile. Invest in contractor-grade bags—the ones that feel like they’re made from tire rubber. Fill them only halfway to avoid overloading. Better yet, double bag where necessary.
It might seem like overkill, but it beats sweeping up the same pile three times because your bag blew out.
Call for Reinforcements When It Gets Heavy
It’s tempting to go solo and power through the entire cleanup, but some bathroom debris fights back—especially cast iron tubs, cement board, or waterlogged cabinetry. Don’t risk your back. Team up or schedule a pickup from a hauling crew who knows how to navigate tight hallways, stairs, and strange bathroom exits.
Sometimes the most efficient move is knowing when to hand it off.
Know What’s Trash, What’s Treasure
You’d be surprised how much can be reused. Old vanities can be refurbished, mirrors donated, and some tiles might still have life in them. Before tossing everything, take a pause and ask—can this be repurposed, recycled, or donated? Organizations often accept lightly used bathroom materials, especially if they’re still functional.
Your cleanup doesn’t just prepare space for the new—it might give the old a second life.
Use a Dumpster—But Strategically
A dumpster is a cleanup lifesaver—but only if used right. Overload it unevenly and it becomes a giant game of Tetris with sharp edges. Place heavier materials like tile and stone at the bottom, then add lighter items on top. Spread materials out rather than dumping everything in a single corner. This helps balance the weight and ensures the hauling service doesn’t reject the pickup.
Efficient cleanup is also about efficient disposal.
Vacuum Twice. Then Again.
After the visible junk is gone, the invisible mess remains. Dust loves to linger, especially on walls, inside vents, and along grout lines. First, sweep and vacuum thoroughly. Then, wait an hour—dust always resettles—and do it again. If you’re installing new materials soon after, a third pass with a HEPA filter vacuum is smart insurance.
It might feel excessive, but trust us—it’s the polish your bathroom needs before its glow-up.
Wipe Down the Unexpected
Demolition dust doesn’t respect boundaries. You’ll find it on doorknobs, baseboards, hallway art, and maybe even your pets if you’re not careful. Take a microfiber cloth and do a room-by-room wipe-down. Focus on horizontal surfaces but don’t ignore vertical areas like wall outlets or door frames.
Cleaning beyond the bathroom ensures your home doesn’t carry that “freshly destroyed” aroma into every corner.
Document Your Cleanup Like a Pro
Before and after photos aren’t just for Instagram. They help you track progress, identify anything you missed, and document damage that may need repair. Snap wide shots and close-ups of areas behind walls and under flooring—especially if you spot signs of mold, rot, or critters.
Demolition exposes what you couldn’t see before. Cleanup is the opportunity to prepare the space better than it was.
Finish Strong With a Final Inspection
You’re almost there, but don’t down tools just yet. Walk the space, look under edges, and tap your walls. Make sure no sharp objects are left behind, no screws hiding under dust, and no mystery leaks from old plumbing lines. Shine a flashlight in corners. Run your fingers along ledges.
This isn’t paranoia—it’s peace of mind. Cleanup isn’t just erasing the old. It’s setting the stage for what comes next.
Streamlining the Mess After a Bathroom Tear-Out
When the demolition dust settles, what’s left behind isn’t just debris—it’s a puzzle of broken materials, tangled pipes, and hidden challenges. Streamlining your cleanup means more than sweeping; it requires structure, planning, and an eye for detail. Jumping into the process without a system can slow your renovation timeline and create unnecessary setbacks.
Creating designated zones for different types of waste, maintaining a clean pathway, and using high-quality disposal bags are just the beginning. By staying intentional with each step, the transition from chaos to cleanliness becomes smoother. Efficiency in cleanup lays the groundwork for what’s next.
Turning Post-Demo Debris into a Clean Slate
Bathroom demolition might feel like the hard part, but what happens next can either stall or supercharge your project. Tackling the cleanup with care ensures your space is truly ready for the renovation phase. A haphazard approach leads to lingering dust, missed hazards, and preventable headaches that can stretch your timeline.
By approaching the aftermath with precision—separating materials, using proper filtration, and avoiding shortcuts—you set a clean, safe foundation for new beginnings. Cleanup isn't just about removing the past; it’s about preparing the perfect stage for the transformation ahead.
Conclusion
Bathroom demolition cleanup isn’t glamorous. It’s sweaty, dusty, and sometimes a little overwhelming. But it’s also the stage that determines how smoothly your renovation journey continues. Done right, cleanup becomes less of a headache and more of a strategy—an essential part of the transformation.
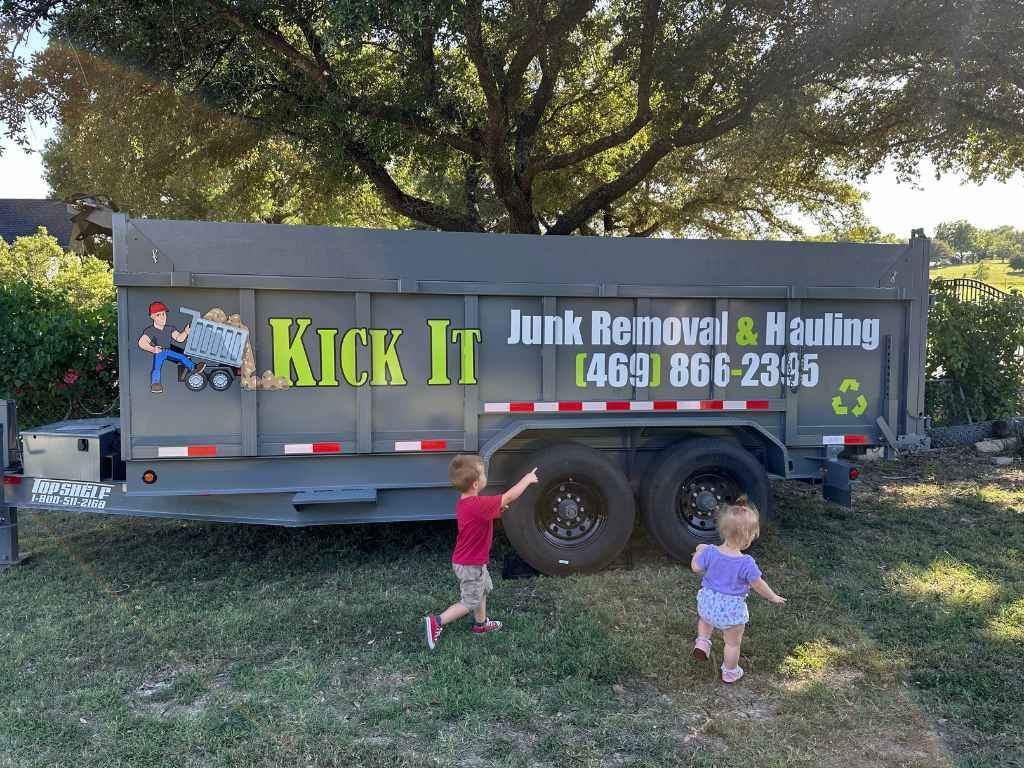
If you’re tackling a major bathroom demo and want to avoid the post-demo disaster zone, Kick It Junk Removal & Hauling is here to help. Located at 14339 Stanley Lane, Forney, Texas 75126, our team knows how to turn mess into momentum. You can reach us at 469-866-2395 or shoot an email to Paul@kickitservices.com. When you’re ready to clear the way for something new, we’ll help you kick the old to the curb—fast, clean, and done right.