The Dos and Don’ts of Playset Removal
When it comes time to remove a playset from your backyard, whether it’s old, broken, or simply no longer in use, the task can feel like a daunting one. However, with careful planning, the right tools, and a bit of elbow grease, playset removal can be a smooth and rewarding project. You’ll not only free up space for other uses, but you’ll also ensure that the entire process is completed safely and responsibly. Let’s explore the essential dos and don’ts of playset removal to guide you through the process.
Understanding the Task Ahead
Removing a playset isn’t just about taking it apart and hauling it away. It requires a methodical approach to ensure that you’re doing the job correctly and safely. Whether you’re dealing with a wooden fort, a plastic slide, or a metal frame, each playset has unique characteristics that will affect how it should be taken down. The first step in the process is understanding the structure of the playset—how it’s built, what materials it’s made of, and any potential challenges that might arise during disassembly.
Do Plan Ahead
One of the most important aspects of playset removal is planning. This is not the time to rush in blindly, assuming the job will be straightforward. Take a moment to inspect the structure. Identify the materials it’s made from, such as wood, metal, or plastic. Different materials will require different tools and techniques to disassemble. For example, wooden playsets might have screws, nails, or bolts holding them together, while a plastic playset might have snapped pieces that need careful removal.
Additionally, consider the space where the playset is located. Make sure the surrounding area is cleared and safe for the removal process. Remove any obstacles that could get in the way, such as
furniture, plants, or other structures. If you’re planning to dispose of the playset or recycle any parts, research the best methods for disposal in your area. You might want to call a recycling center ahead of time to check what materials they accept and ensure that you're complying with local laws.
Do Gather the Necessary Tools and Safety Gear
As with any home project, having the right tools is crucial. If you’re taking on the job yourself, ensure you have a variety of tools at your disposal. You’ll need basic hand tools like wrenches, screwdrivers, and a hammer. Depending on the size and complexity of the playset, you might also need a saw or a power drill. Keep a sturdy ladder nearby, especially if the playset is tall, and use a pry bar to loosen stubborn parts.
Equally important is your safety gear. Playset removal involves handling heavy materials, sharp edges, and potentially hazardous components. To protect yourself, wear gloves to avoid splinters or cuts from metal or wood, and safety glasses to shield your eyes from debris. Sturdy, non-slip shoes are a must to ensure that you stay steady on your feet as you work, and knee pads might also be helpful when crawling under or around the playset.
Do Remove Accessories First
A playset typically has various accessories—swings, slides, climbing walls, and ladders—that can be removed before tackling the main structure. This not only lightens the load but also simplifies the disassembly process. Take off any removable parts and set them aside for recycling, reusing, or donating. It’s a good idea to keep track of small parts like bolts and screws. Use containers or bags to store them and label each one according to the part they belong to. This will come in handy if you want to reuse them in the future or if you’re simply looking to organize your space better.
Taking off the accessories also provides a clearer view of how the rest of the playset is assembled. This way, you’ll be able to work more efficiently and avoid damaging parts you might want to reuse or recycle. For example, the plastic slide might still be in good condition, and you may want to donate it, or the swing chains could be repurposed for a new project in the future.
Do Work Methodically
Once you've removed the accessories and have gathered your tools and safety gear, it’s time to start the disassembly process. The key to this step is to approach it methodically. Start from the top and work your way down. This is important for safety reasons—by starting high, you can avoid the risk of a top-heavy structure falling unexpectedly as you work your way down. Additionally, removing the upper parts first allows you to safely handle the lower parts of the playset once they become more stable.
It’s also a good idea to remove any nails or screws as you go, especially when working with wood. If you plan to reuse the wood or any other materials, this will help preserve the integrity of the pieces. Be careful when using power tools, as overzealous cutting or drilling can damage otherwise reusable parts.
Take breaks if needed. This isn't a race, and attempting to rush through the removal process can increase the risk of injury or damage to materials. Be patient and methodical, ensuring that each step is completed properly before moving on to the next.
Do Consider Repurposing Materials
An often-overlooked aspect of playset removal is the potential for repurposing materials. If the structure is made of wood, you may find that the lumber is in good condition and can be used for other projects. Maybe you want to build a garden bench or a compost bin, or perhaps you’ve been thinking of starting a DIY project. By salvaging and reusing parts from the playset, you’re contributing to sustainability and reducing waste.
Metal components, such as swing chains, screws, or hardware, can also be salvaged for future use. If you’re not interested in repurposing the materials yourself, you can always donate them to local schools or community centers, which may have a use for them in their playgrounds or construction projects.
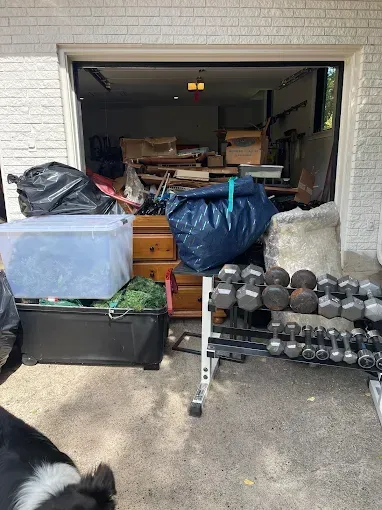
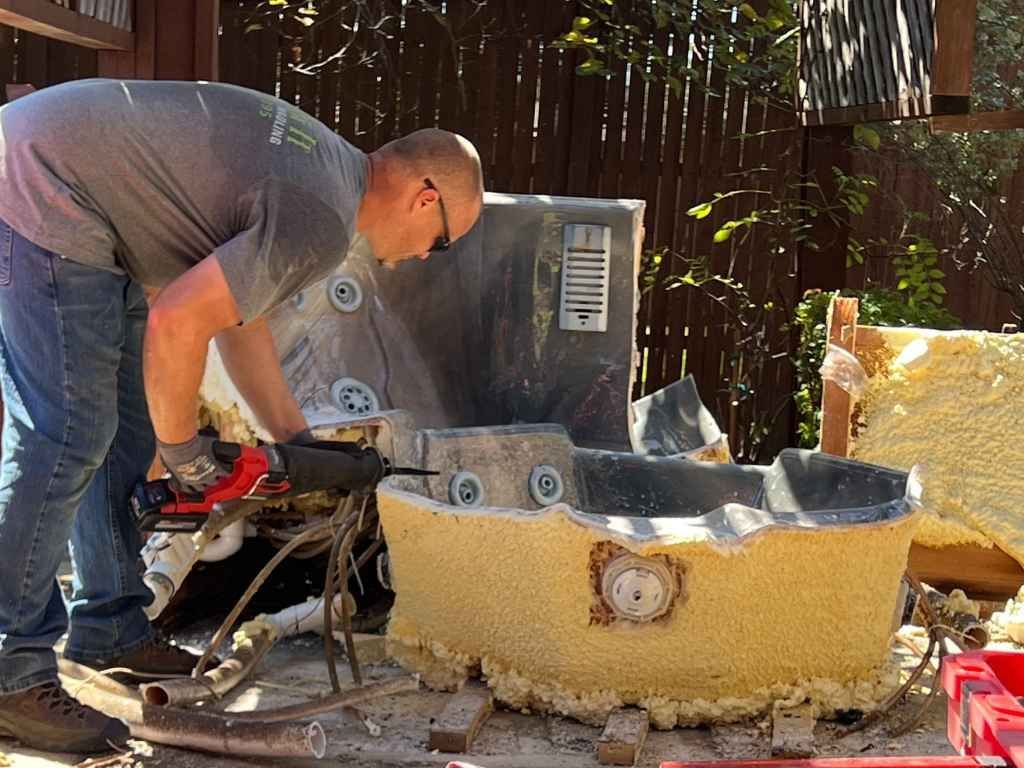
Do Dispose of Unwanted Parts Responsibly
If you’re unable to reuse or repurpose the playset materials, make sure to dispose of them responsibly. Different materials require different disposal methods. Wood, for example, might need to be taken to a local recycling center, while metal can often be recycled at a scrap yard. Be sure to check with your local waste disposal facility to see if there are any specific instructions for disposing of playset materials.
It's also important to dispose of hazardous materials like paint chips or any chemicals safely. This might involve taking them to a specialized disposal center, so you should do your research ahead of time to find the appropriate locations in your area.
Don’t Rush the Process
While it might be tempting to get the playset out of the way as quickly as possible, rushing the removal process can lead to unnecessary accidents or damage. A rushed job increases the chances of making mistakes, and it’s easy to overlook safety precautions when you’re in a hurry. Always take your time to carefully evaluate the structure before dismantling it.
If you're unsure about how to proceed, don't hesitate to pause and reevaluate your approach. It's better to take a moment to reassess than to cause damage to your property or risk injury.
Don’t Forget to Consider Safety
Safety should always be your top priority during the removal process. Ensure that the area is clear of children, pets, and other people who may accidentally wander into the workspace. Avoid handling the playset alone, especially if it's heavy or large. Having a second person on hand can help prevent accidents and make the task easier.
Be cautious when handling sharp objects like nails, screws, or metal parts. Always store them in safe containers when not in use, and avoid leaving them lying around where they could pose a safety hazard. Lastly, ensure the ground is level and free of debris after the removal, as uneven terrain can lead to tripping hazards.
Don’t Leave Hazardous Materials Behind
While playsets are fun and functional, they can also contain hidden dangers. As you remove parts, be on the lookout for hazardous materials such as exposed nails, screws, or splinters that could cause injury. It’s essential to clean up the area once the removal is complete to ensure that the space is safe for future use.
Check for any small components that might have fallen off during the disassembly process. You don’t want to leave sharp objects lying around where someone could step on them or trip over them.
Don’t Dispose of Materials Improperly
Improper disposal of playset materials is not only harmful to the environment, but it’s also illegal in many areas. Avoid the temptation to simply dump materials in an unauthorized area. Instead, make sure that you’re disposing of everything in the proper way. Contact your local waste disposal center to learn about their recycling or disposal policies, and be sure to separate recyclable materials from non-recyclable ones.
Conclusion
Removing a playset is an effort that requires careful thought, attention to detail, and a commitment to safety. Whether you choose to tackle the project yourself or hire a professional, following the dos and don’ts outlined above can help make the process more manageable, efficient, and enjoyable.
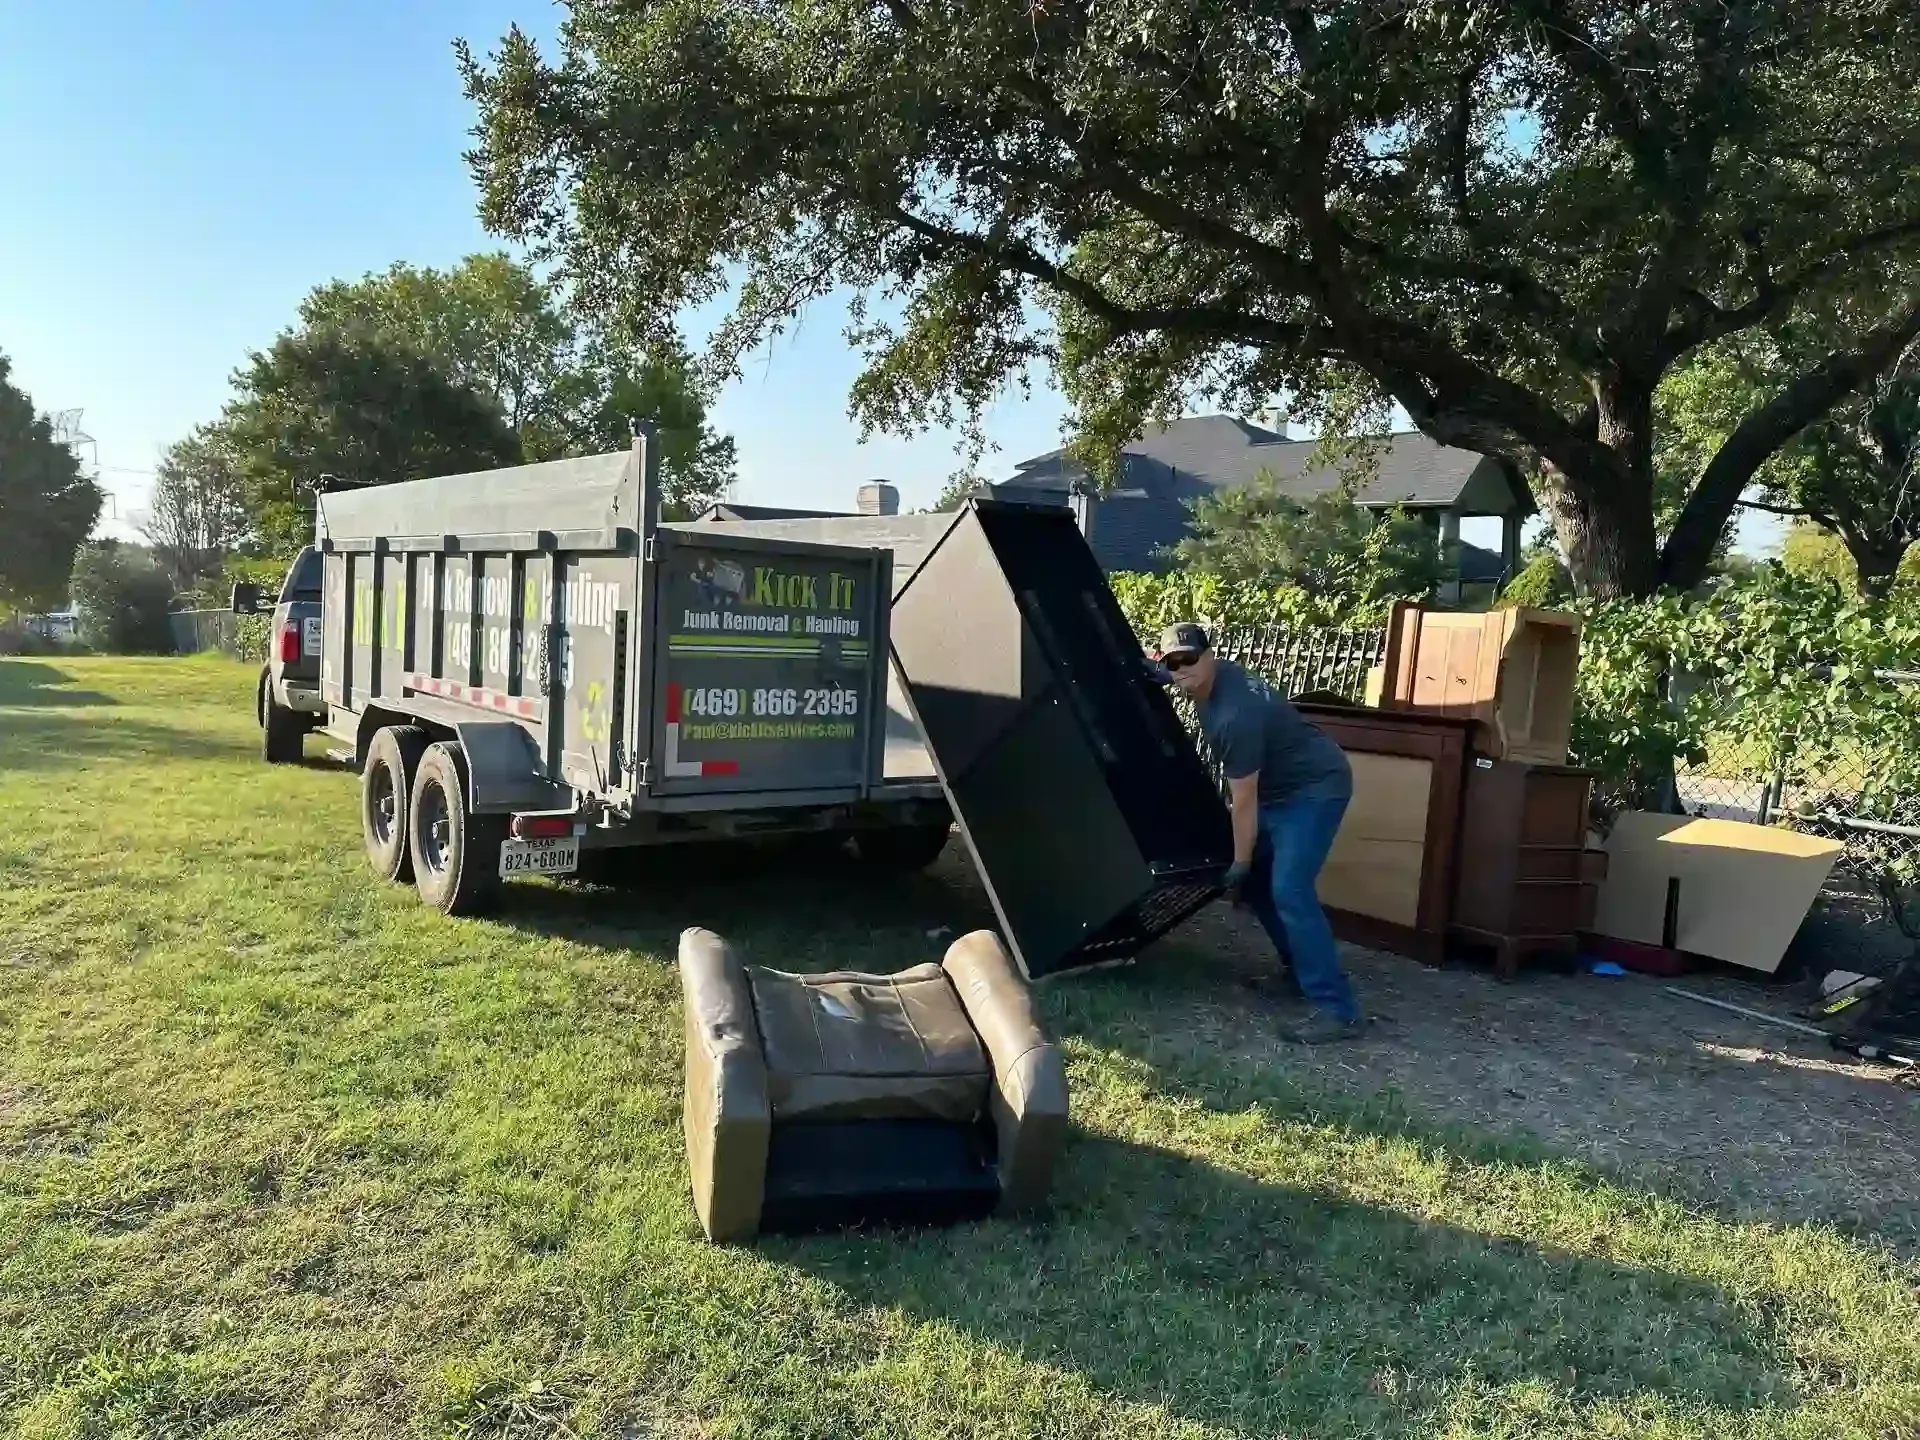
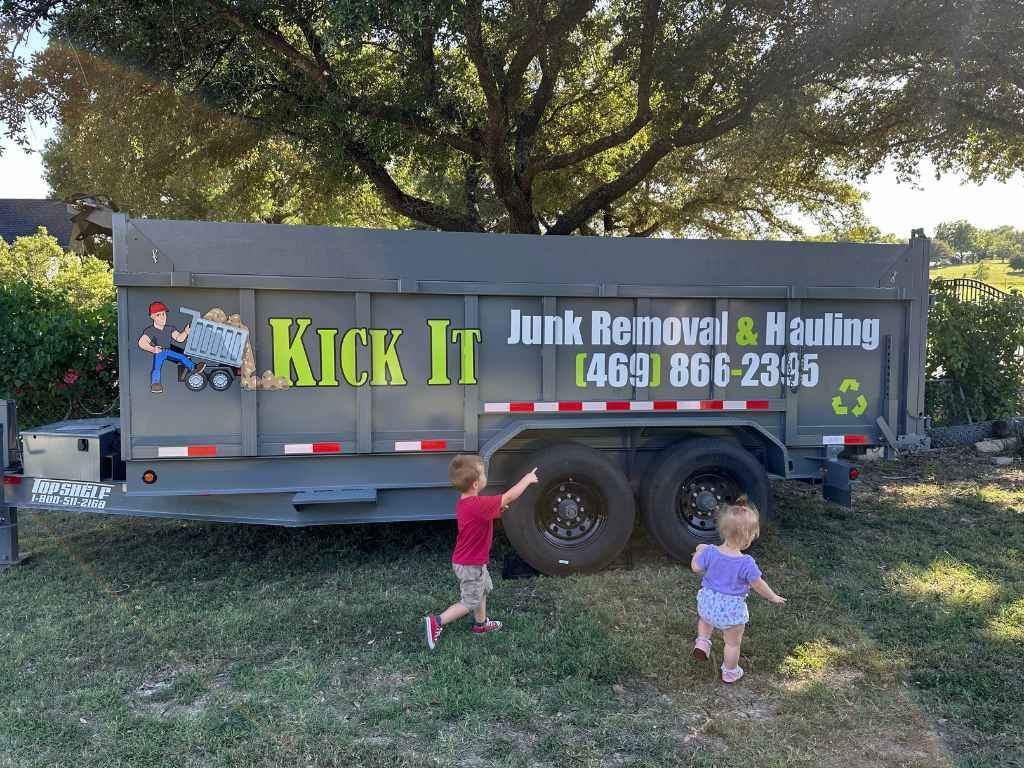
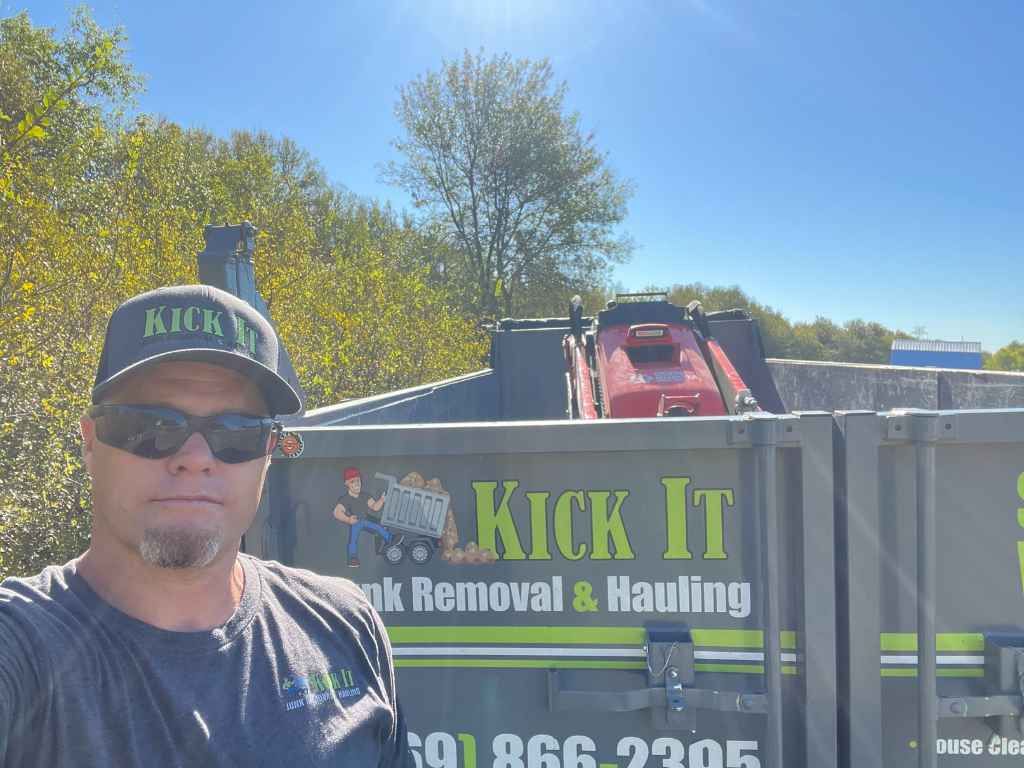
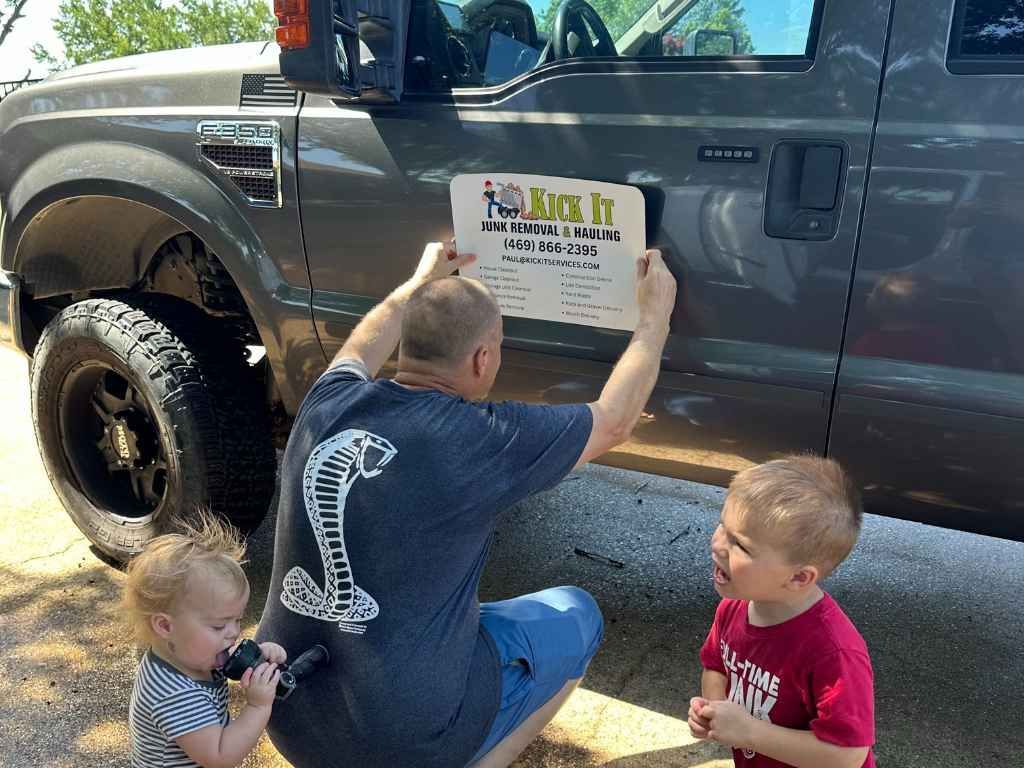
If you’re located in Forney, Texas, and need assistance with playset removal or any other junk removal services, consider calling Kick It Junk Removal & Hauling. They offer professional junk removal services that can make the task easier, saving you time and ensuring that the job is done right. Reach them at 469-866-2395, or email Paul at Paul@kickitservices.com to schedule an appointment.
By carefully following these guidelines and taking the time to work through the removal process methodically, you’ll be able to enjoy your newly cleared space without any stress or hassle.