The Best Techniques for Kitchen Demolition
Kitchen demolition is no simple task. It's often a necessary step when transforming a space into something fresh, modern, and functional. Whether you're updating outdated designs, expanding your kitchen, or preparing for a full remodel, knowing the right techniques for kitchen demolition is essential. It’s not just about swinging a sledgehammer and tearing down walls; it's about carefully removing old materials while keeping safety at the forefront, avoiding damage to surrounding areas, and maximizing your effort.
This article will guide you through the best techniques for kitchen demolition, covering the steps you need to take before, during, and after the process. Whether you're tackling this as a DIY project or leaving it to the professionals, these techniques will help ensure the process goes as smoothly as possible.
Key Steps for a Smooth Kitchen Demolition Process
Kitchen demolition involves more than just breaking down walls and removing appliances; it’s about doing so methodically to ensure everything is safely taken apart. Before beginning the project, remove all items from the kitchen and cover any furniture or areas that could be affected by debris. Properly assess the layout, particularly the plumbing, electrical, and gas lines, so that you can proceed without damaging any essential systems in the process.
Once you’re ready to start, begin with the cabinets and countertops, followed by appliances, sinks, and flooring. Using the right tools and techniques for each stage is crucial to ensuring a smooth demolition. Proper disposal or recycling of materials can also reduce environmental impact, leaving you with an organized and prepared space for the next phase of your kitchen renovation.
Planning and Preparation
Before diving into the demolition process, taking the time to plan and prepare can make a world of difference. The best kitchen demolitions start with the right mindset and proper planning. Proper preparation minimizes the risk of damage and ensures you're ready for any surprises that might pop up along the way.
Assessing the Space
Start by evaluating the kitchen’s structure. Understand where plumbing, electrical wiring, and gas lines are located. Many kitchens have complex setups, including built-in appliances, cabinetry, and flooring that may need special care during removal. Knowing exactly where everything is before you begin will help prevent accidental damage to important systems, which could cause costly repairs.
Gathering the Right Tools
Demolition requires a variety of tools. While you might think that all you need is a hammer and crowbar, a more comprehensive set of tools will make the job more manageable. Here’s a list of must-have tools for the job:
- Sledgehammer: For breaking down walls, countertops, and other large structures.
- Crowbar: Essential for prying apart flooring and cabinets.
Utility Knife: For cutting through drywall or tile surfaces. - Hammer: Perfect for smaller jobs like removing nails or loosening fixtures.
- Screwdrivers: A range of these is necessary for unscrewing any fasteners that hold cabinets, sinks, or appliances in place.
- Reciprocating Saw: For cutting through materials like pipes or thick wood when needed.
- Safety Gear: Don’t forget your safety goggles, gloves, dust mask, and steel-toed boots.
Preparing the Area
Clear out the kitchen to the best of your ability. This includes removing small appliances, dishes, pots, pans, and any valuables. The more you can clear out, the less likely you are to break or damage something in the process. It’s also wise to cover any furniture or adjacent rooms with plastic sheeting to protect them from dust and debris.
Tip: If you’re working in a home, let your neighbors know about the demolition so they can prepare for the noise and potential dust. This can also be helpful if you need to block off areas in the house to prevent pets or children from entering a hazardous space.
Removing the Fixtures
Once you’ve prepped the area, it’s time to start removing kitchen fixtures. These include items such as:
- Cabinets
- Countertops
- Appliances
- Sink
Cabinets and Shelving
Cabinets are typically the first components to be removed during kitchen demolition, as they can take up significant space and are relatively easy to disassemble. Begin by removing the doors and drawers from the cabinets, making the overall structure lighter and more manageable. Carefully unscrew any visible fasteners or screws securing the cabinet to the wall. If the cabinets are nailed in place, use a crowbar or pry bar to gently loosen and pull them off without damaging the surrounding walls.
When working with shelving units, the process is similar. Start by removing any shelves that are easily detachable, and then proceed to take down the shelving structure itself. It’s crucial to be cautious during this step, ensuring you don’t inadvertently damage studs, pipes, or wiring hidden behind the shelving. Taking the time to properly detach these elements will minimize the risk of damage to the underlying structures.
Countertops
Countertops can be a tricky part of kitchen demolition because of their weight and the materials they are made from. Whether you're working with granite, marble, laminate, or wood, the technique remains fairly similar:
- Start by removing any backsplash tiles or trim around the edges.
- Once the trim is off, loosen the screws or nails securing the countertop to the cabinets.
- If your countertop is large and heavy, consider using a reciprocating saw to carefully cut through it into manageable sections.
- Use a sledgehammer or pry bar to gently remove the countertop pieces from their base.
If the countertops are glued to the cabinets, use a utility knife to carefully score the seams between the counter and the cabinet, cutting through any adhesive before pulling the pieces free.
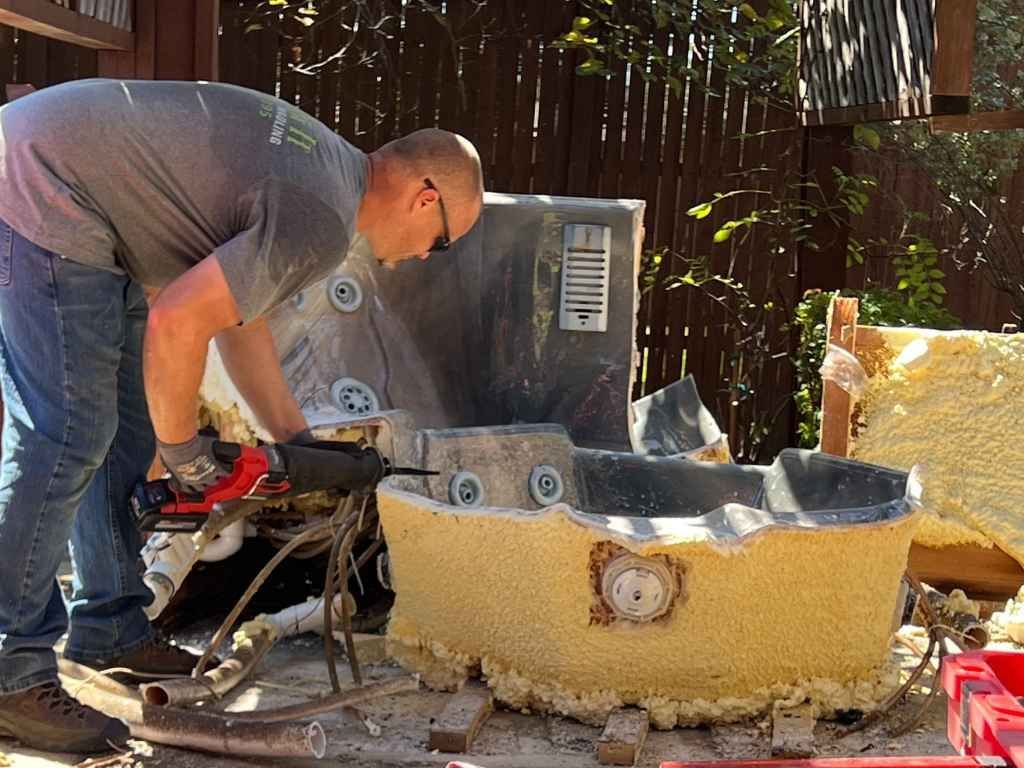
Appliances
Removing kitchen appliances like the refrigerator, oven, and dishwasher requires careful attention to plumbing and electrical connections. Start by disconnecting power sources, such as turning off the gas valve for stoves and unplugging any electrical appliances. For the dishwasher and refrigerator, disconnect water lines before pulling them out of place. Remember, certain appliances might require special disposal, particularly when dealing with freon or other chemicals used in cooling systems.
Sink and Plumbing
The sink removal can be one of the more complicated aspects of kitchen demolition due to the attached plumbing. First, ensure the water supply is turned off to avoid any potential leaks. Use a wrench to disconnect the drain pipes, faucets, and water lines. Once disconnected, carefully remove the sink and the surrounding materials.
Removing Flooring and Walls
Once you’ve removed the larger fixtures, it’s time to take on the flooring and walls.
Flooring Removal
Flooring removal can be tough, depending on the material. Here’s how to deal with common kitchen flooring types:
- Tile: Use a hammer and chisel to break the tiles loose from the subfloor. For stubborn tiles, a power scraper can help.
- Hardwood: Hardwood floors are often nailed or stapled down. Use a crowbar or pry bar to carefully lift the planks without damaging the subfloor underneath.
- Vinyl: Start by peeling up one corner of the vinyl, then gradually pull it up in sections. For stubborn adhesive, use a solvent to break down the glue before scraping it off.
Wall Removal
Walls in kitchen demolitions often involve drywall, plaster, or even paneling. The process will differ based on what material you're dealing with:
- For drywall, use a utility knife to score around the area you plan to remove. Then, carefully pull the drywall down, cutting through the nails or screws that hold it in place.
- Plaster walls require a bit more effort. Use a hammer and chisel to loosen the plaster from the lath (the wooden slats behind the plaster), then remove the pieces carefully.
- If there are tile walls, start by breaking the tiles away with a hammer and chisel, and remove the mortar using a scraper.
Be mindful of any wiring, plumbing, or insulation behind the walls as you work. These should be addressed carefully to avoid damaging the internal structures of your home.
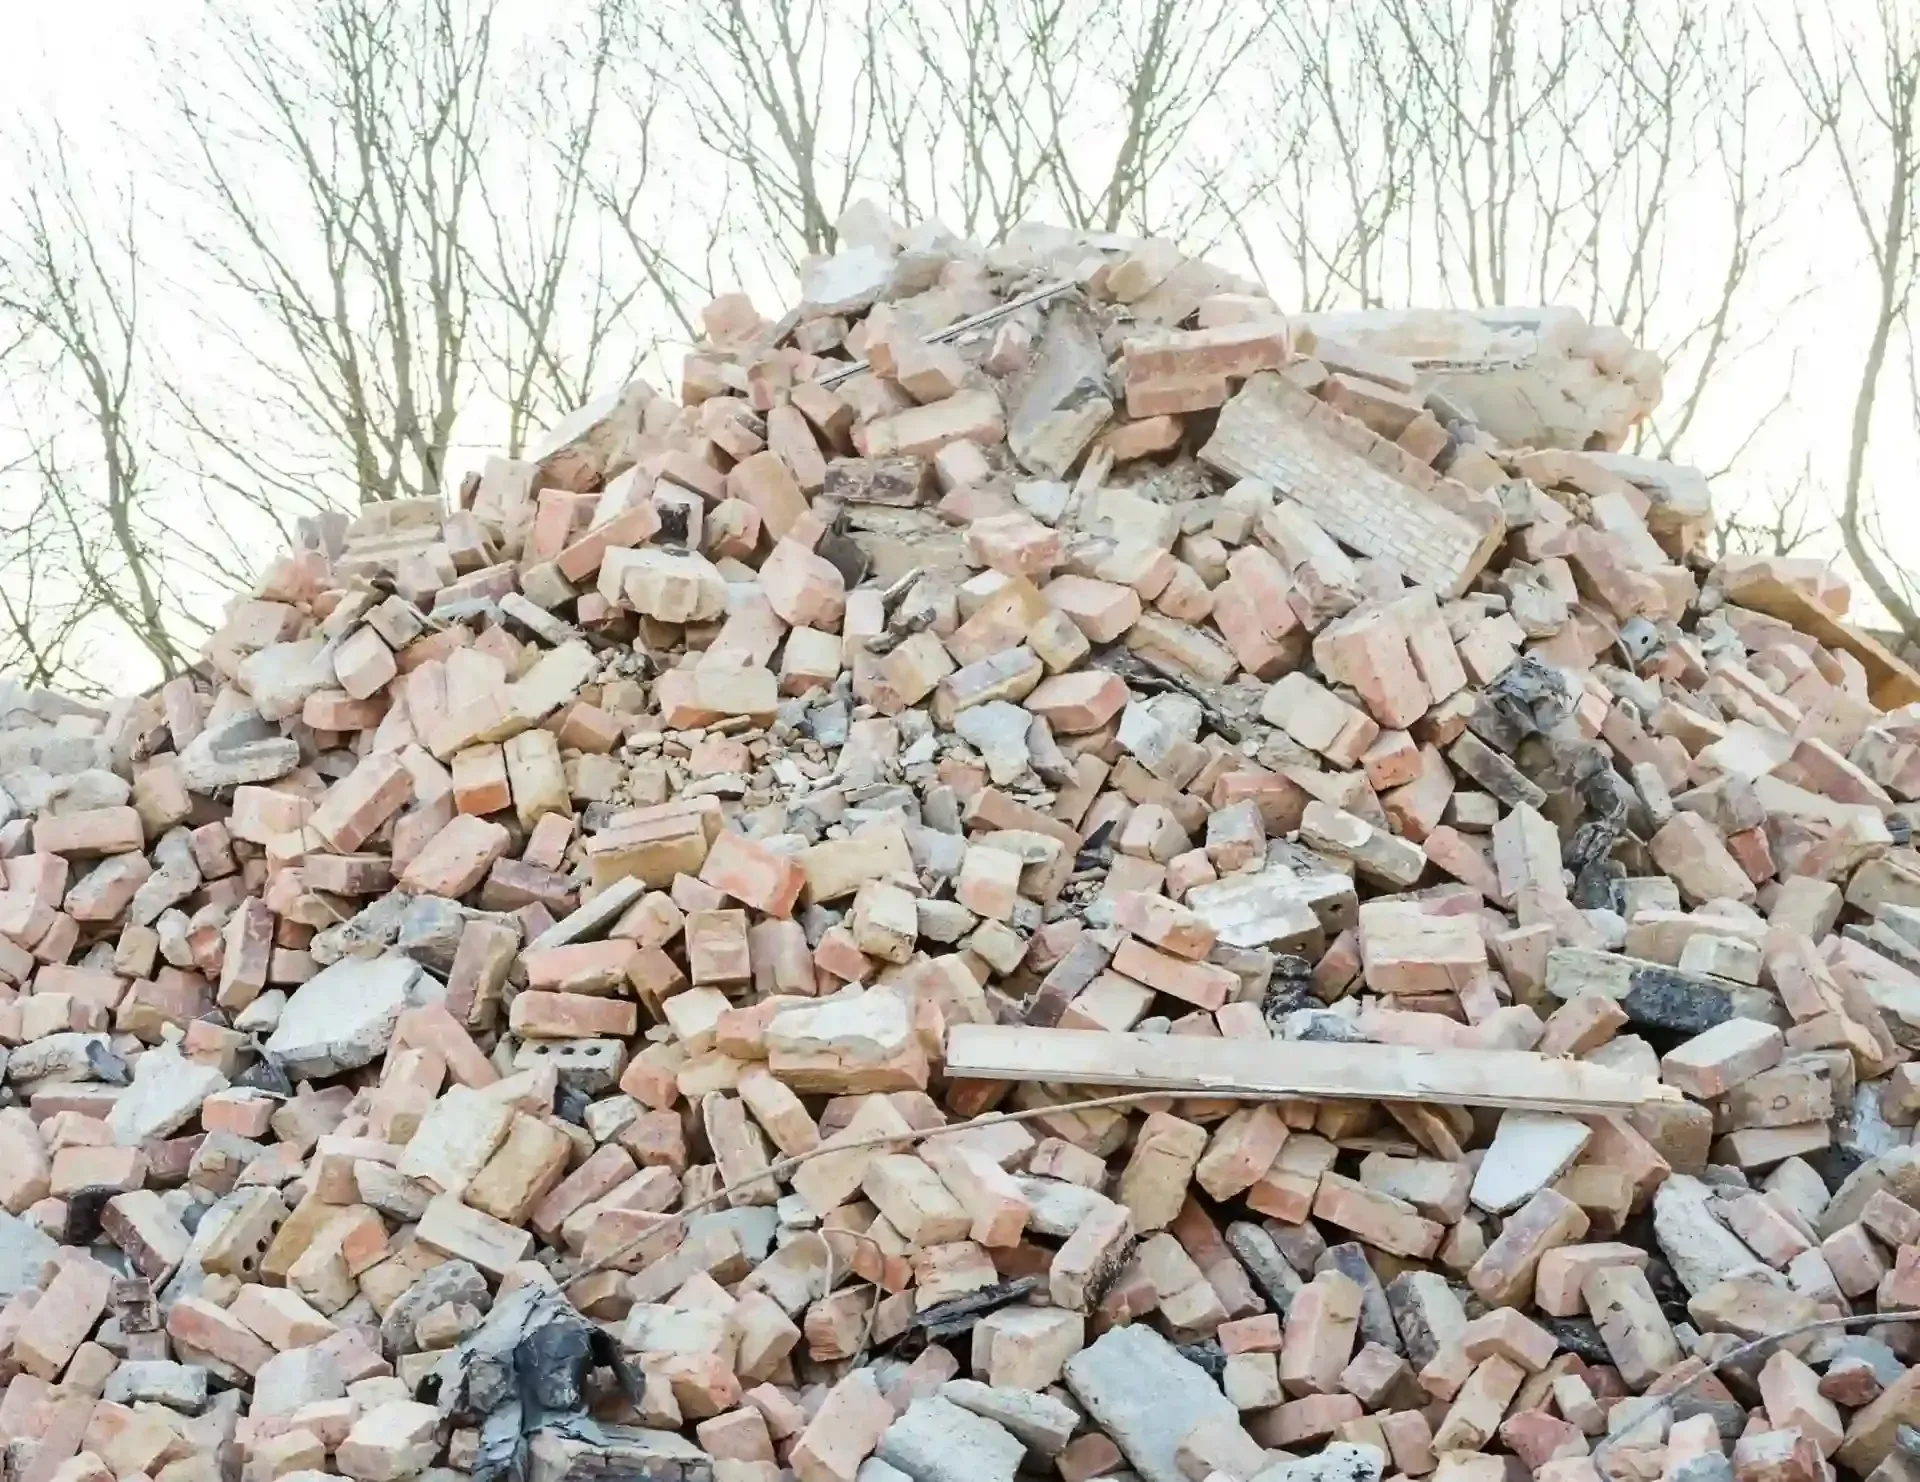
Disposal and Recycling
One of the most important aspects of any demolition project is what happens to all the debris once it’s removed. Kitchen demolition can produce a significant amount of waste, including wood, metal, tiles, and old appliances. Not all of it has to end up in a landfill.
Many materials, such as scrap metal, old appliances, and cabinetry, can be recycled. Contact local recycling centers or junk removal services to ensure you’re disposing of the materials in an eco-friendly manner. Reusing and recycling materials from your kitchen demolition can help reduce your environmental footprint and save you money.
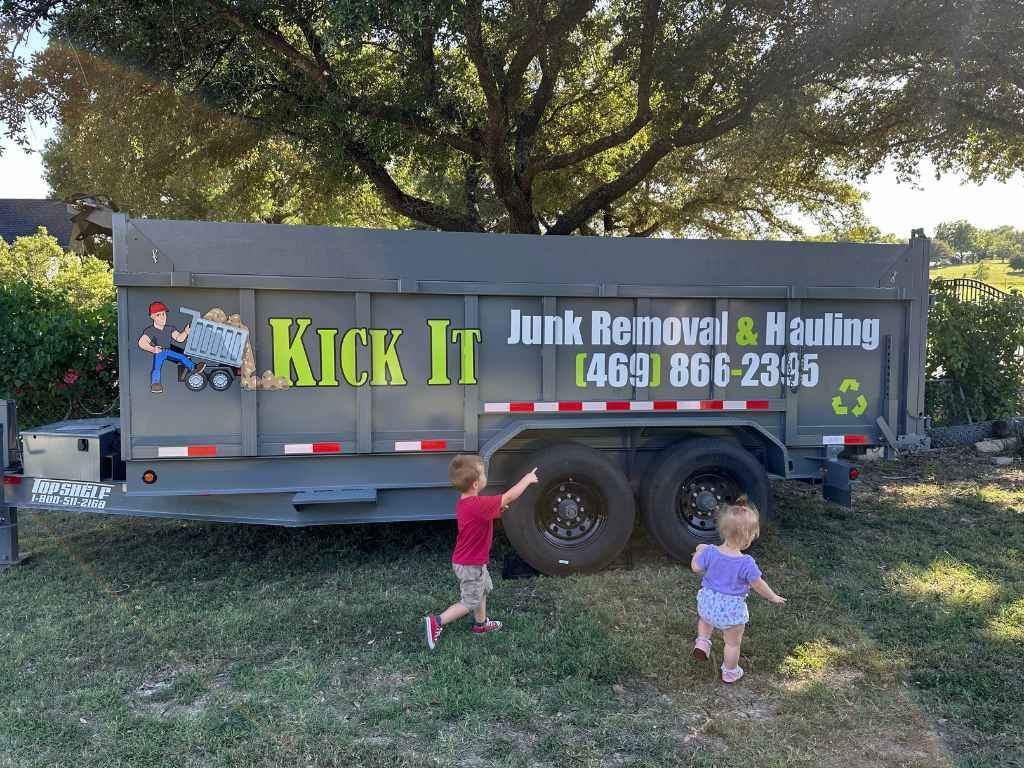
For items that can’t be recycled, you can rely on junk removal services to handle the heavy lifting. They’ll come in, clear out the debris, and take it away to a proper disposal site. This is particularly helpful when dealing with larger appliances, flooring materials, or heavy construction waste.
Safety First
Demolition work can be dangerous. Ensure you take every safety precaution. This includes wearing protective gear like gloves, goggles, and sturdy footwear. You should also ensure that any electrical or plumbing work is done by a professional to avoid accidents or potential damage to your home.
Conclusion
Kitchen demolition can be a rewarding experience when approached with the right techniques. From careful planning and preparation to the safe removal of fixtures, appliances, and walls, each step plays a role in making your demolition process efficient and effective. Whether you’re working with wood, tile, or stone, the key is to proceed with patience, attention to detail, and the right tools.
If you’re unsure about handling your kitchen demolition on your own, or simply don’t have the time to dedicate to the task, consider hiring professionals. Kick It Junk Removal & Hauling is a trusted team for kitchen demolition and junk removal services. Based in Forney, Texas, they offer expert services for both residential and commercial clients. To learn more about their services or schedule a consultation, give them a call at 469-866-2395 or reach out via email at Paul@kickitservices.com.