Shed Removal: A Step-by-Step Guide for Homeowners
Taking down an old shed can feel overwhelming at first, but with the right approach, it’s completely manageable. Whether your shed is falling apart, making room for a new project, or simply no longer needed, a safe and efficient removal starts with the right plan. From preparing your workspace to handling debris disposal, knowing what to expect makes the process smoother and safer. This guide will walk you through every step so you can tackle your shed removal project with confidence.
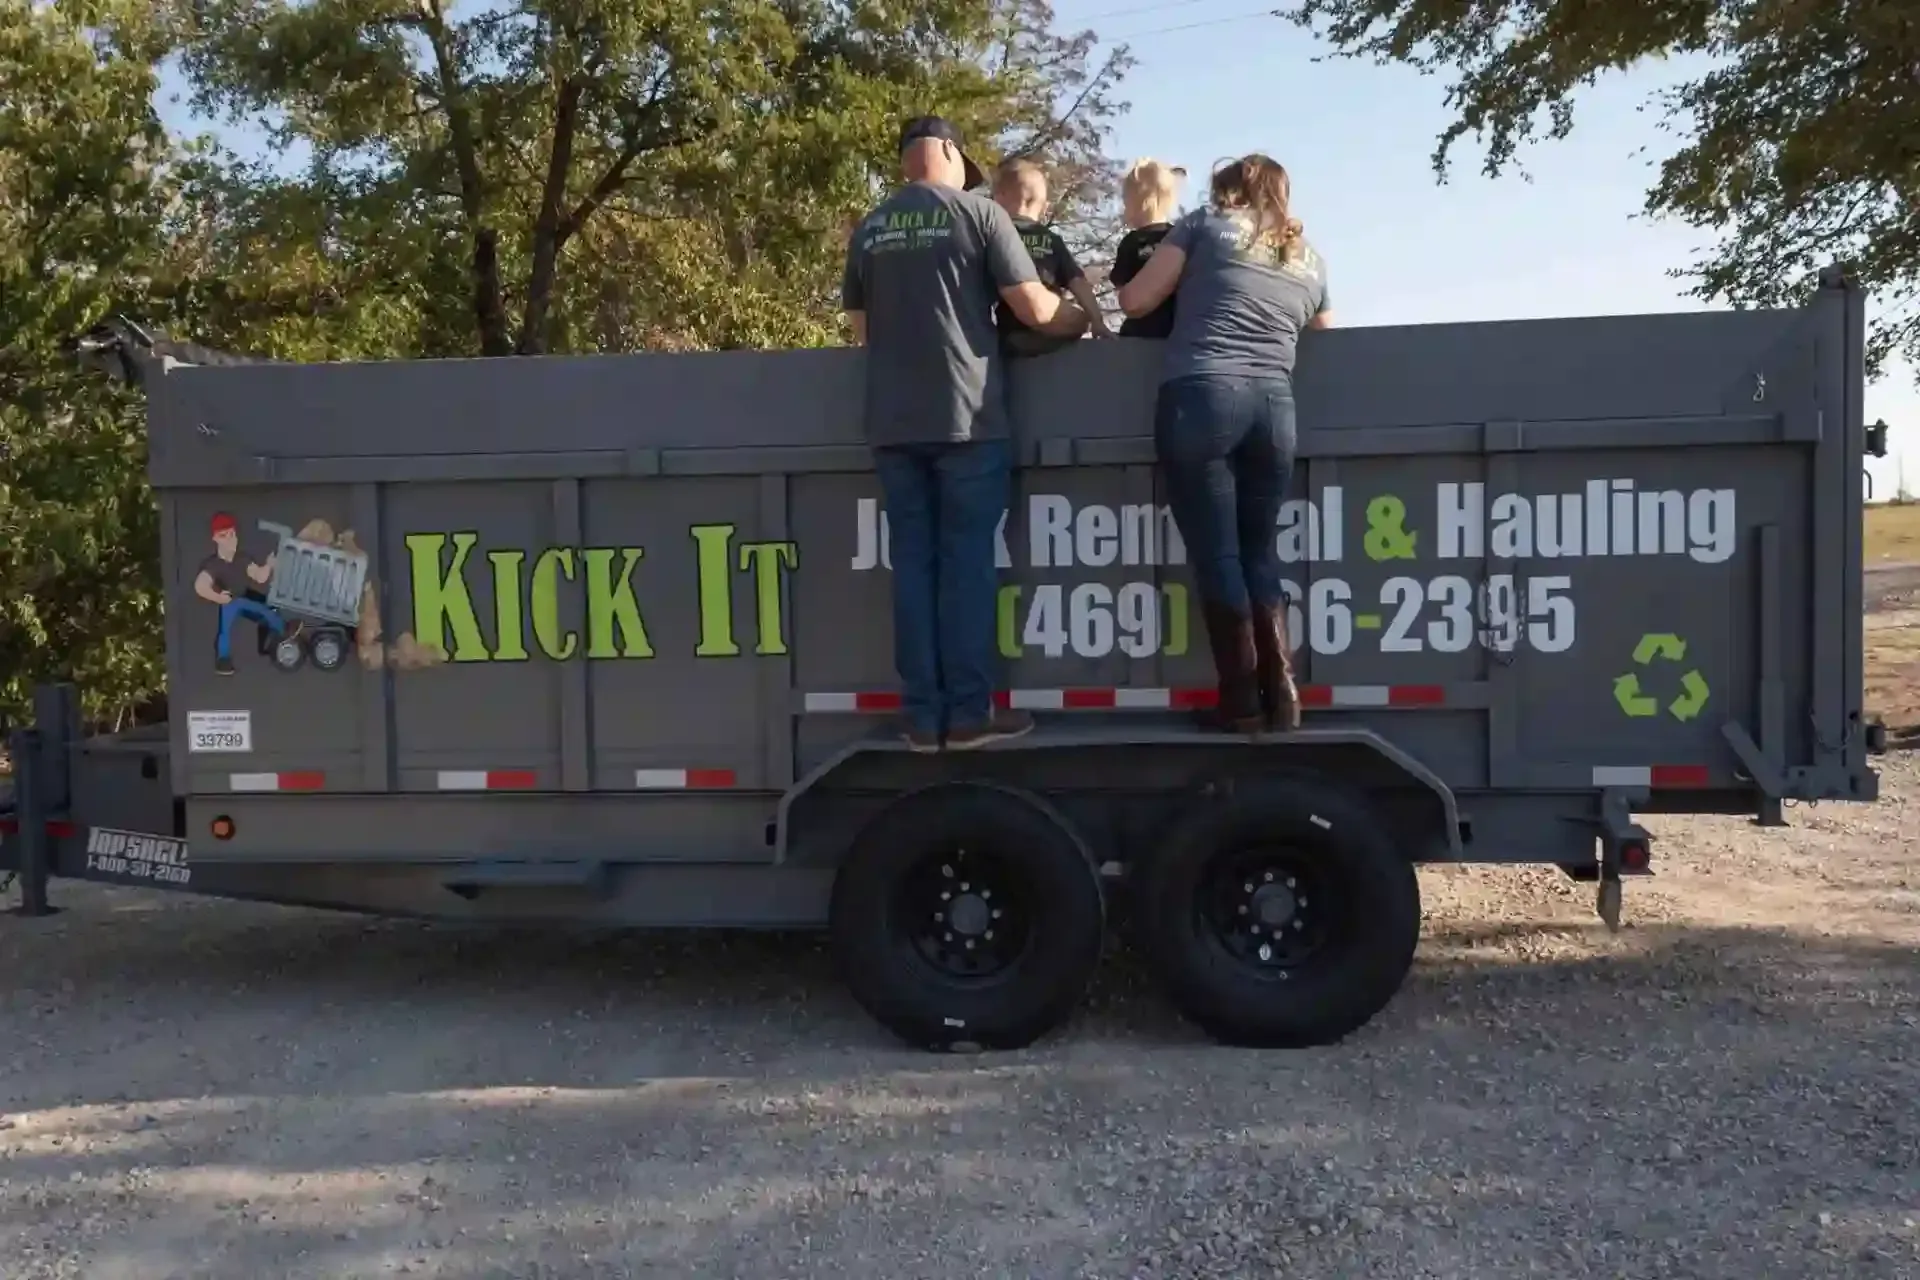
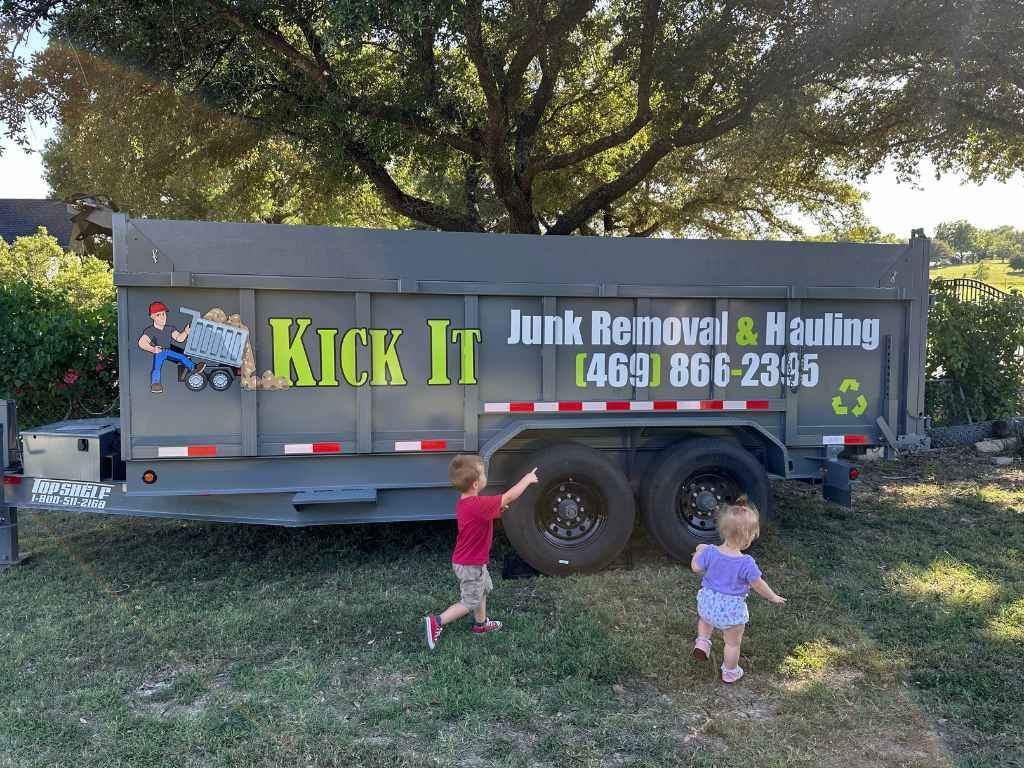
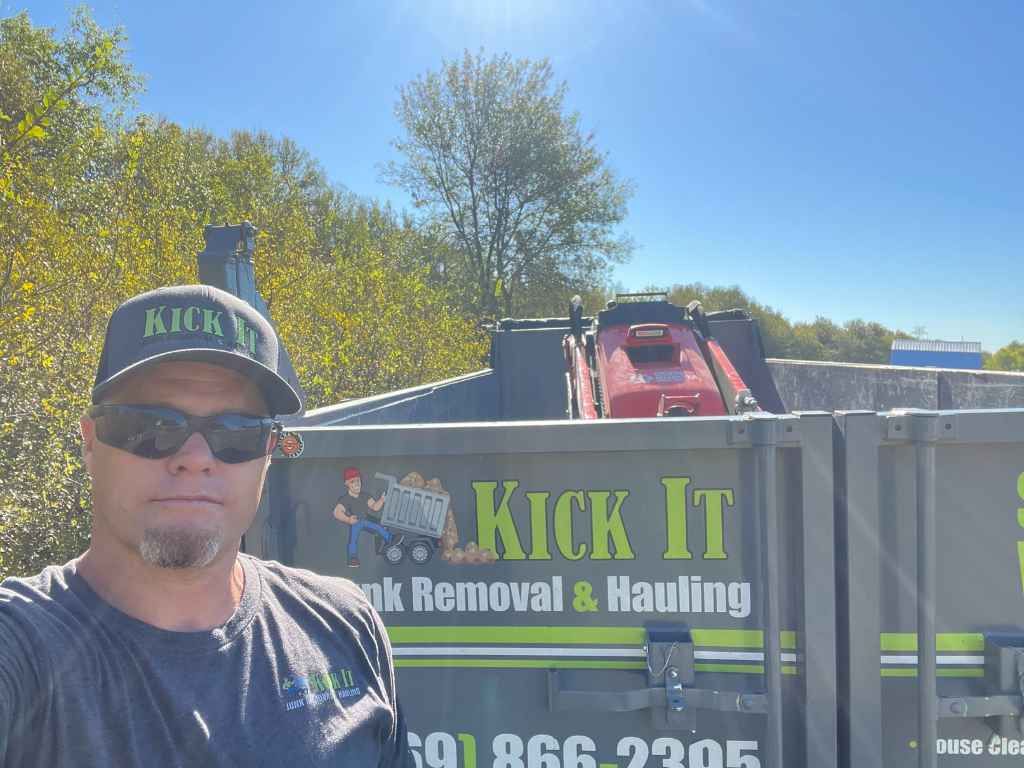
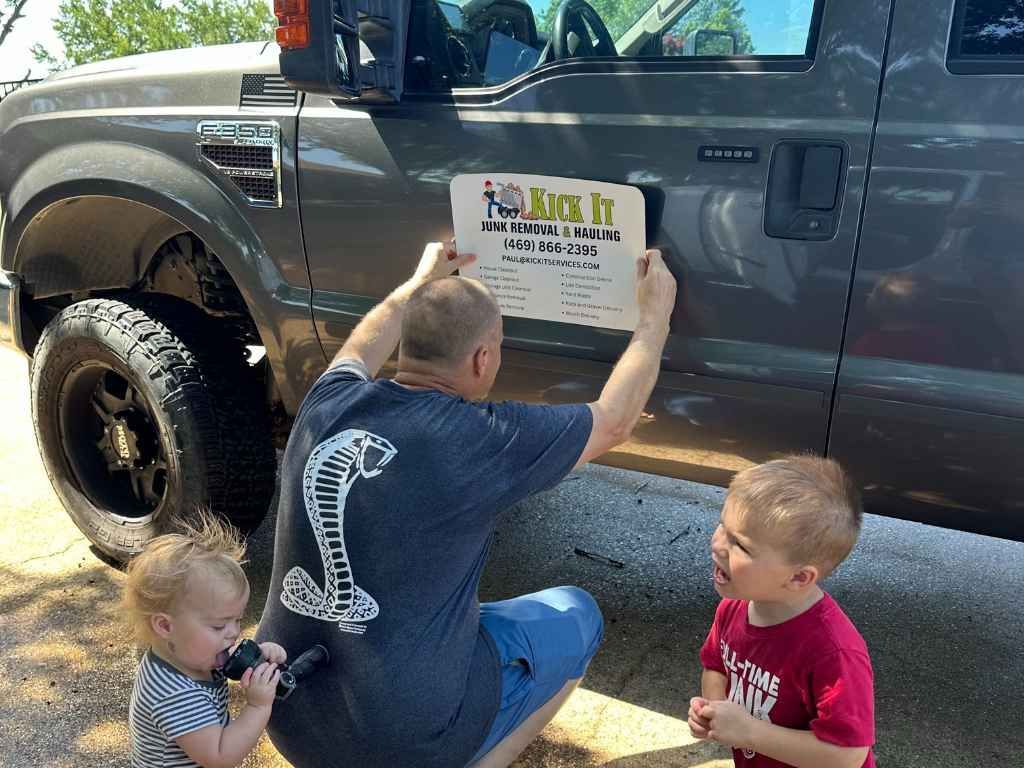
At Kick It Services, we’ve helped countless homeowners clear out old sheds without stress. We understand the real challenges that come with heavy lifting, stubborn nails, and unexpected surprises. If you're thinking about taking it on yourself—or deciding if you’d rather call in the pros—this guide is designed to help you make the best choice for your situation.
How to Remove an Old Shed Step by Step
Removing an old shed may seem like a daunting task, but it can be done efficiently with the right approach. The first step is to gather the necessary tools: a hammer, saw, wrench, and a pair of gloves for protection. Begin by clearing the area around the shed to ensure there’s plenty of space to work. Once the area is prepared, take a good look at the structure and identify which parts can be safely dismantled first. Start with the roof and walls, carefully removing nails and screws.
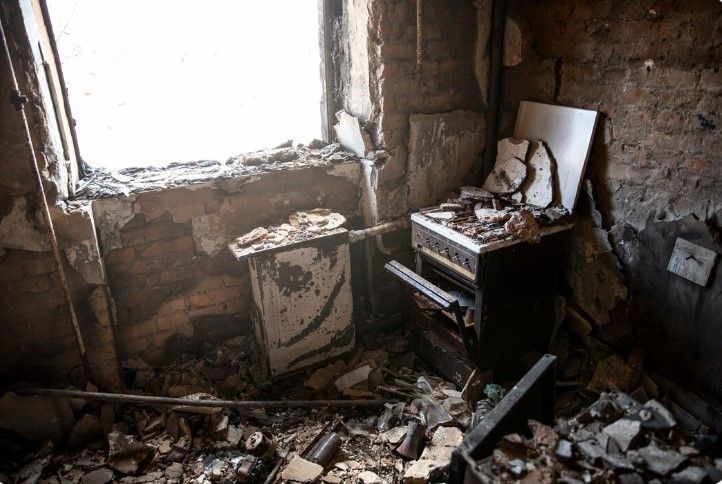
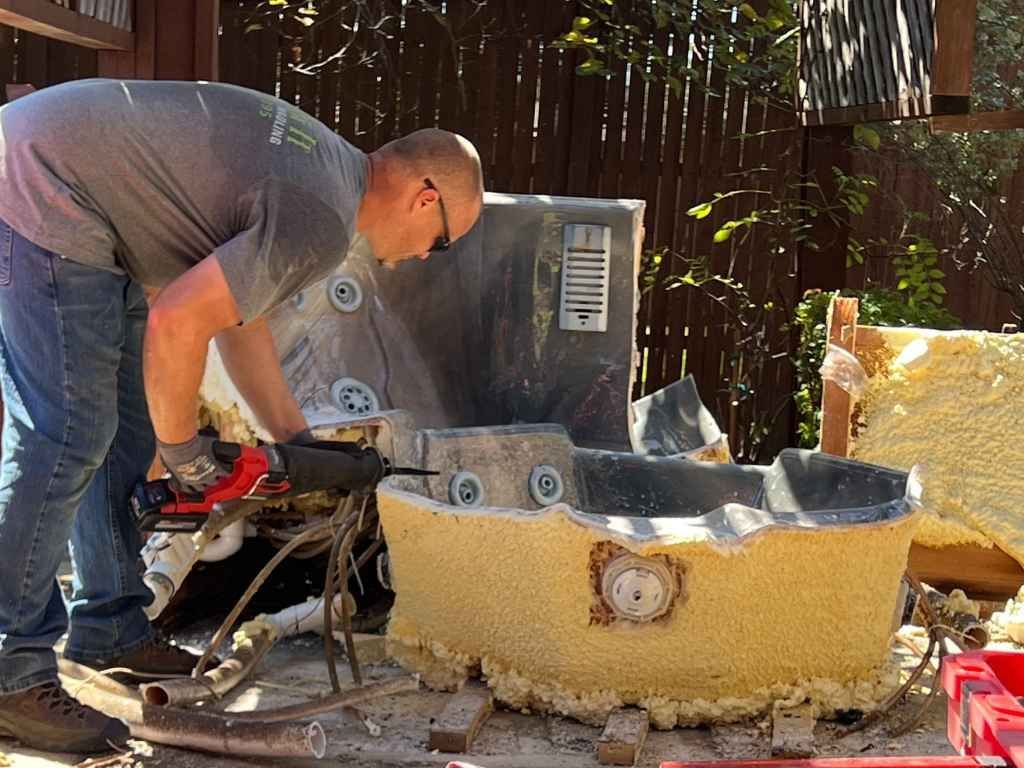
After the shed is dismantled, it's time to manage the debris. If you’re handling the removal yourself, consider breaking down larger pieces of wood to fit into a waste bin or trailer. For a smooth experience, make sure you dispose of the materials properly, either by recycling or contacting local junk removal services for help. Following these steps ensures that your shed removal project goes off without a hitch.
The Ultimate Guide to Shed Removal for Homeowners
As a homeowner, knowing how to remove a shed effectively can save you time and stress. Start by assessing the shed’s structure to determine if it’s safe to dismantle. Many sheds are built with wooden panels, making them easier to take apart. Begin by removing the roof to avoid any debris falling onto you. Use a crowbar to loosen nails and screws, and be cautious when taking down heavy materials.
Next, tackle the walls and floor, ensuring all nails and screws are removed before pulling apart the panels. If you’re unsure about handling certain parts, don’t hesitate to call a professional to avoid injury. Once the shed is down, you’ll need to clear the debris. If you don't have the means to haul it away yourself, consider reaching out to a local junk removal service to make the disposal process more convenient.
Everything You Need to Know About Removing Your Shed
Removing your shed requires careful planning and preparation. Begin by clearing the area around your shed so you can work freely and safely. You’ll need a variety of tools such as a saw, hammer, crowbar, and gloves for protection. Take your time to remove the roof first, as this will create a safe working space for the rest of the shed. Work methodically to remove each wall and floor panel, loosening fasteners carefully.
Once the shed is disassembled, the next challenge is disposal. You can either transport the debris to a local landfill or use a junk removal service to handle it for you. Many junk removal companies will also recycle materials, which is an environmentally friendly option. Removing a shed isn’t a quick job, but by following these steps, you’ll make the process smoother and ensure you safely clear out your space without hassle.

A Simple Approach to Efficient Shed Removal
A simple approach to shed removal can make the job less overwhelming and more manageable. Start by assessing the structure’s condition and determining if it’s safe to dismantle. Gather the necessary tools such as a hammer, wrench, and saw. Begin by taking down the roof, as it’s the most vulnerable part of the shed. Removing the roof first will allow you to work on the walls and floor more safely.
Once the roof is gone, continue with the walls and floor, carefully loosening screws and nails as you go. After dismantling the structure, the next step is clearing out the debris. If the task is too large to handle on your own, hiring a junk removal service can make the process quicker and easier. By following this simple approach, you can efficiently remove your shed with minimal hassle.
How to Safely Take Down and Dispose of an Old Shed
Safety should always be your first concern when taking down an old shed. Before beginning, ensure that you have the right tools, such as gloves, a hammer, and a crowbar. Begin by removing the roof carefully, as it can be the most dangerous part to handle. Once the roof is down, proceed to remove the walls and floor, making sure to take extra care with nails or screws that might be sticking out.
When it comes to disposal, make sure you handle the debris properly. If you’re not able to haul the materials away yourself, you can contact a junk removal company. Many services offer efficient and environmentally friendly disposal options, including recycling wood and metal. Taking the right precautions and disposing of the materials responsibly ensures a smooth and safe shed removal process, helping you reclaim your yard space quickly.
What Every Homeowner Should Know About Shed Removal
For homeowners, shed removal can be a valuable skill that saves time and money when done correctly. The first step is determining if the shed can be safely dismantled, or if it requires professional help. Begin by clearing the area around the shed to create a safe working space. Start with the roof, as it is the most fragile part of the structure, and proceed with removing the walls and floor in an organized manner.
When the shed is dismantled, the next priority is disposal. If you’re not equipped to handle the debris removal, you can either rent a dumpster or call a junk removal service. Many companies specialize in removing large items like sheds and can ensure that the materials are disposed of properly. By following these steps, you can confidently remove your shed and make space for your next project.
A Homeowner’s Guide to Removing Your Shed with Ease
Removing a shed can feel like a huge task, but with a clear plan in mind, it becomes much easier. Begin by clearing out the area around the shed, ensuring there are no obstacles in your way. You’ll need essential tools like a hammer, crowbar, saw, and gloves. Start by taking down the roof carefully, as this will prevent any falling debris from causing injury. Once the roof is down, continue with dismantling the walls and floor, one section at a time.
After the structure is disassembled, the next step is handling the debris. If you have access to a truck, you can take the materials to a local landfill or recycling center. If not, it’s a good idea to call a junk removal service to haul everything away. With these simple steps, you’ll be able to efficiently remove your shed and free up valuable yard space.
The Complete Process for Removing an Old Shed
Removing an old shed doesn’t need to be complicated. Begin by inspecting the shed to determine if it’s safe to dismantle yourself or if you need professional help. Gather tools such as a hammer, wrench, and crowbar, and begin by removing the roof. This is the most vulnerable part of the structure, and it’s best to take it down first to ensure the rest of the shed is safe to work on.
Once the roof is gone, continue by carefully dismantling the walls and floor. If the shed is large, consider breaking down the materials into manageable pieces. If you’re unable to handle debris removal, hire a junk removal service to take care of it for you. By following these steps, you’ll ensure that your shed removal is both safe and efficient, giving you back much-needed space in your yard.
Key Steps for Successful Shed Removal from Your Property
Successfully removing a shed requires more than just physical labor; it’s about knowing the right steps to take. First, ensure you have the right tools for the job: gloves, a saw, a hammer, and a crowbar. Start by clearing the space around the shed so you can work freely. Focus on removing the roof first, as it’s the most delicate part of the structure. Once the roof is taken down, continue with the walls and floor, ensuring each section is safely removed.
Conclusion
Successfully removing an old shed is a rewarding accomplishment, especially when you follow a clear, step-by-step process. Whether you decide to tackle the job yourself or call in the pros, knowing what to expect makes the project much more manageable. The key is safety and preparation—gather your tools, clear the space, and take your time removing each section. Don’t forget to handle debris disposal properly, whether by recycling or hiring a junk removal service. With a little effort, you’ll soon have more space in your yard for new projects or a fresh start.
If you're feeling unsure about doing it yourself or just want the job done quickly and efficiently, Kick It Junk Removal & Hauling is here to help. We specialize in shed removal and other junk hauling services across Forney, Texas. Our team is ready to make the process easy and stress-free, so you don’t have to lift a finger. Reach out today to schedule a hassle-free removal, and let us handle the heavy lifting! Contact us at 469-866-2395 or email Paul@kickitservices.com. You can also visit us at 14339 Stanley Lane, Forney, Texas, 75126 for more details.