How to Plan for Shed Demolition and Cleanup
When it comes to clearing out old storage sheds, gardens, or structures that no longer serve their intended purpose, the task of demolition and cleanup may seem daunting. However, with the right approach, it can be an organized and efficient process. Whether you're tackling a small backyard shed or a larger, more complex structure, planning ahead is crucial. This guide will walk you through the steps necessary to ensure your shed demolition and cleanup are successful—without unnecessary headaches.
Understanding the Need for Shed Demolition
Before diving into the nitty-gritty of the demolition process, it’s important to understand why you might need to tear down an old shed. Sheds often become unusable over time due to:
- Wear and Tear: Exposure to the elements can cause rotting wood, rusted metal, and crumbling foundations.
- Space Reclamation: A shed may be taking up valuable space in your yard or garden that you want to repurpose for another use.
- Structural Damage: Severe damage from storms, pests, or age might make the shed unsafe to use, and its condition can deteriorate beyond repair.
- Aesthetic or Functional Upgrades: You may want a more modern or functional shed that suits your needs better.
Once you’ve identified the reasons for your shed demolition, it’s time to plan. Proper preparation is key to making the process smooth and stress-free.
Step 1: Prepare the Area
The first step in any demolition project is ensuring the area is ready for work. Shed demolition often involves heavy machinery, tools, and potential hazards like nails, sharp metal pieces, and broken wood. Here’s what you should do to prepare:
- Clear the Surrounding Area: Remove any furniture, tools, or other obstacles from the area around the shed. This will give the demolition crew ample space to work and help prevent accidents or damage to other structures.
- Mark the Boundaries: Make sure to clearly mark the boundaries of the demolition site. This could include fences, landscaping, or other parts of your property that you don’t want to damage.
- Check Local Regulations: Depending on your location, you may need to acquire a permit for demolition, especially if your shed is large or attached to utilities like water, gas, or electricity. Always check local codes before starting.
Step 2: Remove Contents and Disconnect Utilities
Before the demolition begins, you must clear the shed of its contents. The last thing you want is to accidentally destroy something valuable or hazardous inside the structure. Here’s how you can handle the contents:
- Take Inventory: Make a list of the items inside the shed. Decide which items you want to keep, which you want to donate, and which should be discarded. If there are any hazardous materials like chemicals or paint, handle them with care and dispose of them properly.
- Remove Large Items First: Start with any large or bulky items that may be difficult to move once demolition begins. This includes gardening tools, heavy boxes, or stored furniture.
- Disconnect Utilities: If your shed has any utilities, such as electricity, water, or gas, make sure to disconnect them before demolition starts. Call a professional to ensure these utilities are safely turned off and deactivated. Failing to do this could lead to electrical hazards or water damage.
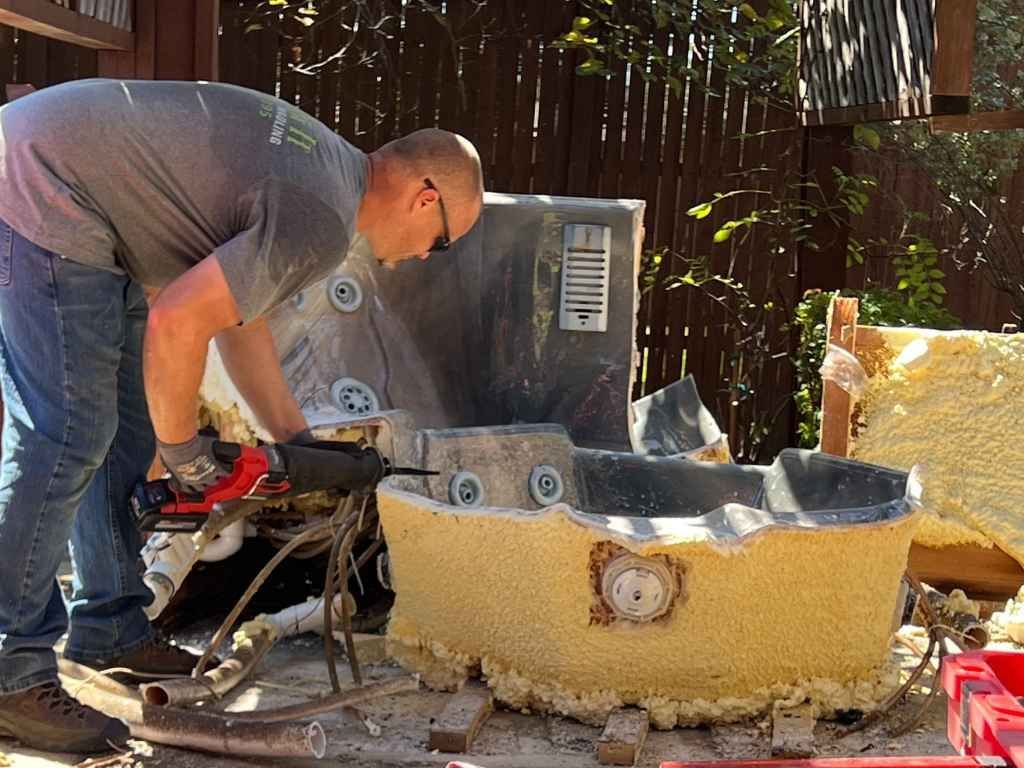
Step 3: Demolition Methods
Now comes the fun part: taking down the shed. There are different ways to approach the demolition, and the method you choose will depend on the size of the structure, the materials it’s made of, and your experience. Here are common demolition methods:
- Manual Demolition: This is often the best choice for smaller sheds made from wood or metal. With a crowbar, sledgehammer, and other basic tools, you can start by removing the roof, followed by the walls, and finally the foundation. This method is labor-intensive but allows you to take your time and be more meticulous about the process.
- Mechanical Demolition: For larger sheds, mechanical demolition may be the best option. This typically involves using an excavator or bulldozer to tear down the structure quickly and efficiently. However, this method is more expensive and may require professional help.
- Deconstruct Instead of Demolish: If you’re eco-conscious, consider deconstructing the shed rather than demolishing it. This process involves taking apart the shed piece by piece, allowing you to salvage materials for recycling or reuse. Wooden beams and metal panels can be reused for future projects, reducing the overall environmental impact.
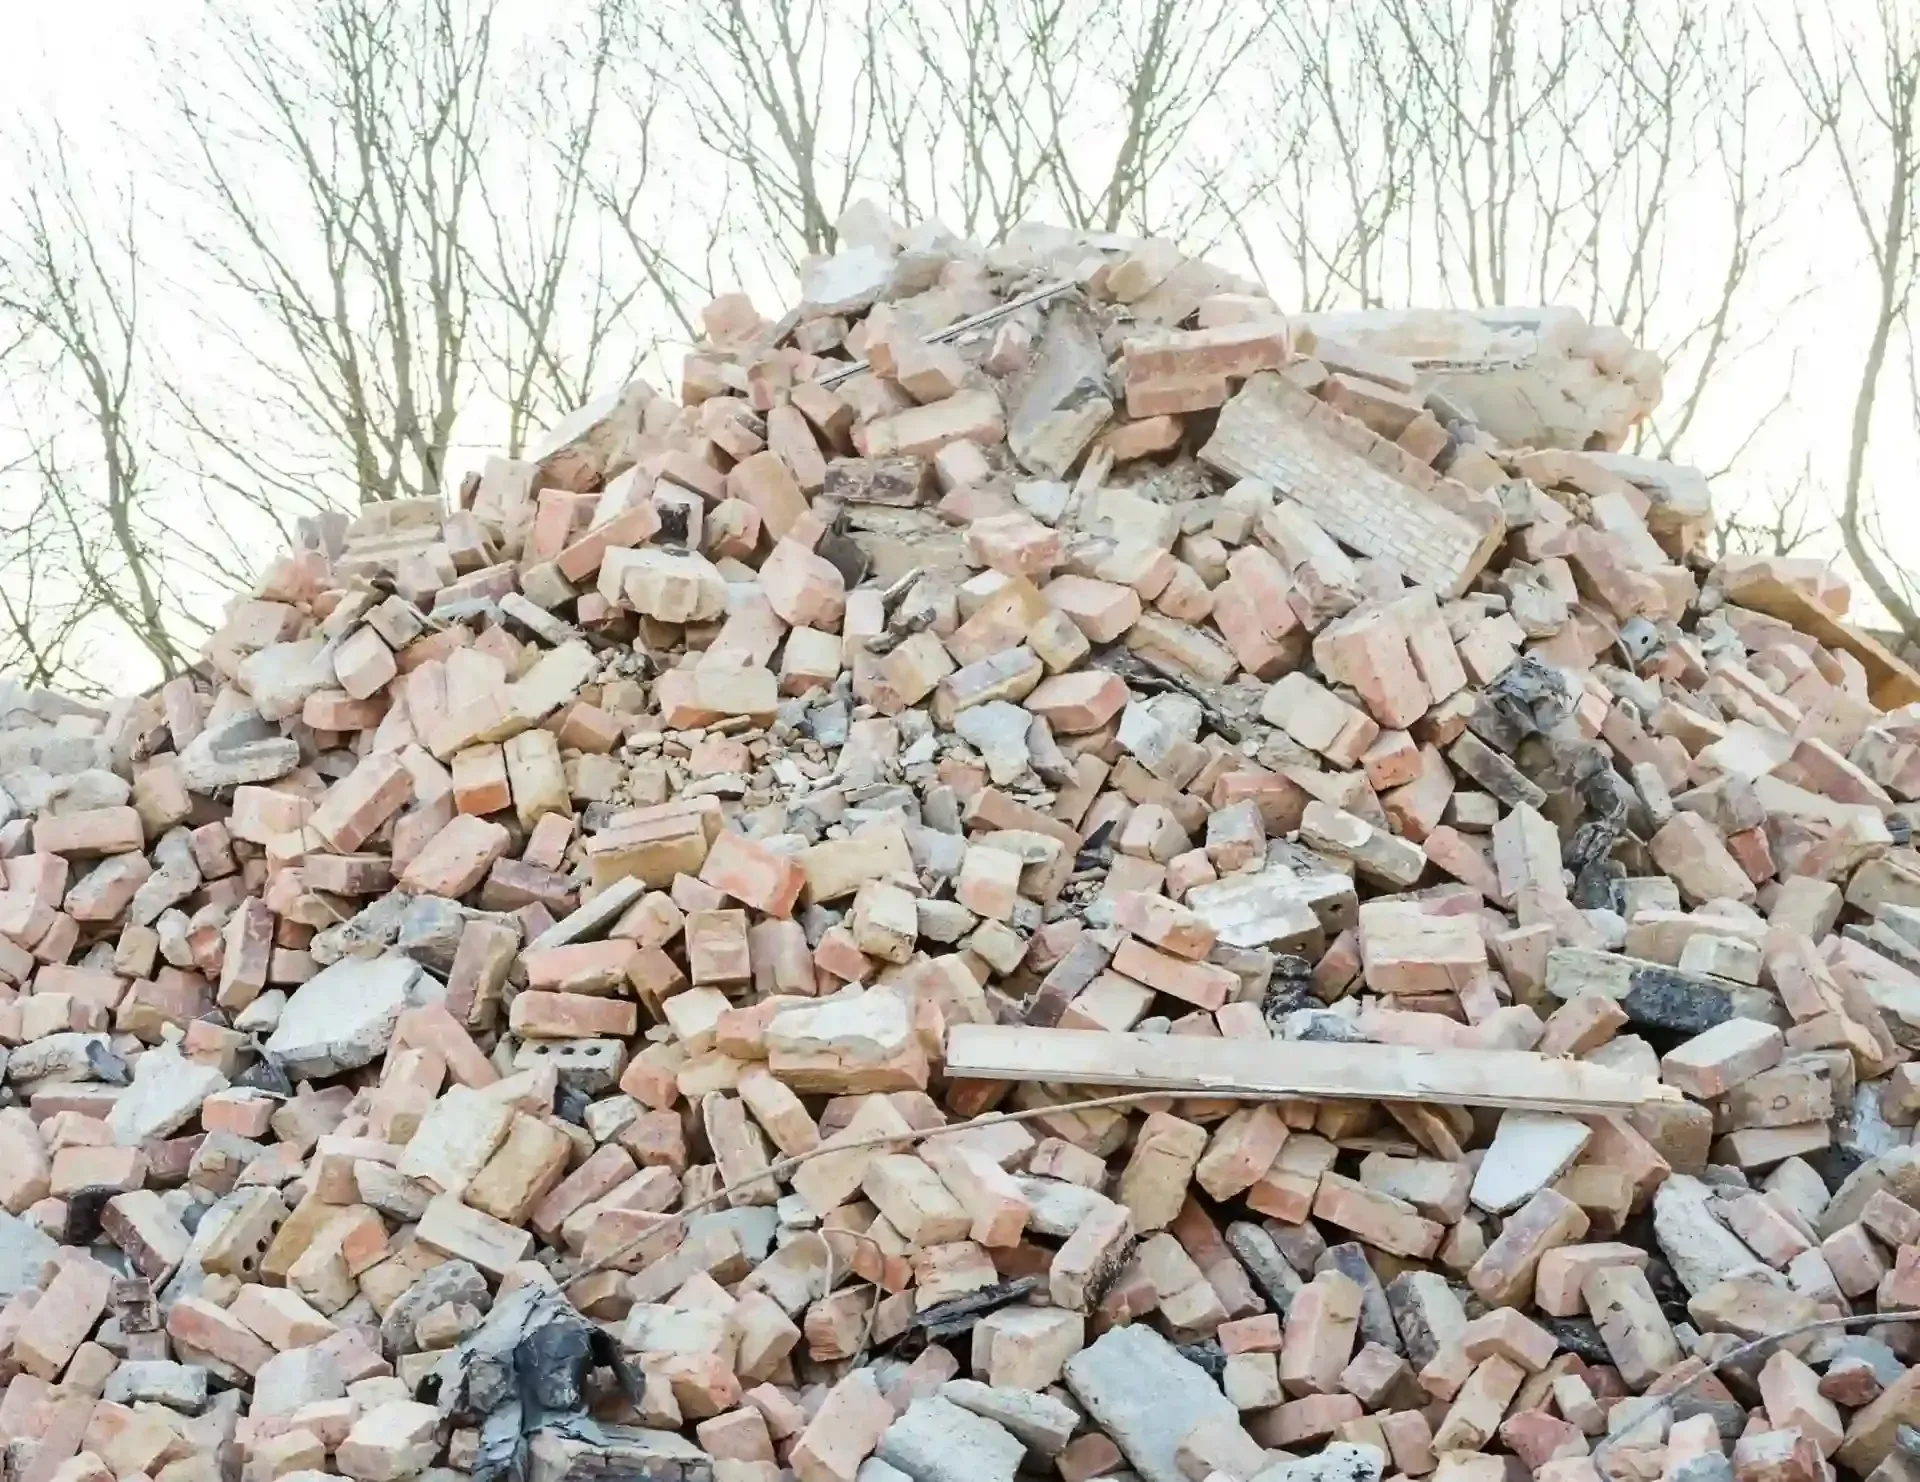
Step 4: Dispose of Shed Materials
Once the shed has been demolished, you’re left with debris that needs to be properly disposed of. Here’s how to handle the cleanup efficiently:
- Separate Recyclables: As you break down the shed, separate recyclable materials such as metal, wood, glass, and plastic. Many local recycling centers will accept these materials, and recycling helps reduce waste and support sustainability.
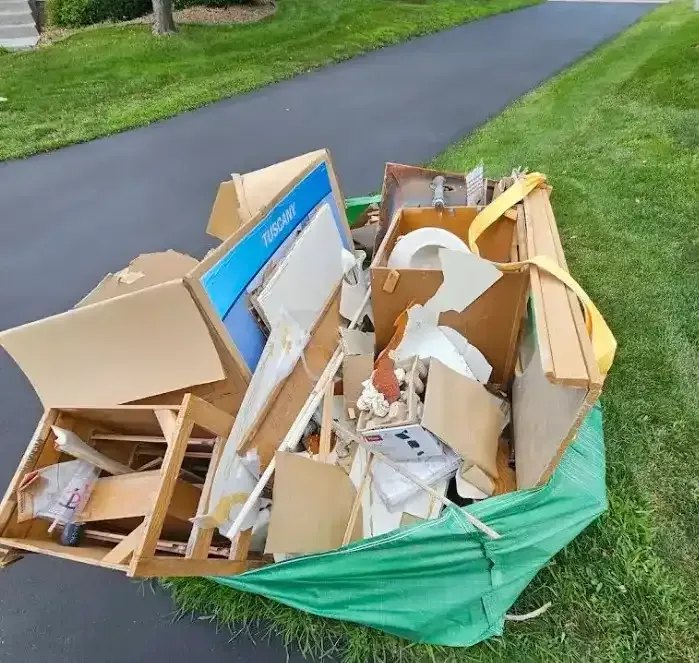
- Hire a Junk Removal Service: If you’re unsure how to dispose of the debris, or if it’s too much to handle, hiring a professional junk removal service is a great option. A junk removal service can handle everything from removal to disposal, ensuring the materials are taken to the right locations.
- Rent a Dumpster: If you prefer to manage the cleanup yourself, renting a dumpster can help. Make sure to rent one large enough to accommodate all of the shed debris, and place it in a convenient location for easy loading. Be mindful of the weight limits and make sure to check if the dumpster service offers recycling options.
Step 5: Address the Foundation
Once the shed is gone, you may be left with a concrete, gravel, or wood foundation. Here’s how to deal with it:
- Concrete Foundations: If your shed had a concrete foundation, you’ll need to decide whether you want to remove it entirely or repurpose it. Removing a concrete slab can be challenging and usually requires a jackhammer or heavy machinery. If you plan to rebuild, leaving the foundation intact can save you time and money.
- Wooden Foundations: Wooden foundations can often be removed manually using tools like saws or pry bars. If you don’t need the space for another structure, removing the wood completely will help ensure that the area is level and ready for landscaping or other uses.
- Gravel Foundations: Gravel can be tricky to remove completely, as it may be spread across a large area. If you plan to plant grass or garden in the area, you may want to take out the gravel and replace it with soil.
Step 6: Final Cleanup and Landscaping
Once the shed has been removed, and the foundation addressed, it’s time for the final cleanup. This step involves:
- Raking the Area: Use a rake to level the ground and clear away any remaining debris, nails, or small bits of wood or metal.
- Grading the Land: If the demolition left uneven patches or large holes, grading the land can help level the surface, making it more suitable for planting grass or other landscaping projects.
- Landscaping: If you’re repurposing the shed area, consider adding landscaping elements like sod, mulch, or plants. If you plan to build a new shed, make sure the area is properly prepared with good drainage and a solid foundation.
Essential Tips for Shed Demolition and Cleanup
Planning your shed demolition and cleanup requires careful consideration and preparation. Ensuring the safety of the surrounding area and removing all contents from the shed before starting the process is crucial. You’ll need to decide whether to manually demolish the shed or use mechanical tools depending on its size and materials. After demolition, properly sorting and disposing of materials, including recyclables, will help you keep the environment clean while getting rid of debris efficiently.
Once the shed is demolished, dealing with the foundation is an essential next step. Concrete, wood, or gravel foundations may need to be removed or repurposed depending on your future plans for the area. Raking, grading, and landscaping the space after the demolition will level the ground, making it ready for a new project. Whether you're installing a new structure or repurposing the space for something else, a thorough cleanup will ensure the area is functional.
How to Successfully Demolish and Clean Up an Old Shed
When preparing to demolish and clean up an old shed, it’s important to start by clearing the area and making sure you have the proper tools and permits. This helps avoid complications during the process. Removing any hazardous materials or chemicals from inside the shed beforehand ensures the demolition goes smoothly. Additionally, disconnecting utilities like electricity or water is essential to prevent accidents. Knowing your local regulations can save you time and frustration in the long run.
The demolition itself can be done manually or mechanically depending on your shed's size and structure. Once the shed is down, removing the debris can be a time-consuming task.
Conclusion
Shed demolition and cleanup can be a big undertaking, but with the right planning and execution, you can make the process much more manageable. By preparing the area, removing the contents, carefully choosing your demolition method, properly disposing of debris, and addressing the foundation, you’ll ensure that the area is ready for whatever comes next. Whether you’re looking to reclaim space, build something new, or just tidy up your yard, following these steps will lead to a successful shed demolition and cleanup.
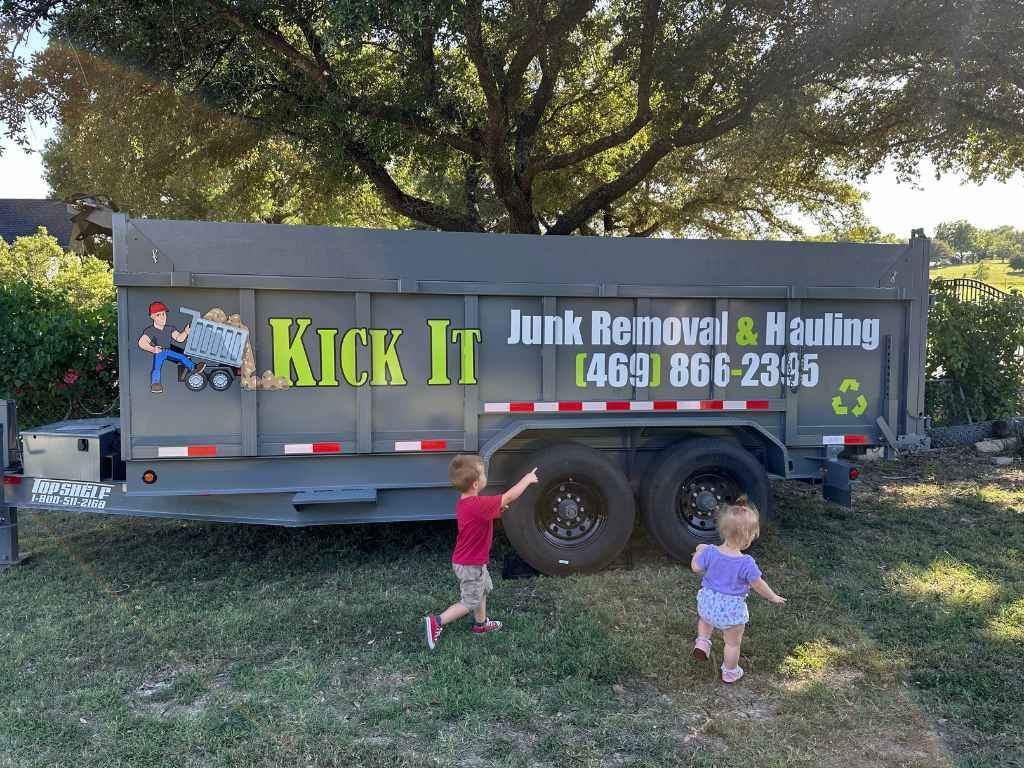
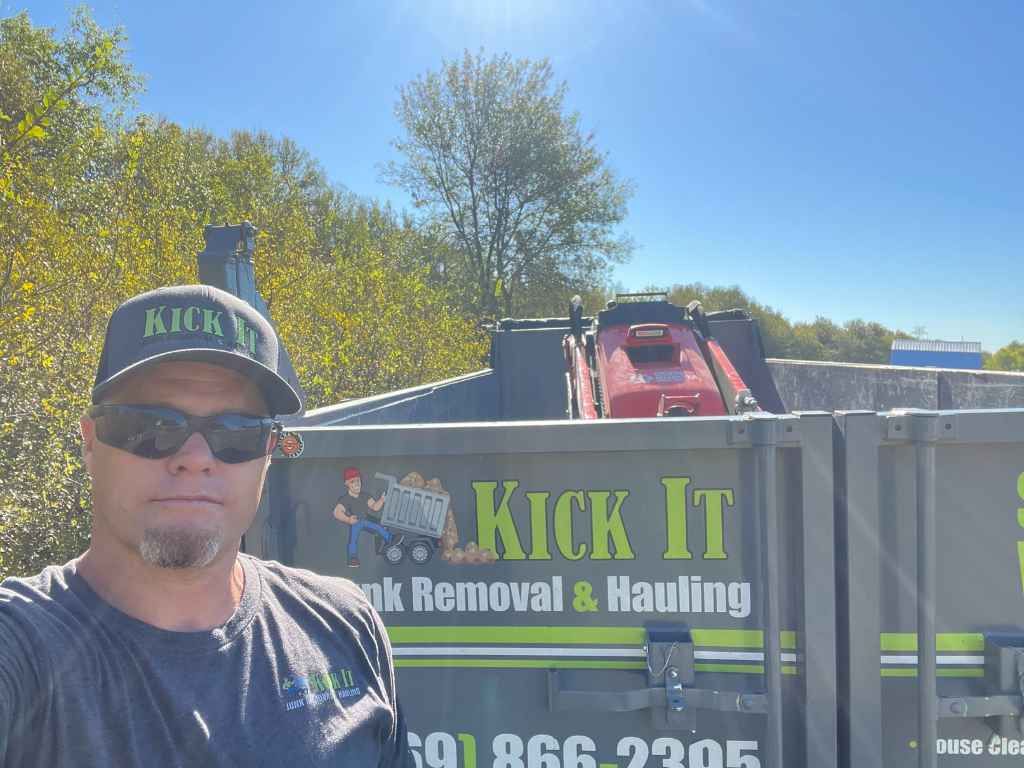
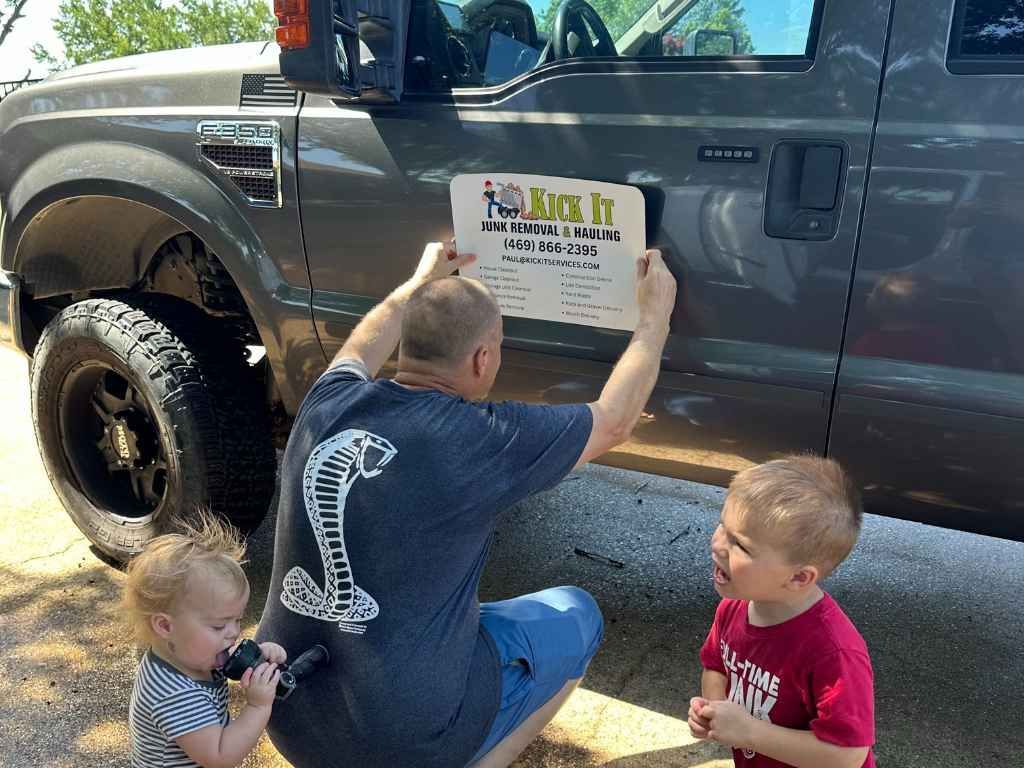
If you're ready to tackle your shed demolition and need professional help, contact Kick It Junk Removal & Hauling. We offer efficient and reliable shed demolition services in Forney, Texas, and the surrounding areas. Get in touch with us at 469-866-2395 or via email at Paul@kickitservices.com for all your junk removal and hauling needs.