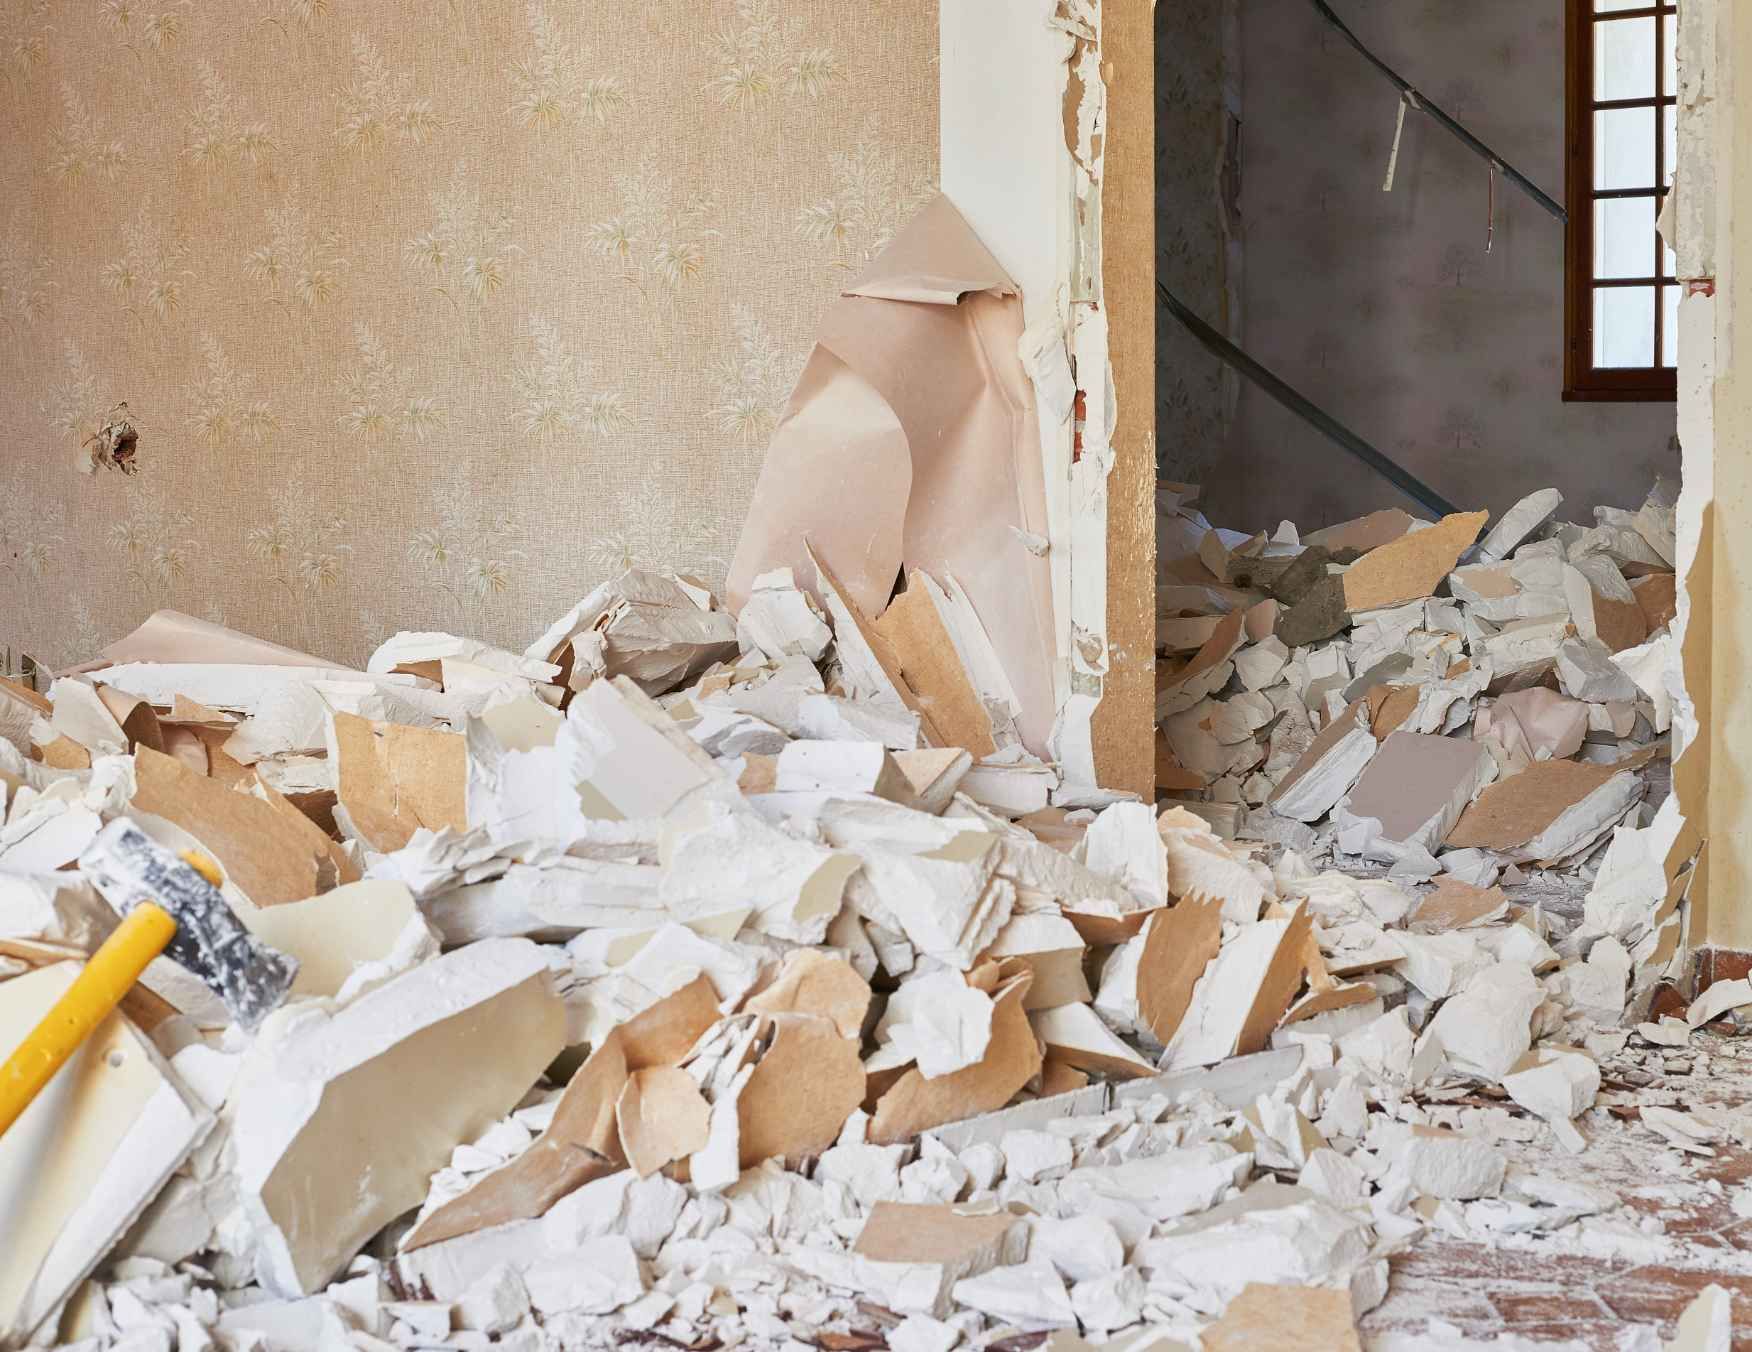
How to Manage Drywall Removal During a Home Renovation
Tearing down drywall might seem like the messy part of home renovations, but managing it properly can make a big difference in your project’s success. Whether you're opening up a space, upgrading old walls, or doing a full overhaul, removing drywall is more than just swinging a hammer. It takes planning, safety measures, and the right approach to avoid unnecessary damage and stress.
We understand how crucial it is to keep things clean and efficient—even during demolition. This guide will walk you through what to expect and how to manage drywall removal the right way. From prep work to cleanup, you’ll learn how to stay in control and keep your renovation moving smoothly and stress-free.
Effective Tips for Managing Drywall Removal During Home Renovations
Removing drywall during a home renovation can seem like a daunting task, but with the right approach, it can be done smoothly. The first step is preparation—clear the room of furniture and cover the floors with protective sheeting to prevent debris from scattering. Make sure to wear appropriate safety gear such as gloves, goggles, and a dust mask to protect yourself from flying particles, sharp edges, and harmful dust.
Once the area is ready, use a utility knife to score the drywall along the seams and edges where it meets the studs. This will make the removal process cleaner and more controlled. If you're dealing with older drywall, take extra care to check for any hidden electrical wiring, plumbing pipes, or other obstacles behind the walls. After the drywall is removed, dispose of the material responsibly by recycling or contacting a junk removal service to ensure the debris is handled according to local regulations. This ensures both a safe and environmentally-friendly renovation.
A Step-by-Step Guide to Drywall Removal in Home Renovations
A successful drywall removal starts with a clear and organized plan. Begin by marking the specific area you want to remove, ensuring you know the exact boundaries. Before getting into the demolition, it’s crucial to turn off any utilities, such as electricity or water, that may be affected by the work. Additionally, removing fixtures, trim, or anything else in the way will prevent accidental damage and make the process smoother.
After you've prepped the area, use a utility knife to score the drywall along its seams. Start by removing the larger panels first, as this will make the process more manageable. For smaller sections, a pry bar can help detach the drywall from the studs. It's important to dispose of the debris as you go to keep the workspace safe and organized. By following this method, you'll ensure that drywall removal is both efficient and safe, helping your renovation stay on track without unnecessary complications.
How to Handle Drywall Removal with Ease During a Home Renovation
Drywall removal can definitely feel overwhelming, but with proper preparation, it can be a much easier task. Start by protecting your surrounding areas—lay down drop cloths or plastic sheets to cover your floors and furniture from dust and debris. Safety is key, so make sure to wear protective gear such as a mask, gloves, and goggles to shield yourself from the mess and any sharp edges.
Once your space is protected, use a utility knife to score the drywall along the edges. This will make it easier to remove in manageable pieces. Be extra cautious when working around electrical outlets or pipes that may be hidden behind the drywall. If possible, having a team or a friend help can make the job faster and safer, especially when handling larger sections. As you work, clean up debris as you go to keep the area organized and reduce the risk of accidents.
Key Considerations for Drywall Removal in Your Next Renovation Project
When planning your drywall removal, the first thing to consider is safety. Always wear protective gear, including a dust mask, goggles, and gloves, to prevent injury or inhaling harmful dust. Additionally, take the time to clear the room of any valuables or breakable items to avoid accidental damage.
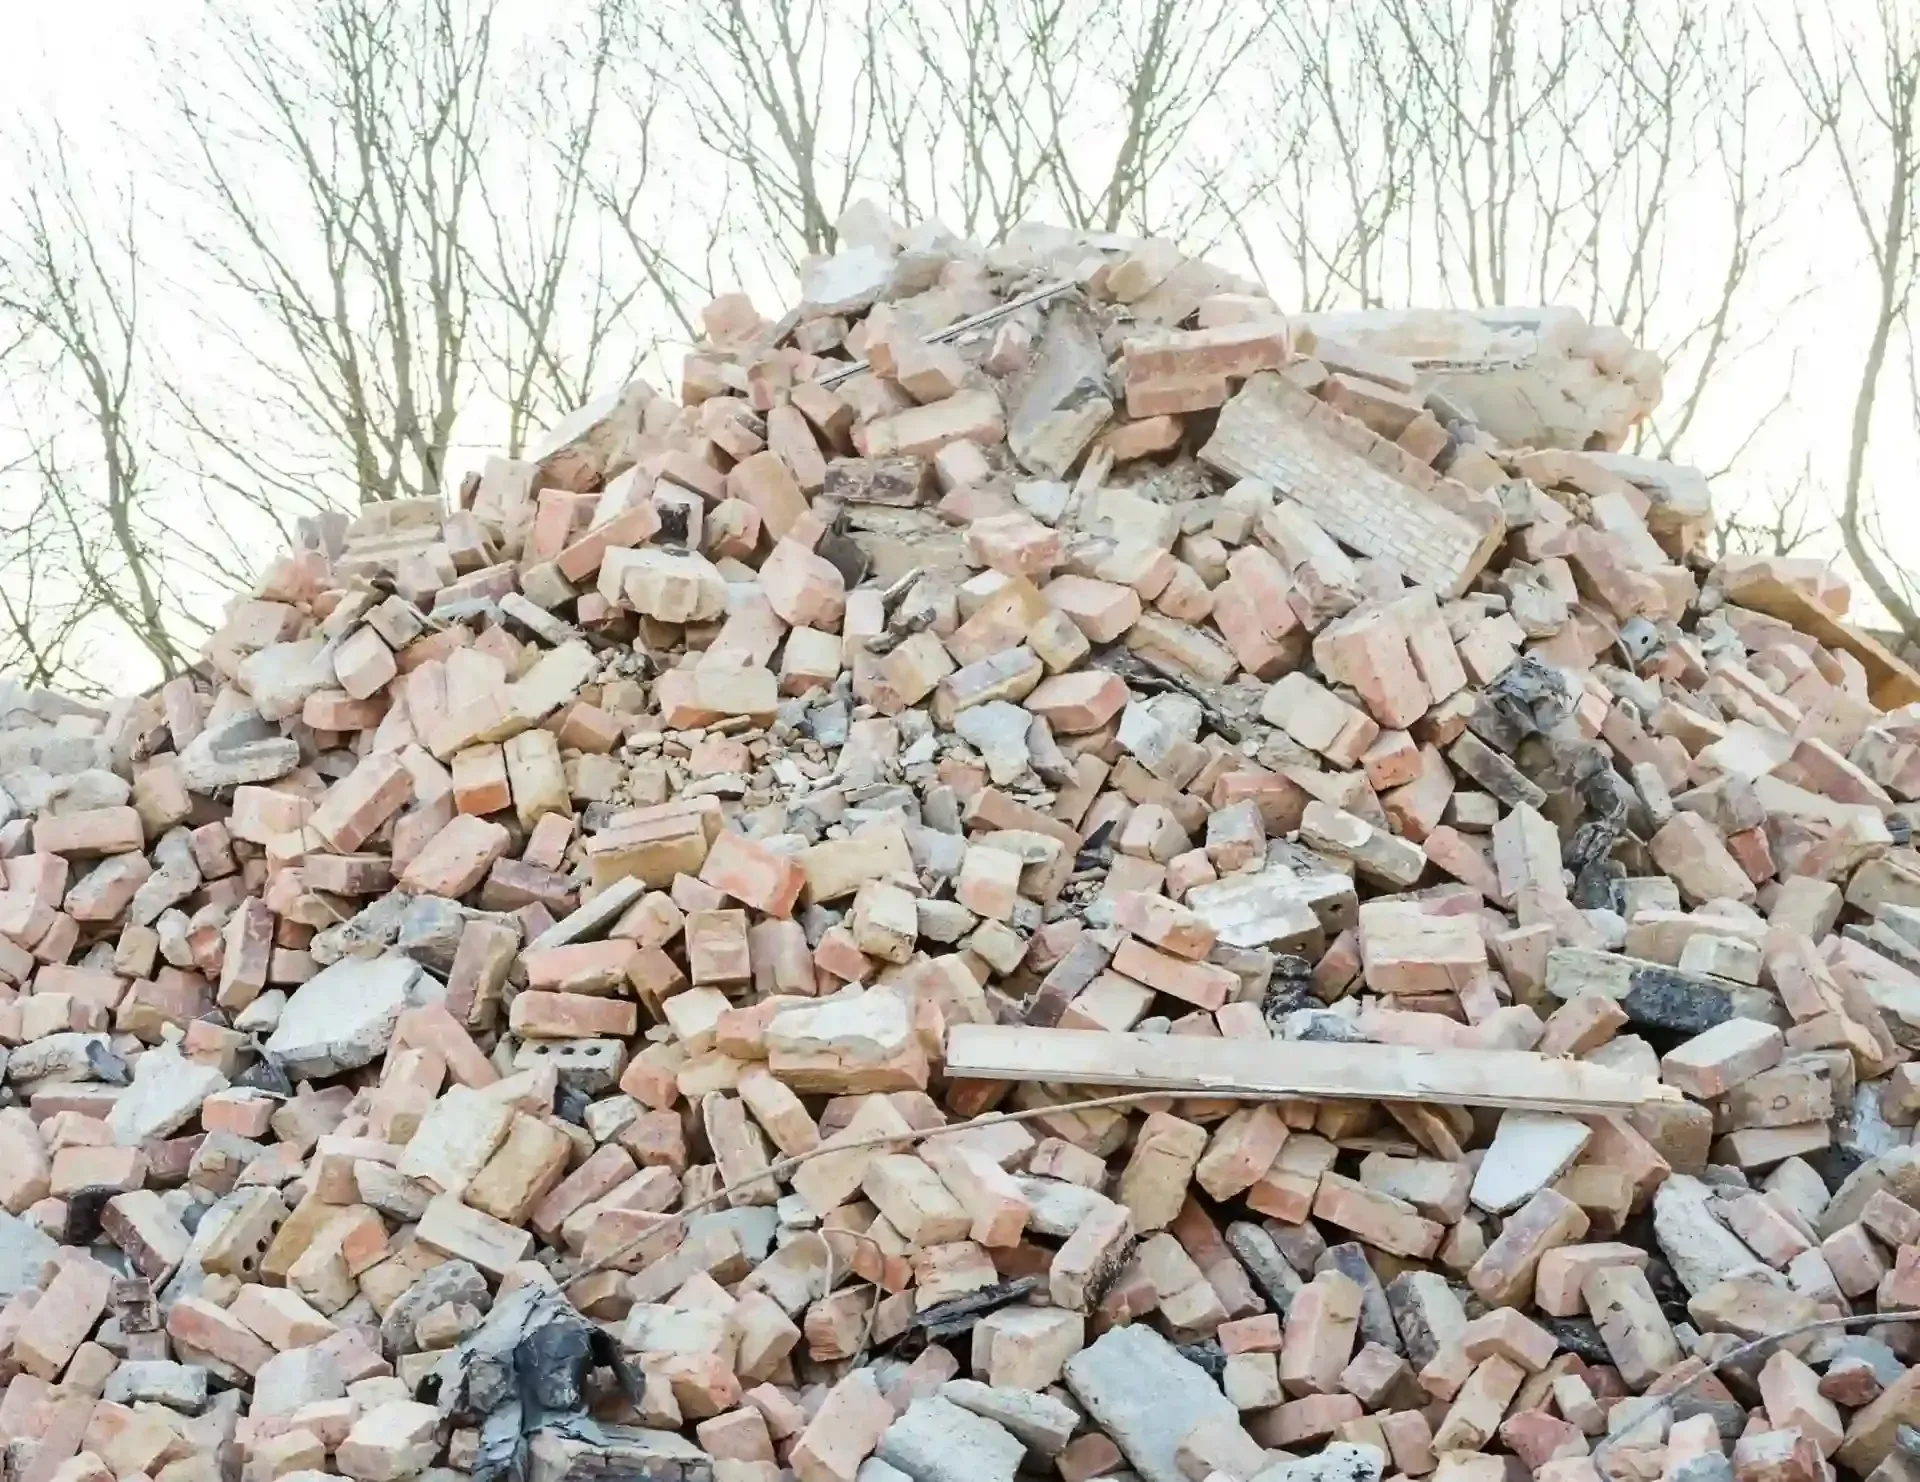
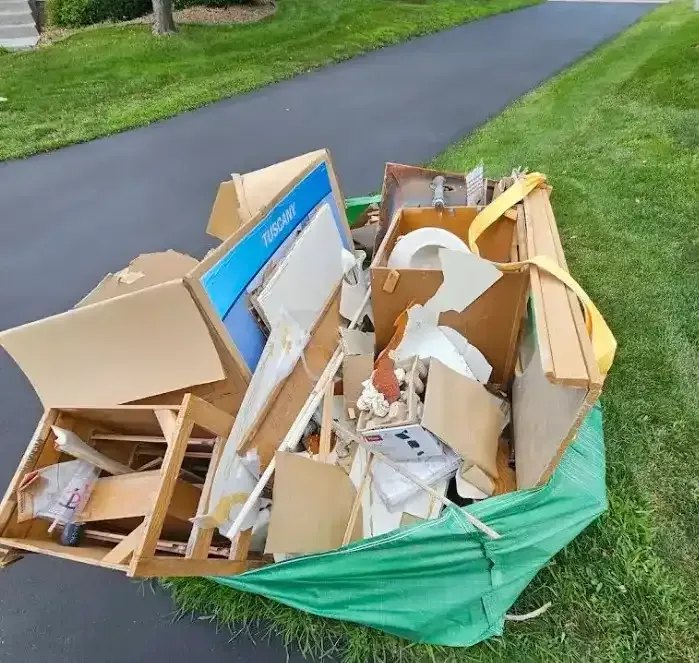
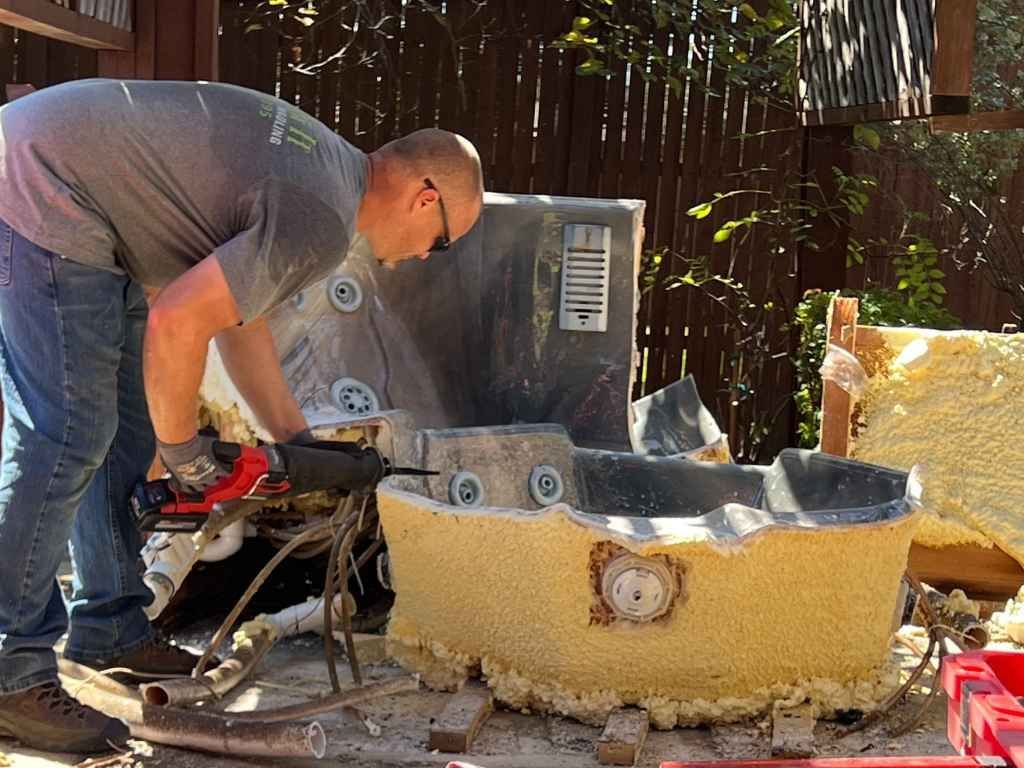
Another key consideration is the disposal of the drywall once removed. Drywall is often bulky and needs to be handled appropriately to avoid unnecessary waste. Local recycling centers may accept it, or you may need to contact a junk removal service to ensure it’s disposed of properly. Managing the removal and disposal carefully helps streamline the renovation process.
Simple Strategies for Managing Drywall Demolition During Renovations
Drywall demolition doesn't have to be chaotic. Start by setting up a dust control system—using plastic sheeting to seal off the area from the rest of the house can help keep debris contained. Also, use a wet saw or hand tools instead of power tools to minimize dust.
Next, take the time to remove any trim or fixtures that might obstruct your work. Carefully score the drywall before pulling it off, ensuring you don't damage the studs or any underlying materials. As you work, remember that keeping the space organized and maintaining a steady pace will ensure a smoother demolition process.
Best Practices for Removing Drywall in a Home Renovation Project
When removing drywall, it's important to follow best practices to minimize damage and maximize efficiency. Begin by turning off the power to the room and covering the floors and furniture to protect them from dust and debris. Wearing safety gear like goggles, gloves, and a respirator is essential for protecting yourself.
After preparing the area, use a utility knife to score the drywall, cutting along the seams or the edges of the wall. This will help make the removal process cleaner and more controlled. Once the drywall is removed, ensure you're disposing of it properly by recycling when possible and contacting a junk removal service to handle any leftover debris.
How to Make Drywall Removal Less Stressful During Your Renovation
Drywall removal may seem daunting at first, but with the right preparation, it can be a straightforward task. Start by clearing out any obstacles in the room, such as furniture or decorations, and cover your floors with protective sheets to prevent any debris from causing damage. Prioritize safety by wearing the appropriate gear, including a mask to protect your lungs from dust, gloves to shield your hands, and goggles to protect your eyes from flying particles.
Once the workspace is set up, use a utility knife to score the drywall at the seams and along the edges. Gently pull it away from the studs, being careful not to damage any underlying wires or pipes. To make the process more manageable, consider breaking the drywall into smaller sections as you go. Keeping the workspace tidy and removing debris regularly will not only make cleanup easier but also keep you organized. By staying methodical and focused, drywall removal can become a manageable part of your renovation, ensuring your project stays on track.
Expert Advice on Managing Drywall Removal in Home Renovations
Managing drywall removal effectively is essential to ensure a smooth renovation. Begin by preparing the room—remove furniture, cover floors, and protect fixtures. Make sure the utilities, like water and electricity, are turned off to prevent any accidents. Always wear the right protective equipment to shield yourself from dust and debris.
When removing the drywall, take your time and be methodical. Scoring the wall in sections helps control the demolition process, and using the right tools, like a utility knife or pry bar, ensures less damage to the studs. Proper disposal and recycling of the drywall will keep the environment in mind and prevent unnecessary waste during your renovation.
What You Need to Know About Drywall Removal for Home Renovations
Drywall removal is a critical part of many home renovations, but it’s a task that demands careful planning and execution. Start by preparing the space thoroughly—clear out any furniture, remove light fixtures, and cover the floors with protective sheeting to keep everything safe from debris. Ensuring your safety is also a priority. Always wear protective gloves, goggles, and a dust mask to shield yourself from the dust and sharp edges of the drywall.
Once you’ve set up the area, carefully score the drywall at the seams using a utility knife. This will allow you to remove the drywall in manageable sections. Work slowly and steadily to avoid damaging any underlying pipes, electrical wiring, or insulation. It's essential to stay organized during this process to keep things clean and safe. Once the drywall is removed, make sure to dispose of it properly. Check local disposal regulations or contact a professional junk removal service to ensure it's disposed of responsibly, keeping your renovation environmentally friendly and efficient.
Conclusion
Managing drywall removal during a home renovation can be challenging, but with the right approach, it can be done efficiently and safely. Whether you’re tackling a small remodel or a complete overhaul, the key is in preparation and organization. By following the tips shared here, you can make the process smoother, minimize mess, and ensure your renovation progresses without any hitches. With the right tools, knowledge, and a little patience, drywall removal doesn’t have to be stressful.
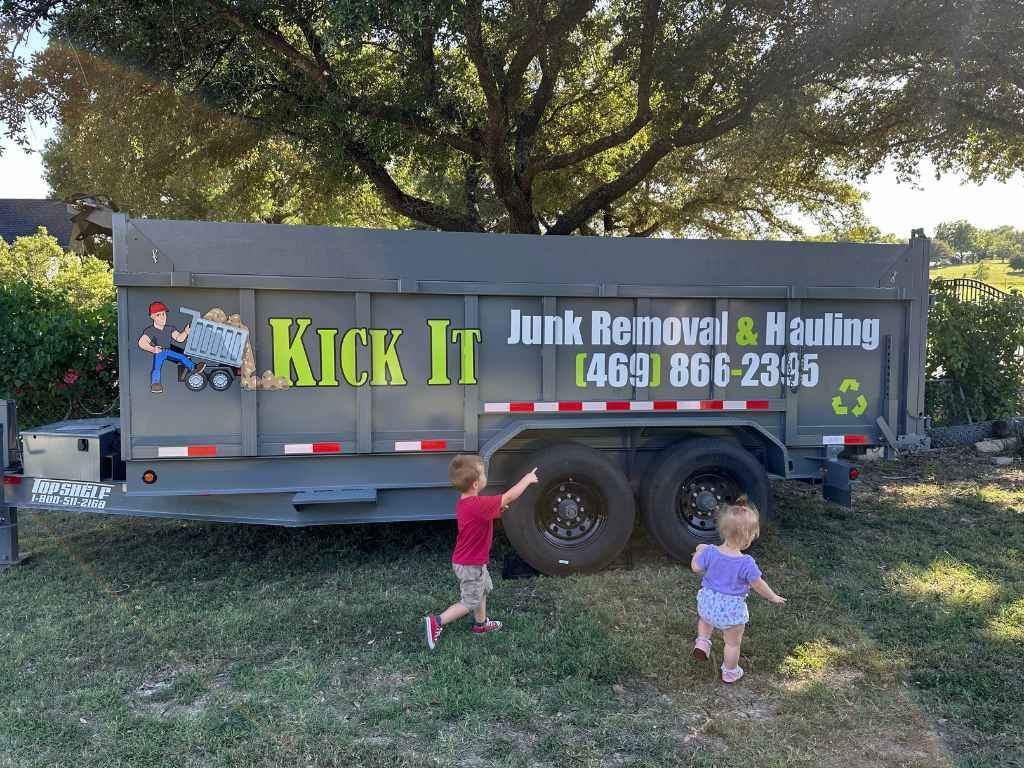
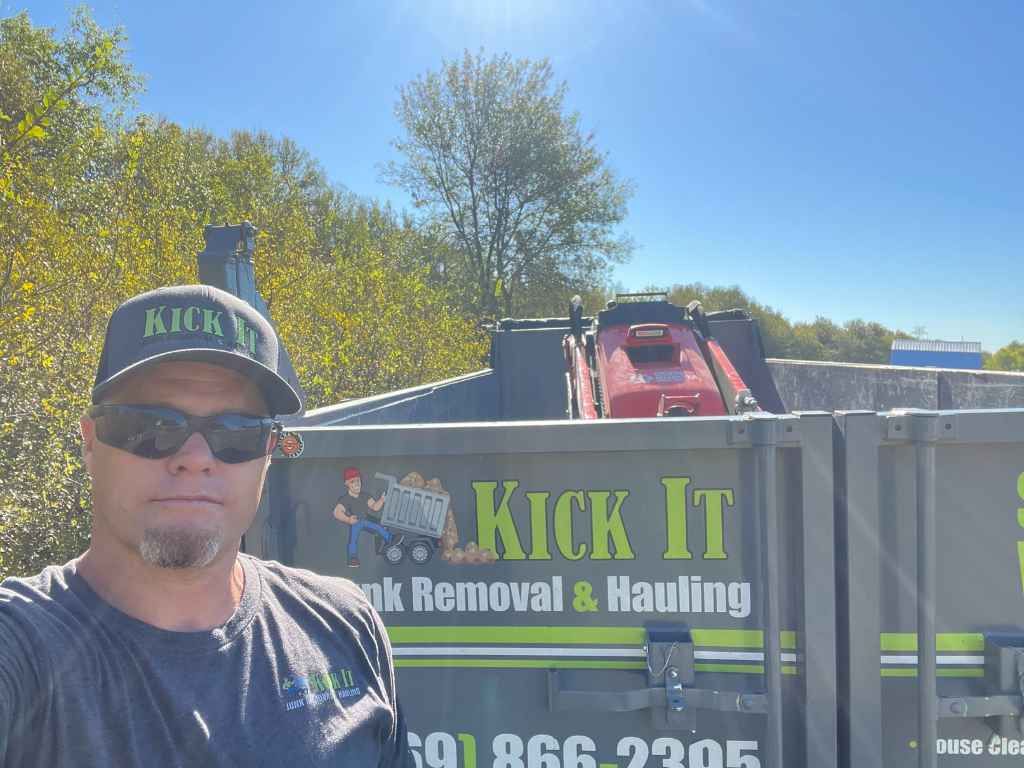
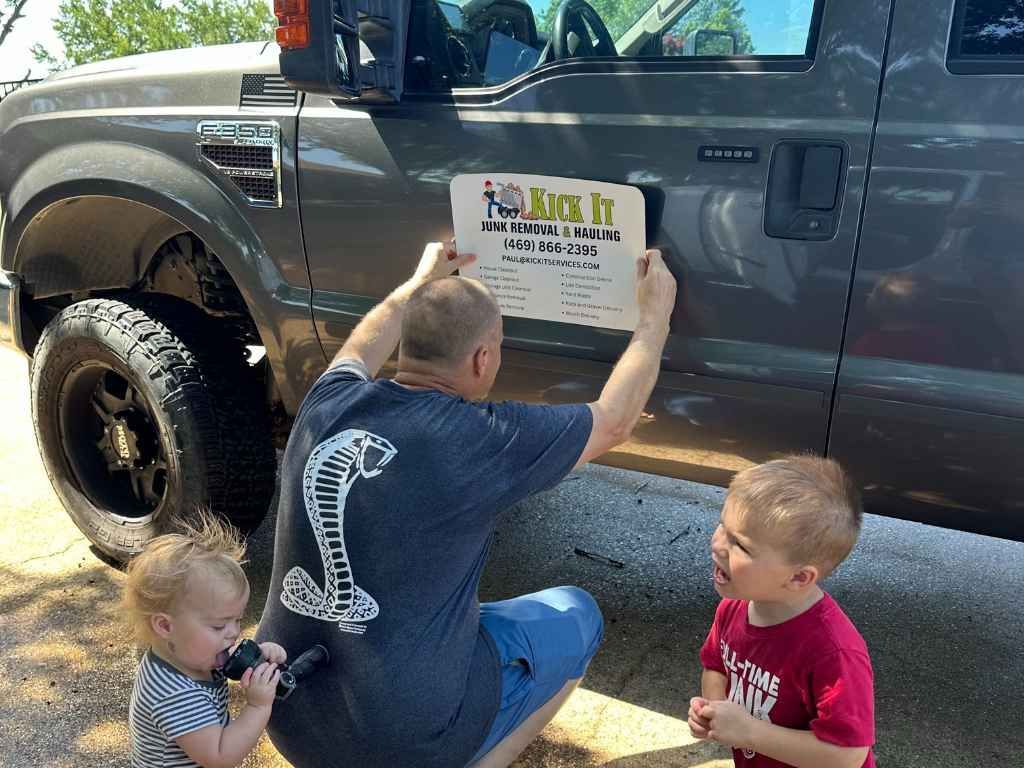
If you need help with drywall removal or any other junk removal services during your home renovation, Kick It Junk Removal & Hauling is here to assist. We specialize in efficient, safe, and eco-friendly removal, taking the hassle out of your project. No matter the size, we can handle the cleanup, so you can focus on what matters most—your renovation. Reach out to us today to get started and let us help make your renovation as seamless as possible.
For fast and reliable junk removal services, give us a call at 469-866-2395 or email us at Paul@kickitservices.com. You can also visit us at 14339 Stanley Lane, Forney, Texas 75126. We’re here to help!