Flooring Removal: The Essential Steps
Removing old flooring may seem like a straightforward task, but there’s more to it than just tearing things up and hauling debris away. Whether you're replacing carpet, tile, or hardwood, proper flooring removal is essential to ensure your new flooring sits correctly and lasts. Our team understands the importance of getting things done right from the ground up. We’re experienced in handling all types of flooring removal, ensuring your project starts on solid footing.
This guide walks you through the essential steps of flooring removal, helping you understand what’s involved and why each stage matters. Whether you're a DIYer looking to tackle the job or planning to hire a pro, you’ll get a clear view of what to expect.

The Ultimate Guide to Flooring Removal and Preparation
Flooring removal might seem like a simple task, but there’s a lot to consider before you start. Whether you are replacing old carpet, tile, or hardwood, the right preparation ensures a smoother process and better results. Understanding the different flooring types and how they’re installed is key to removing them without damaging your subfloor. This guide will walk you through the process, from gathering the right tools to deciding whether you should tackle the job yourself or hire a professional.
Proper preparation is vital to avoid unnecessary costs and headaches. Before diving into your flooring removal project, take the time to clear the area, check for any hazards, and make sure you have the right equipment. Following a step-by-step approach ensures your new flooring can be installed without issues, creating a clean slate for your next renovation project.
Essential Steps for a Successful Flooring Removal Project
Successfully removing flooring requires more than just muscle—careful planning and the right technique are necessary for a hassle-free project. The first step is determining which type of flooring you're dealing with and whether it is nailed, glued, or stapled down. Understanding these details will help you choose the right tools for the job. Whether you're removing tile, carpet, or hardwood, each material has a different method for safe and efficient removal.
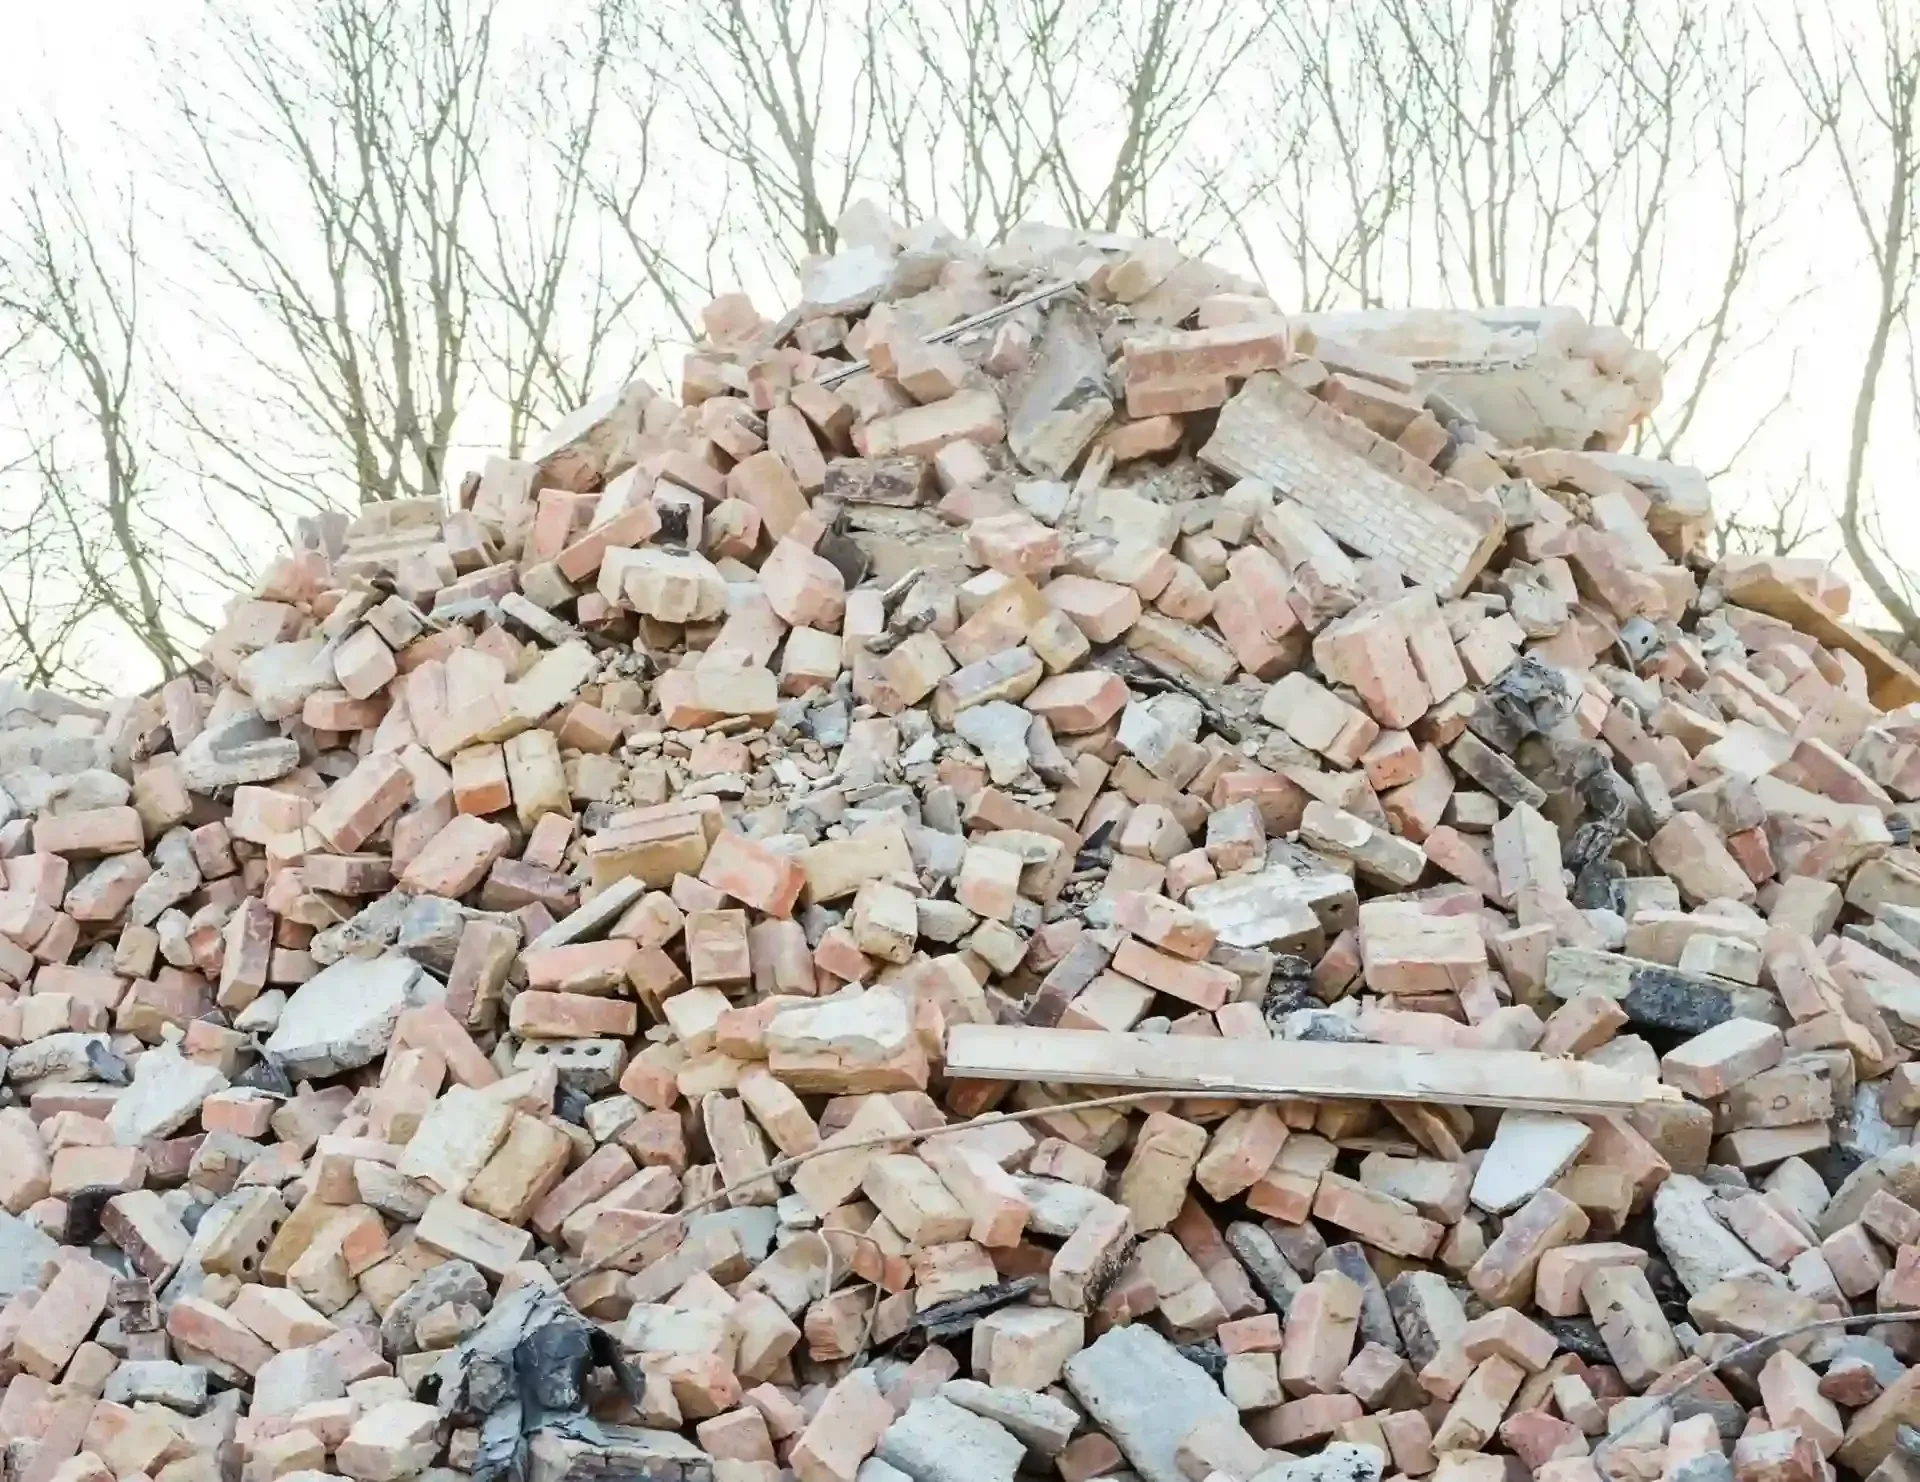
The next step is the actual removal process. Start by removing any baseboards or trim and then begin loosening the flooring in manageable sections. As you work, be sure to dispose of debris properly and keep the subfloor in mind, as it may need cleaning or repair. With the right steps in place, you’ll be on your way to a successful flooring removal project that sets the stage for your next flooring installation.
How to Safely Remove Old Flooring and Start Fresh
Removing old flooring can be intimidating, but with the right knowledge and preparation, you can safely complete the task. Start by understanding the type of flooring you're working with—whether it is vinyl, tile, carpet, or hardwood. Different flooring materials require specific removal techniques to avoid damaging the subfloor or creating a mess. By carefully planning each step, you can ensure a smooth process that doesn’t lead to costly mistakes or delays.
Safety is crucial during any flooring removal project. Make sure to protect yourself by wearing gloves, goggles, and a mask to avoid inhaling dust or debris. Additionally, check for any sharp objects or nails sticking out of the floor to prevent injury. Once the old flooring is removed, take the time to inspect the subfloor before beginning your new installation. A clean, well-prepared surface will make the next steps of your renovation easier and more effective.
Your Step-by-Step Guide to Flooring Removal Made Easy
When it comes to flooring removal, a step-by-step approach can help ensure a smooth and successful process. The first step is to clear the room, removing furniture and other obstacles. Then, determine the type of flooring you are working with, as each type requires a different removal method. For example, carpet may be torn up in sections, while tile or hardwood may require specialized tools to lift and remove the material without damaging the subfloor.
Once the flooring is removed, you may need to clean or repair the subfloor before laying down new flooring. Taking the time to do this will prevent issues like uneven floors or squeaky boards in the future. With a well-organized plan and the proper tools, you’ll find that flooring removal doesn’t have to be difficult. Following these simple steps will help you achieve a fresh new look for your space.
Top Tips for Efficient and Clean Flooring Removal
Efficient and clean flooring removal requires careful planning and the right tools. Start by gathering essential equipment like a utility knife, pry bar, hammer, and safety gear. Before beginning the project, clear the room and protect surrounding areas with a drop cloth to prevent dust and debris from spreading. Proper preparation will make the removal process more straightforward, helping you avoid unnecessary mess and damage.
To remove the flooring efficiently, begin by cutting the material into manageable sections. Work in small areas and ensure each piece is fully detached before moving on. For tougher materials like tile or hardwood, using a power scraper or circular saw can speed up the process. Be mindful of the subfloor, as it should be left intact for the next phase of your renovation. These tips will make your flooring removal quicker, cleaner, and hassle-free.
The Key Stages of Flooring Removal for a Smooth Renovation
Flooring removal is an essential first step in any renovation project. To start, clear the room of all furniture and belongings to create a clean work area. The first stage is identifying the type of flooring you have—whether it is carpet, tile, or hardwood. Each type requires different removal methods, and knowing this upfront will save time and prevent errors. Once the flooring type is identified, it is time to gather the right tools for the job.
After gathering your tools, begin the removal process by carefully detaching the flooring in sections. Make sure to dispose of the material properly and avoid damaging the subfloor. Once the flooring is removed, inspect the subfloor for any signs of damage or imperfections that may need repair. By following these key stages, you'll ensure a smooth and efficient renovation, setting the stage for your new flooring installation.
What You Need to Know Before Starting Your Flooring Removal
Before diving into a flooring removal project, there are a few things you need to know to ensure success. First, assess the type of flooring in your space and determine the best way to remove it. Carpet, tile, vinyl, and hardwood all require different approaches. Some materials may be easier to remove than others, and knowing this beforehand will help you plan accordingly. Be prepared by gathering the necessary tools and materials, such as a pry bar, utility knife, and safety gear.
Another key consideration is the condition of your subfloor. After removing the old flooring, take the time to inspect the subfloor for any damage or uneven spots that could affect the new flooring. Repairing or leveling the subfloor may be necessary before installing your new floors. With the right knowledge and preparation, you’ll be able to confidently tackle your flooring removal project, leaving you with a clean and ready surface for your next renovation.
The Complete Process for Flawless Flooring Removal
Flooring removal may seem like a daunting task, but with the right approach, it can be straightforward and even enjoyable. Start by assessing the room and determining what type of flooring you are working with. Different flooring materials—such as tile, carpet, or hardwood—require different techniques for removal. The process begins with clearing the space and gathering the proper tools, such as a utility knife, pry bar, and safety gear. Once prepared, carefully begin removing the flooring in sections.
Throughout the removal process, be mindful of the subfloor beneath the flooring, as it may require cleaning or repairs. Once the old flooring is completely removed, take the time to inspect the subfloor and make any necessary repairs. Following these steps will lead to flawless flooring removal, creating the perfect foundation for your next flooring installation.
From Start to Finish Flooring Removal Tips You Can Count On
Flooring removal is a task that requires careful attention from start to finish. To begin, clear the room and gather all necessary tools, including a utility knife, pry bar, and safety gear. Next, determine the type of flooring in your space, as different materials require different techniques for removal. Whether it is carpet, tile, or hardwood, each type of flooring has its unique challenges. Start the removal process by carefully detaching the flooring in manageable sections.
As you work, be sure to dispose of the old flooring properly and avoid damaging the subfloor. Once the flooring is removed, inspect the subfloor for any signs of damage that may need repair before laying down new flooring. With these flooring removal tips, you can confidently tackle the project and ensure that your new floors will be installed on a solid, clean surface.
Conclusion
Removing old flooring is an important step in any home renovation, and it can be a lot easier when you have the right help. Whether you are doing it yourself or need expert assistance, the process doesn't have to be overwhelming. By following the proper steps and using the right tools, you can ensure a smooth flooring removal that sets the stage for your next big project.
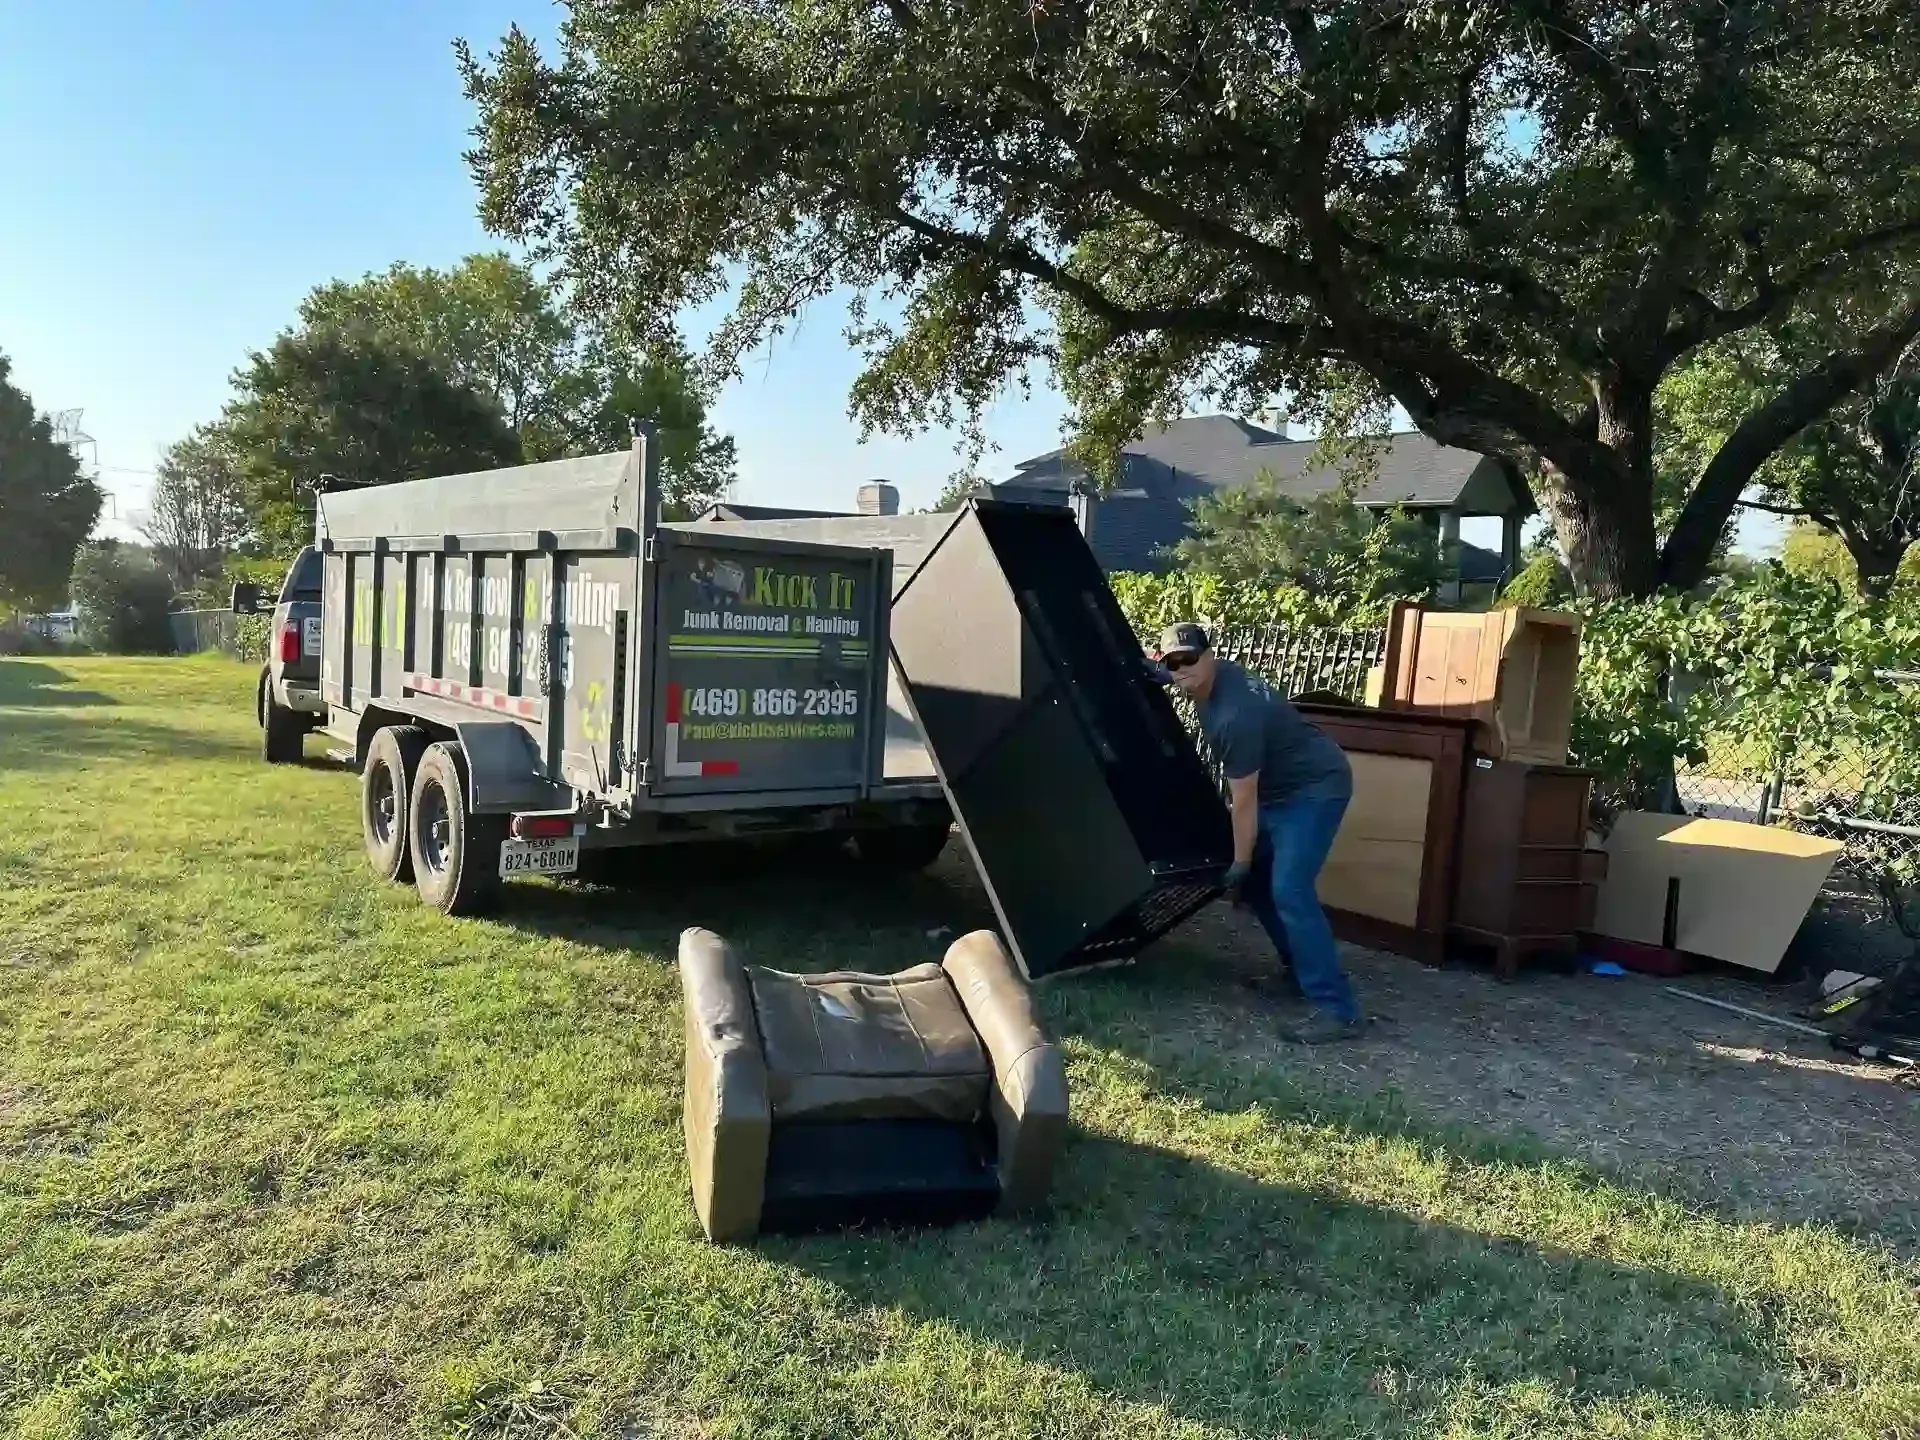
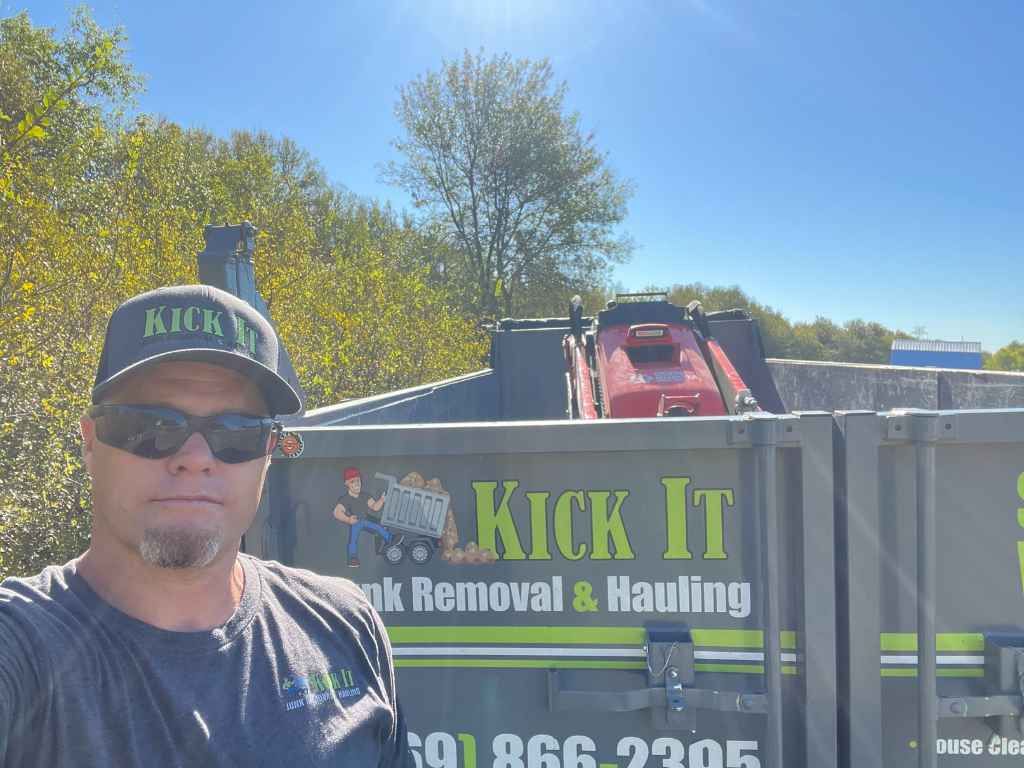
If you are looking for a professional team to handle the heavy lifting, Kick It Junk Removal & Hauling is here to help. Contact us today at 469-866-2395 or email Paul@kickitservices.com for expert service!