Deck Removal: An Easy Guide for Homeowners
Taking down an old or damaged deck might seem like a huge task, but with the right plan and a bit of guidance, it doesn’t have to be overwhelming. Whether your deck is worn out, unsafe, or simply doesn’t fit your backyard plans anymore, knowing how to approach the removal process can save you time, money, and stress. This guide is designed to help homeowners break it down—literally—step by step, so you can move forward with confidence. We’ve seen how a safe and efficient deck removal can clear the way for exciting new projects. We understand what it takes to do the job right, from prepping the site to hauling away debris. Let’s walk you through the basics and help you get started.
Easy Steps for Homeowners to Remove an Old Deck
Removing an old deck might seem daunting, but with the right approach, it can be a manageable project. First, it's important to assess the condition of your deck. Check for any structural damage or loose boards that could pose safety risks. If you’re doing it yourself, gather the necessary tools, such as a hammer, pry bar, and a saw, to break down the deck safely. You may also need gloves and safety goggles to protect yourself while working.
Once the deck is cleared of furniture and debris, start by removing the railing and any small pieces. Focus on taking apart the deck in sections, starting from the outer edge. Depending on the size, you may need help to carry out the heavier pieces. It’s important to dispose of the debris properly to avoid cluttering your yard.
Your Complete Guide to Deck Removal for a Fresh Start
Deck removal can be a rewarding home improvement project, giving you a fresh canvas to plan your outdoor space. The first step is to evaluate whether the deck is worth saving or if it’s time for a complete tear-down. If it’s beyond repair or doesn’t meet your needs anymore, deck removal is the best solution. Start by checking local regulations about permits or disposal requirements before beginning the process.
Once you've gathered the tools and materials, you can begin by detaching the deck boards from the structure. It’s helpful to work with a partner for efficiency. As you remove the boards, ensure you’re stacking them properly for an easier cleanup process. With some time and effort, you’ll have a cleared space ready for new possibilities.

How to Safely Remove Your Deck and Make Way for New Ideas
Removing your deck safely is crucial, both for your property and your well-being. Begin by assessing the structure’s stability and noting any damage to beams or fasteners. Using a power drill or screwdriver, remove any screws or nails holding the boards in place. Start with the perimeter and work your way inward to avoid injury. You may want to remove the railings first, as they can often be the most challenging to dismantle.
After the deck boards are removed, focus on the frame and beams. Depending on the size and complexity of your deck, you may need a saw or sledgehammer to remove larger sections. Proper disposal of the wood and metal components is also key. This can be a labor-intensive process, but taking safety precautions and being methodical will ensure a successful removal.
The Essential Guide to Deck Removal for Homeowners
For homeowners planning to remove a deck, knowing the basics will help ensure the job goes smoothly. Before starting, it's essential to inspect the deck for any safety hazards, like loose or unstable components. Gather the necessary tools, including a crowbar, hammer, screwdrivers, and a saw. Having a friend or family member assist can make the process faster and safer.
Once the deck is cleared of furniture, begin by removing the railings and any smaller parts. Afterward, focus on removing the deck boards by unscrewing or prying them loose. Depending on the type of foundation, you may need to address concrete or other materials before clearing the entire area. Make sure you follow local regulations regarding disposal to avoid unnecessary fines.
Simple Tips for Removing Your Old Deck with Ease
Deck removal can be simplified with the right steps. Start by removing any furniture, planters, or other items that may get in the way. The next step is inspecting the condition of the deck to determine the best method for removal. If the deck is attached to the house, use a saw to cut the connecting parts carefully before detaching it from the structure.
As you remove the boards, work from the edges toward the center. This allows you to dismantle the structure more efficiently. Be sure to keep safety in mind by wearing gloves, goggles, and sturdy clothing. Once the deck is fully removed, dispose of the wood and other materials properly, making the process as smooth as possible.
Deck Removal Made Easy for Homeowners Looking for Change
When it's time to remove your deck, having a clear plan will make the task much easier. Start by assessing the overall structure and safety of the deck. If the deck is attached to your house, carefully disconnect any fasteners. Use a crowbar or similar tools to remove the rails and boards from the frame. A helpful tip is to remove the planks one at a time, working from one side to the other.
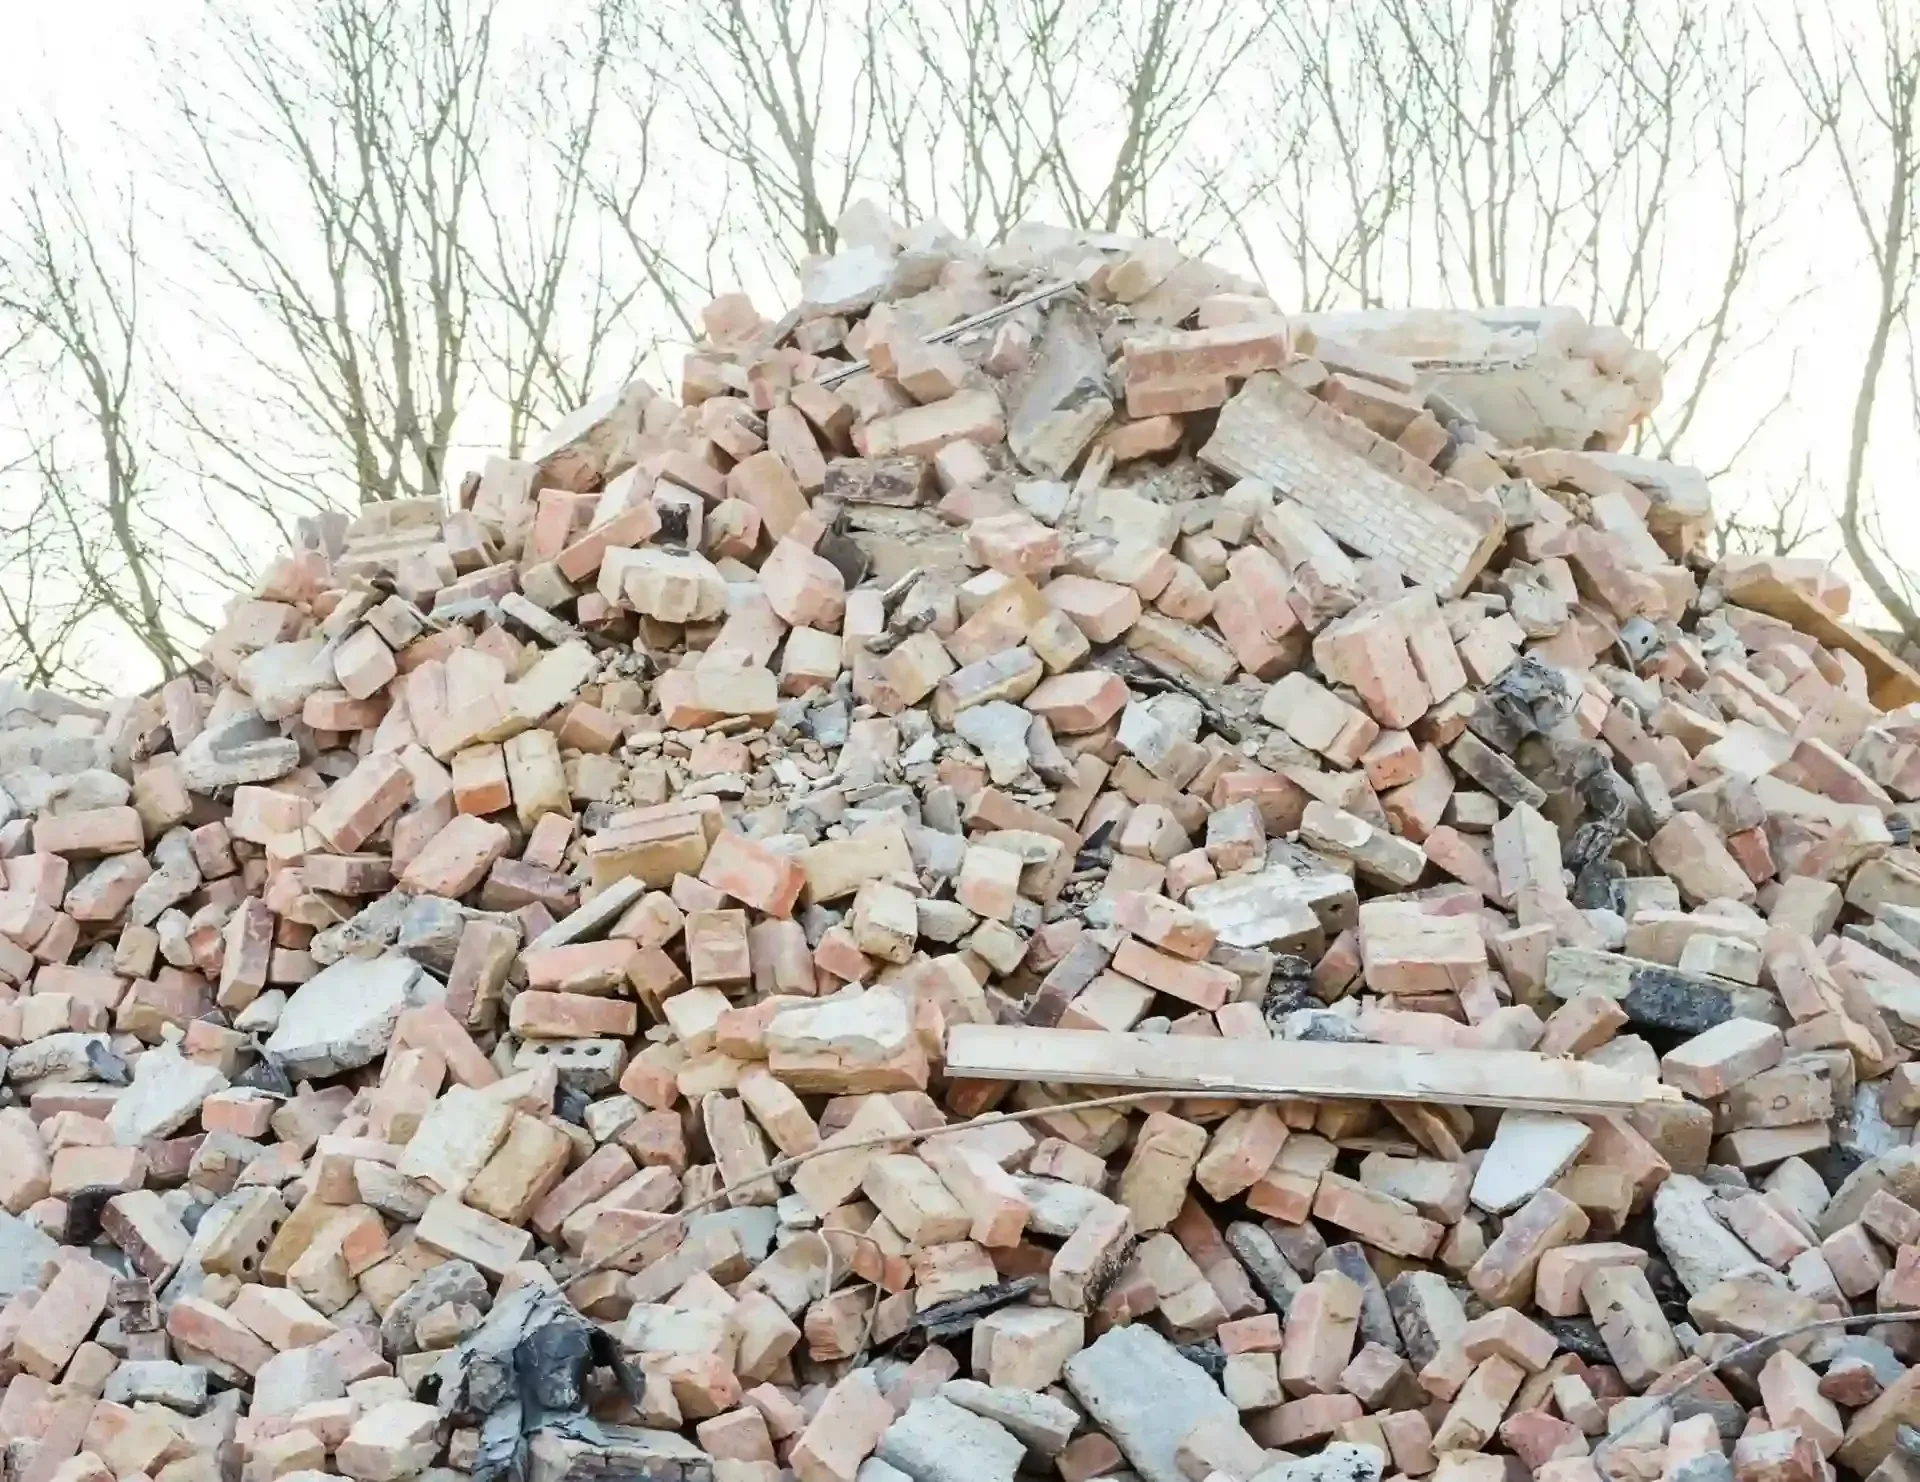
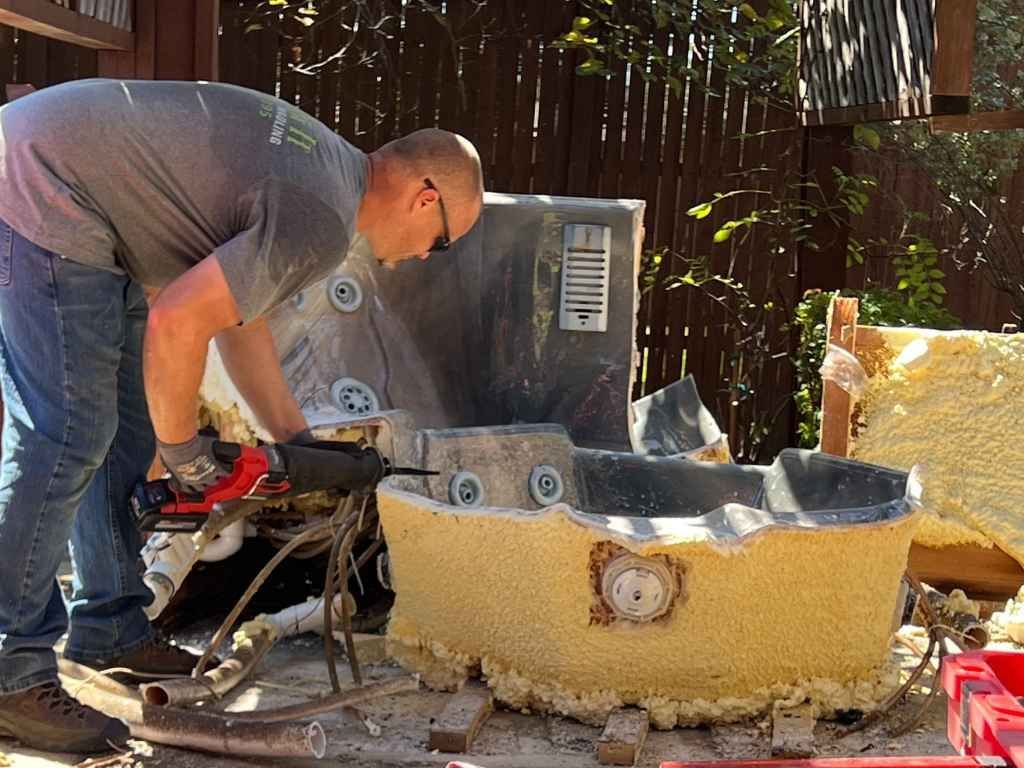
After the deck boards are removed, focus on disassembling the frame. Depending on how it's built, you may need to cut certain sections or use a sledgehammer to loosen larger beams. Properly disposing of the wood and metal components is essential to avoid cluttering your yard. The job may take time, but with patience, you’ll have a fresh space to work with.
What Every Homeowner Needs to Know About Deck Removal
Deck removal is a common home improvement project, but there are key things every homeowner should know before diving in. The first thing to consider is whether the deck requires complete removal or just repairs. If it’s the former, ensure you have the right tools, such as a saw, hammer, and crowbar, to carefully dismantle the structure. Start by removing any smaller elements, like railings for staircases, and work your way toward the main deck.
Once the boards are detached, focus on the deck frame, which can be tougher to remove. If the deck is large, consider enlisting a friend for help, especially when it comes to lifting and hauling materials. As always, check your local regulations for disposal methods and ensure your area remains safe throughout the removal process.
Stress-Free Deck Removal Tips for Homeowners
Deck removal doesn’t have to be stressful if you approach it methodically. Before you start, take the time to assess the condition of your deck. If it’s rotting or unstable, consider calling a professional for assistance. For DIY removals, begin by clearing the area around the deck to give yourself space to work. A saw or crowbar will be essential for detaching the boards and beams.
Take your time during the process, especially when dismantling the frame or other heavy components. It’s important to work in sections, removing the deck one piece at a time to avoid injury. By following a clear plan and staying organized, your deck removal can go smoothly, and you’ll be left with a clean slate for future projects.
How to Successfully Remove Your Deck and Start Fresh
Removing a deck can be a rewarding way to transform your outdoor space. Before starting, inspect the deck’s condition to determine if it’s safe to dismantle. Begin by taking off the smaller components like railings, steps, and any decorative elements. With a saw or crowbar, carefully loosen and remove the deck boards. Working in sections will help you manage the process more efficiently.
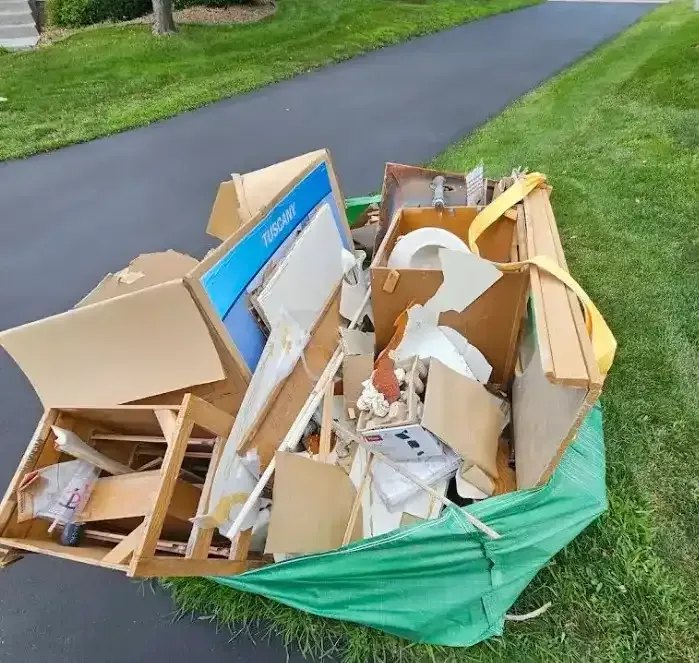
Once the deck boards are off, turn your attention to the frame and larger beams. Use the appropriate tools to break down the structure and prepare the materials for disposal. Make sure to follow proper disposal guidelines in your area, and consider recycling the wood to reduce environmental impact.
The Homeowner's Guide to Hassle-Free Deck Removal
Removing your deck doesn’t have to be a complicated process. Start by assessing the condition of your deck and identifying any safety hazards. Begin by removing any decorative elements, such as railings or planters, before moving on to the deck boards. A crowbar or hammer can help you pry the boards away from the structure, working your way from the edges toward the center.
After the boards are removed, turn your focus to the framework. Depending on how it’s built, you might need a saw or sledgehammer to break down the beams. Proper disposal of the materials is key, so ensure you’re following local regulations.
Conclusion
Deck removal can seem like a major task, but with the right approach, it’s a rewarding project that clears the way for new possibilities. Whether you're replacing an old deck or starting fresh with a new design, following the proper steps ensures the process is efficient and safe. If you’re feeling overwhelmed or don’t have the time and tools needed, don't hesitate to reach out for professional help. At Kick It Junk Removal & Hauling, we specialize in deck removal and ensure the job is done right, from start to finish.
Our team takes care of the heavy lifting, so you don’t have to. We handle all aspects of deck removal, including debris disposal and ensuring your space is clean and ready for your next project. If you're in the Forney, Texas area, we’re here to help with all your deck removal and junk hauling needs. Call us today at 469-866-2395 or email Paul at Paul@kickitservices.com to schedule your deck removal service. Let us take the stress out of the process and help you transform your outdoor space with ease!